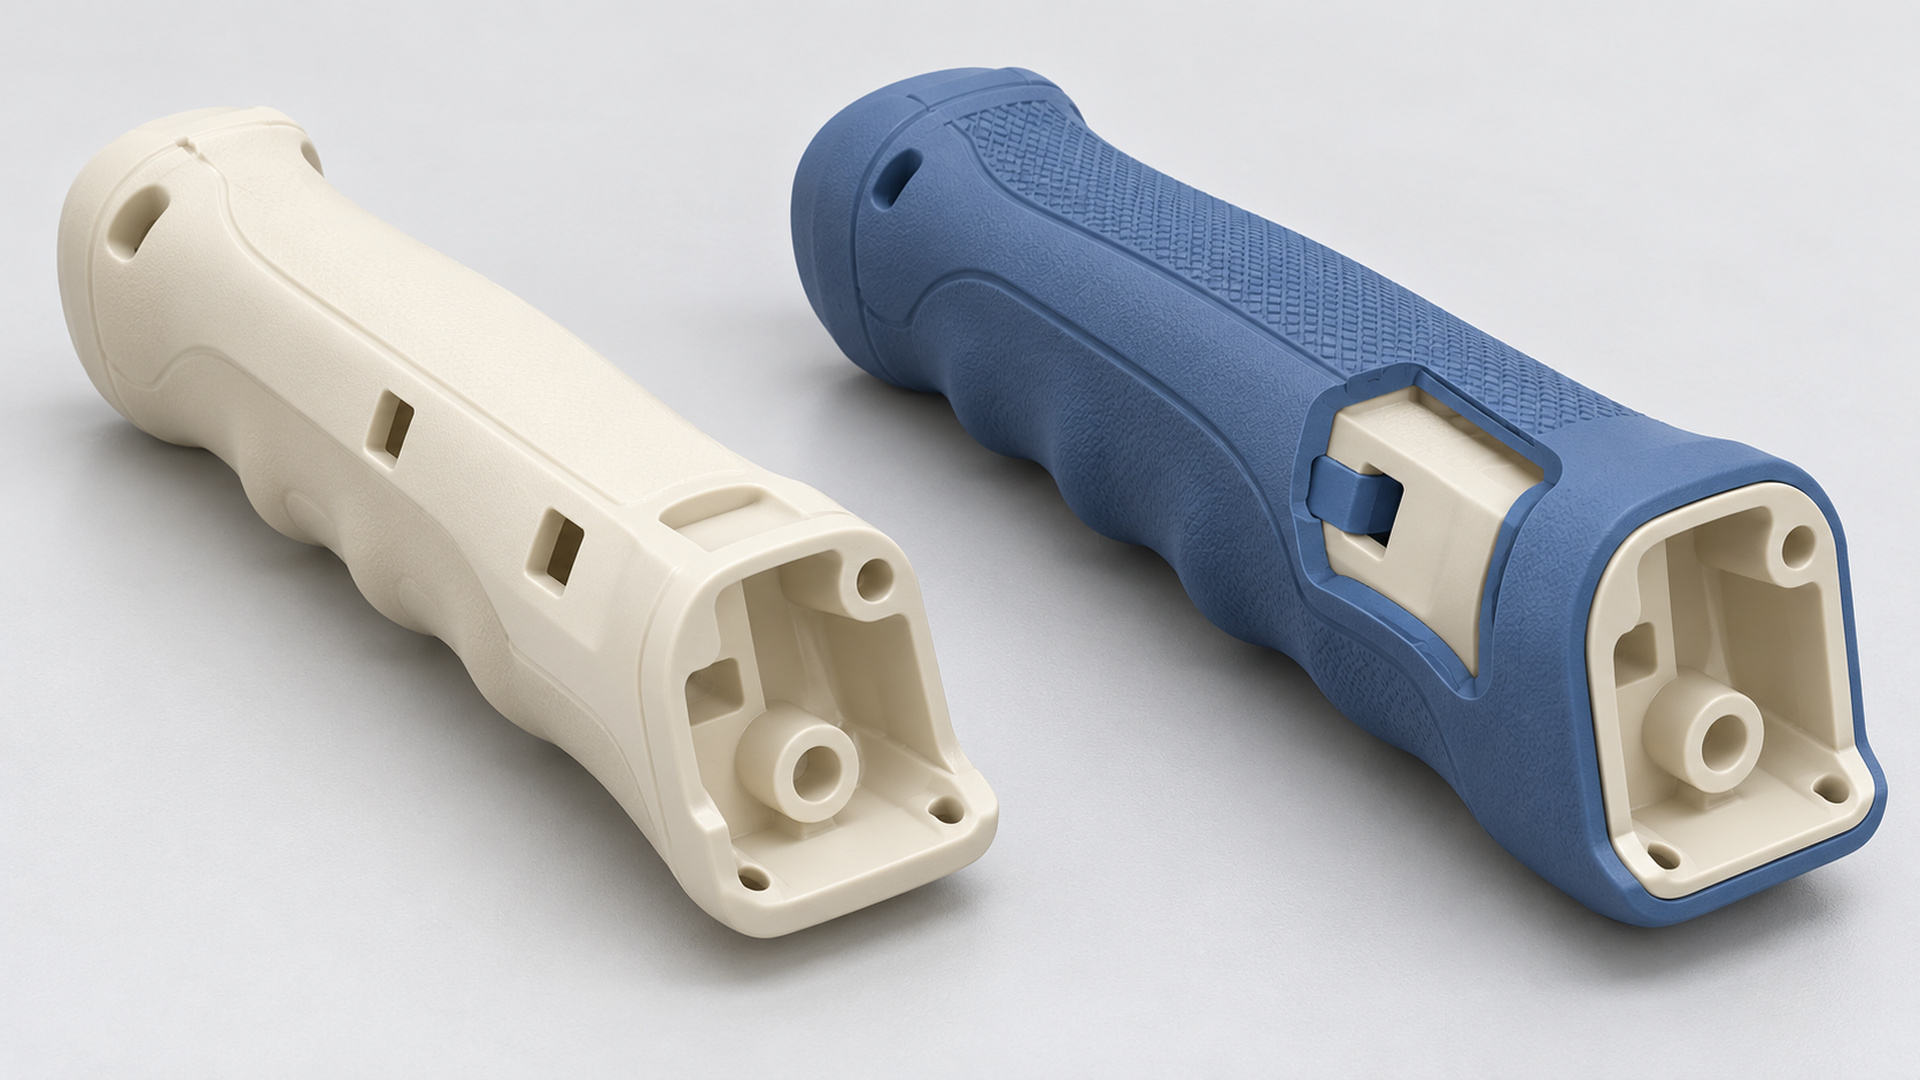
Silicone overmolding can create sealing, grip, cushioning and soft-touch functionality in a single integrated component. It is also one of the easiest processes to get wrong if the insert, shut-off areas, bonding strategy and flow path are not reviewed before tooling.
The most expensive overmolding problems usually begin before the first mold trial.
1. Start with the substrate
For plastic substrates, review resin type, heat resistance, dimensional stability, surface condition and bonding compatibility. For metal substrates, review alloy, plating or anodizing, surface cleanliness, thermal behavior and mechanical retention. For electronic inserts, review whether the component can tolerate molding pressure and temperature.
2. Decide how the silicone will be retained
Common approaches include chemical bonding, primer-assisted bonding, surface treatment and mechanical locking. If the product must survive repeated flexing, thermal cycling or water exposure, the bond area should be designed to resist real peel and shear loads.
3. Treat shut-off areas as critical features
Poor shut-off design can lead to flash, silicone creep, contamination of electrical contacts, inconsistent edge definition and seal failure. This is especially important around connector pins, narrow grooves, hinges and thin inserts.
4. Review gate location and material flow
Where the silicone enters the cavity affects insert movement, local pressure, trapped air, thin-wall filling and stress on flexible inserts. For FPC, thin plastic frames or sensitive electronics, a poor flow path can deform the insert before the cavity fills.
5. Support the insert properly
Flexible circuits, thin plastic parts and narrow metal inserts may need dedicated support, locating features or local clamping. The insert must stay stable through mold closing, injection, curing and demolding.
6. Plan for venting
Because LSR flows easily, venting must be controlled carefully. Too little venting can trap air; poor venting can also contribute to flash.
7. Consider the real service environment
If the part must resist water, heat, repeated flexing, skin contact, chemicals, cleaning cycles or vibration, those conditions should influence the bonding and sealing strategy.
8. Use DFM before cutting steel
Before tooling, identify high-risk shut-offs, weak bond areas, unsupported inserts, difficult demolding features and uneven flow paths.
At ESKY, we use real overmolding experience around connectors, FPC and insert molding to review these risks before tooling.
Have an overmolded part under development? Send your CAD file for a DFM review before tooling.
These design checkpoints connect directly to our Functional & Overmolded Components group on the Electronics & Functional Components page, and to the Overmolding section under Capabilities.