How can a silicone treat-pouch liner be designed for easy removal and cleaning?
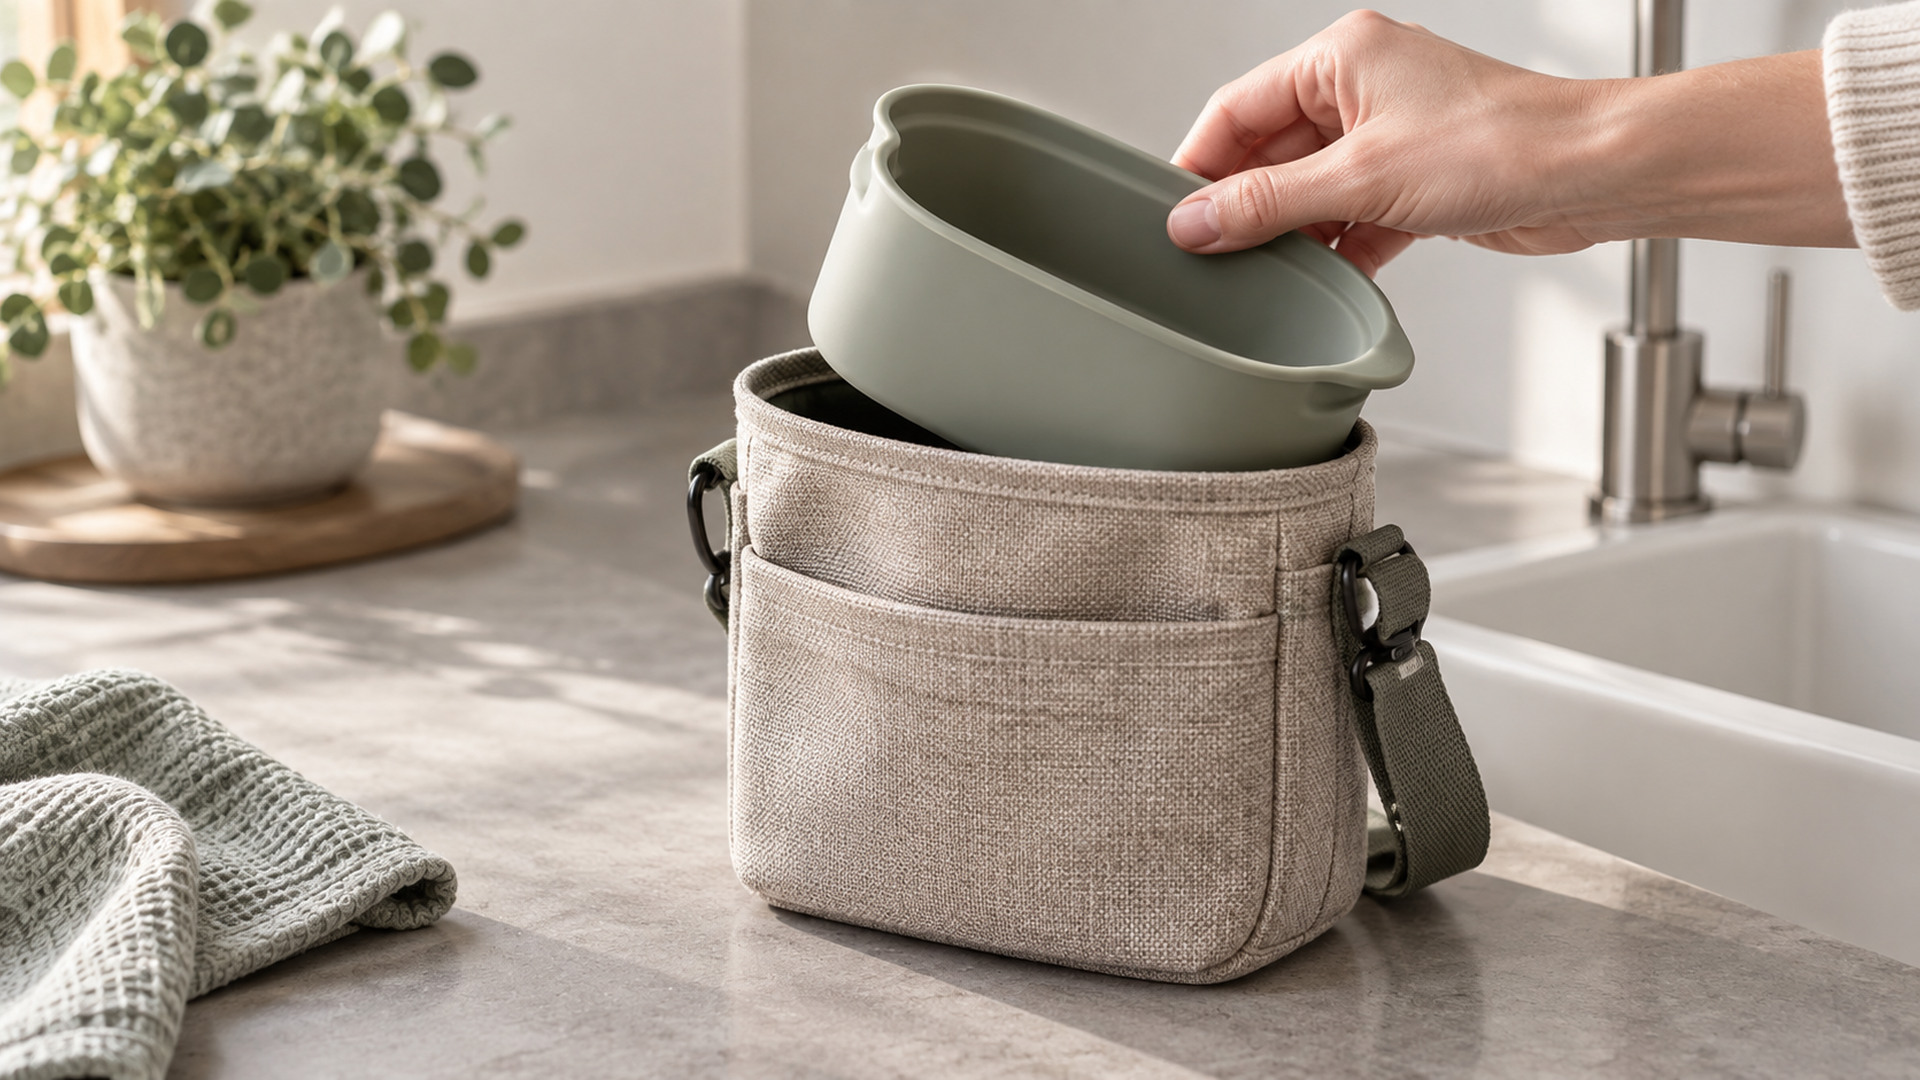
A removable silicone liner only works if the whole bag is considered. A liner that looks smooth on its own can still be impossible to lift out because it grips the fabric shell, collects crumbs around its rim, or flexes so far during insertion that the seam pinches. The design goal is not a standalone silicone cup — it is a liner that fits the actual bag, comes out in one motion, and dries fast after a rinse.
For pet and lifestyle brands, this usually surfaces after the first few real outings. A prototype liner that popped out neatly in the studio starts to trap treat crumbs and dog saliva at the seam once it lives in a fabric pouch for a week. That gap between sample and daily use is what the geometry has to close.
Design the liner to the bag, not the other way around
The liner and the textile shell are a matched pair. If either dimension changes independently, the fit degrades:
- Retention. The liner should stay put during a walk but release with a single pull, not wedge itself in.
- Clearance at the rim. A small overhang or flange that the user can grip, rather than a lip that disappears flush into the shell.
- Wall draft. Enough taper that the silicone releases from its own mold and slides out of the bag without suction.
- Wall thickness. Thick enough to flex without kinking, thin enough that it nests in the shell without flopping.
A liner designed in isolation, then squeezed into a chosen bag, almost always needs a second tool revision.
Eliminate the residue traps
Cleaning complaints on these products almost always trace to geometry, not to the material grade:
- Inside corners. Sharp internal radii hold crumbs and moisture; generous radii let a finger or brush reach every wall.
- Seams and joins. Any molded seam across a horizontal shelf collects debris. Where possible, place parting lines on low-contact edges.
- Rim junctions. The point where the liner meets the bag opening is where residue hides most reliably.
- Drainage and drying. A liner that holds a puddle in its base will stay damp and smell.
Because this is pet-contact and often food-adjacent, the material should suit repeated washing and any food-contact expectation of the market — but a material certificate is not a substitute for a shape that rinses clean.
Test insertion and removal in the real assembly
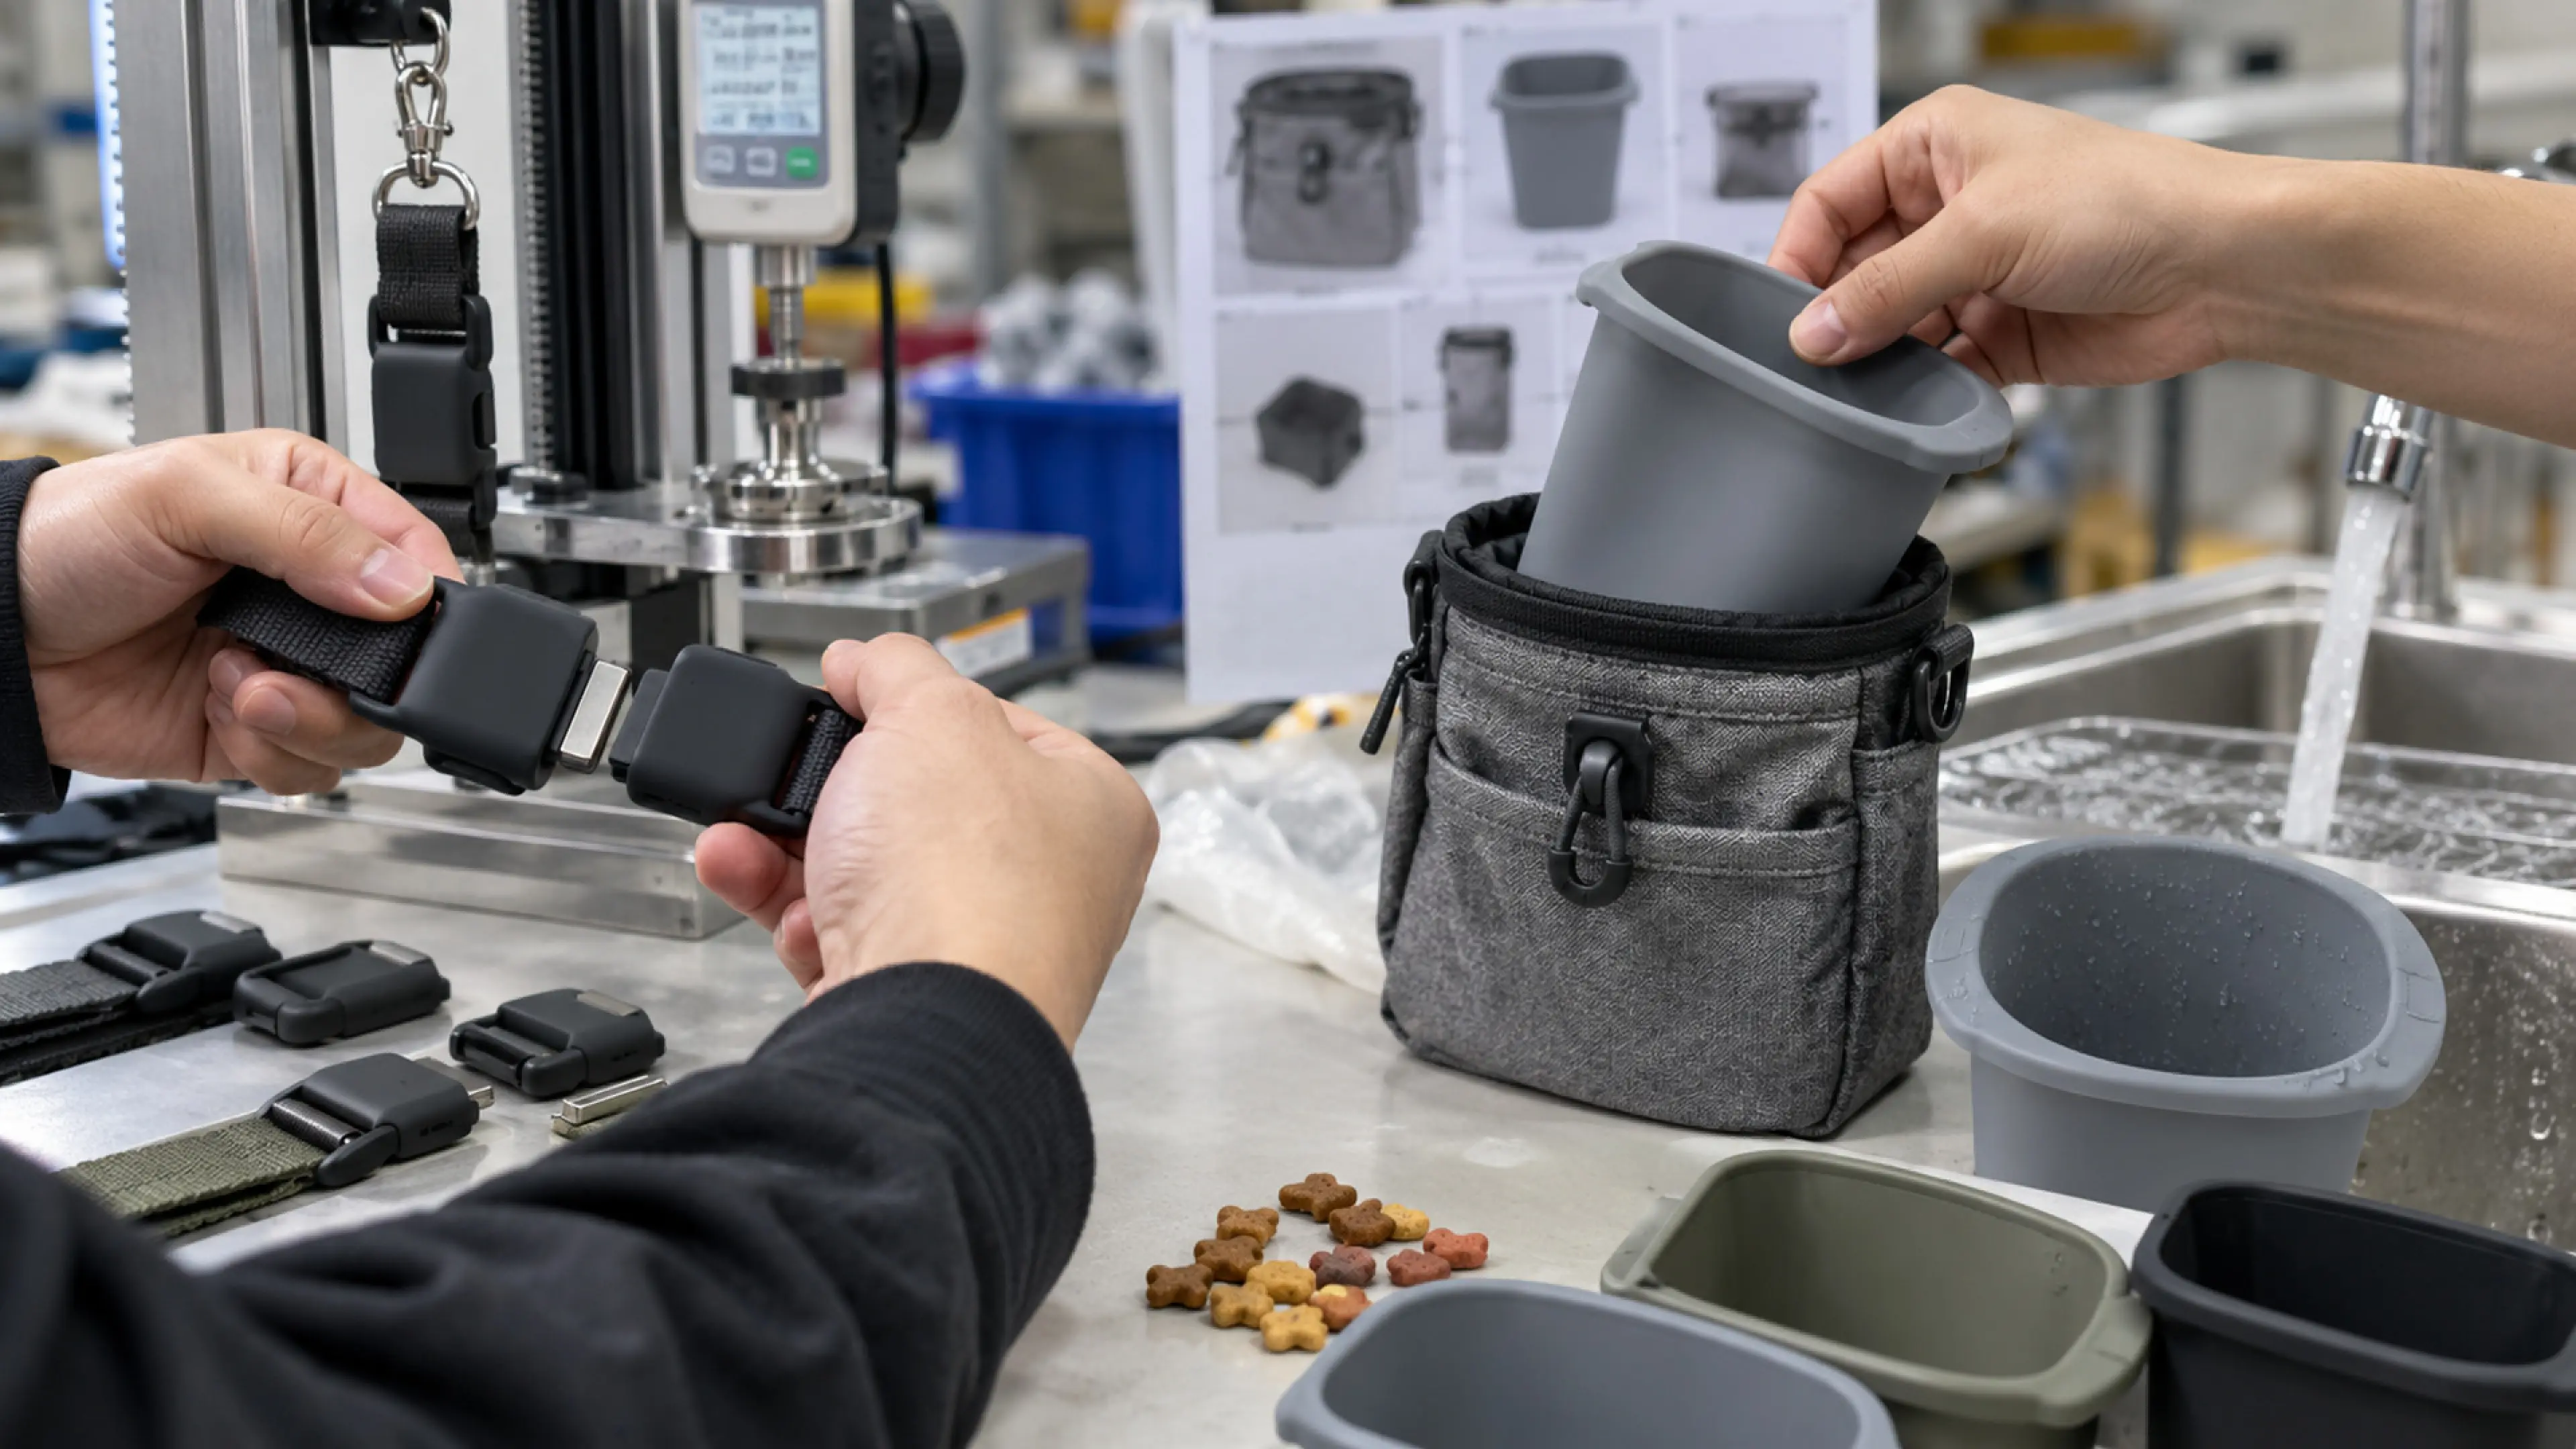
Cleaning behavior cannot be judged on the loose liner. It has to be tested inside the finished bag:
- Repeated insertion/removal cycles. The liner should seat and lift out the same way on the fiftieth pull as on the first, without stretching, inverting, or resisting.
- Full-bag cleaning. Run the liner through the way a user actually rinses or washes it, and check where residue survives.
- Loaded use. Fill it with treats and clip the bag closed; a liner that shifts when the pouch is squeezed leaks contents at the seam.
- Drying. Hang it the way a user would and confirm no pocket holds water.
Hand-formed prototypes often clean more easily than production parts because they lack the molded seams and draft changes. Confirm the result again on pilot tooling.
Turn it into an acceptance standard
"Easy to clean" is a design wish, not an approval rule. Convert it into:
- A controlled reference sample that defines the rim grip, fit, and acceptable feel inside the bag.
- Critical characteristics — liner-to-shell fit, rim flange size, internal radius minimums, and wall draft.
- A cleaning test condition — the rinse or wash method, and what counts as "clean" after it.
- An acceptance rule — liner removes in one motion, no trapped residue at the defined seams, no content squeeze-out under load.
- A revision record tying approval to a specific liner and bag version.
If the bag supplier changes fabric or inner dimensions, the liner fit should be re-checked rather than assumed carried over.
What to agree before tooling
Before quoting, share the actual bag shell (or its inner dimensions), the treat size and how the pouch is loaded, the washing method users will employ, and the target market. Confirm whether the liner needs food-contact documentation for its intended use rather than assuming one label covers it.
Useful supplier questions:
- How is the liner retained in the shell — friction, flange, or a mechanical capture?
- Where are the parting lines, and can they move off the contact surfaces?
- How do you test repeated removal and full-bag cleaning?
- What material and food-contact evidence accompanies the finished liner?
Conclusion
A treat-pouch liner that removes and cleans easily is the result of designing the liner and the bag as one system — generous internal radii, a grippable rim, correct draft and wall thickness, and a cleaning test run on the full assembly. Treat it as a matched pair from the first drawing, and the rinse-and-go experience users expect actually survives tooling.