How can plastic inserts be protected from distortion or movement during overmolding?
A plastic insert that is perfectly flat in the hand can come out of the overmold bowed, with the silicone molded off-position. Two things cause this: the insert softens under the heat and pressure of molding, and it shifts in the cavity before the silicone locks it in place. The fix is not a stiffer silicone — it is better support, better locating and enough thermal margin built into the plastic insert.
For product teams overmolding silicone grips, seals or soft-touch surfaces onto thin plastic housings, the issue is checking the thermal load, the insert support and the locating features before the mold is cut.
How inserts distort
Thin plastic parts see two stresses during overmolding:
- Heat. Even LSR curing temperatures can soften low-heat plastics, especially near gates where the material arrives hottest.
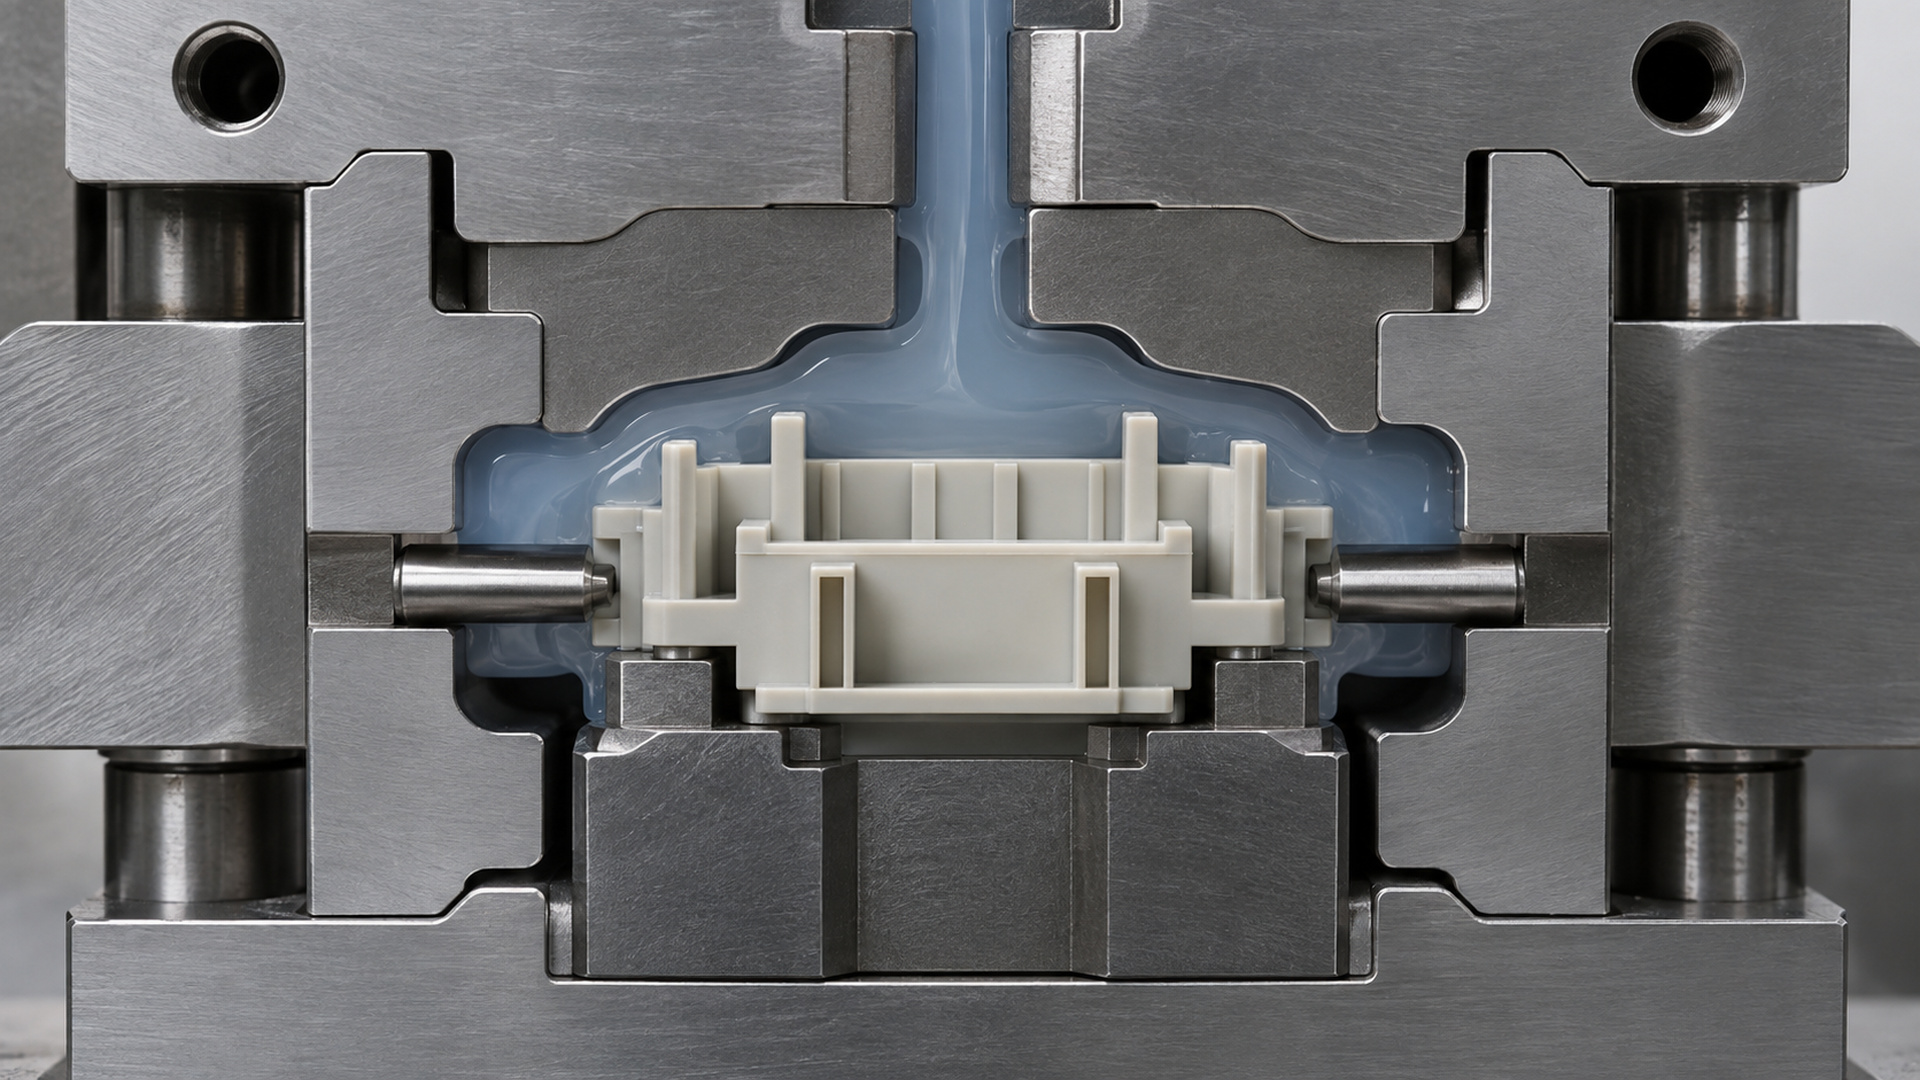
- Injection pressure. The flowing silicone pushes against unsupported walls and thin bosses.
An unsupported insert bows in the direction of flow. A loosely located insert floats sideways. The result is a silicone part that looks fine but sits in the wrong place on the housing.
Designing support into the mold
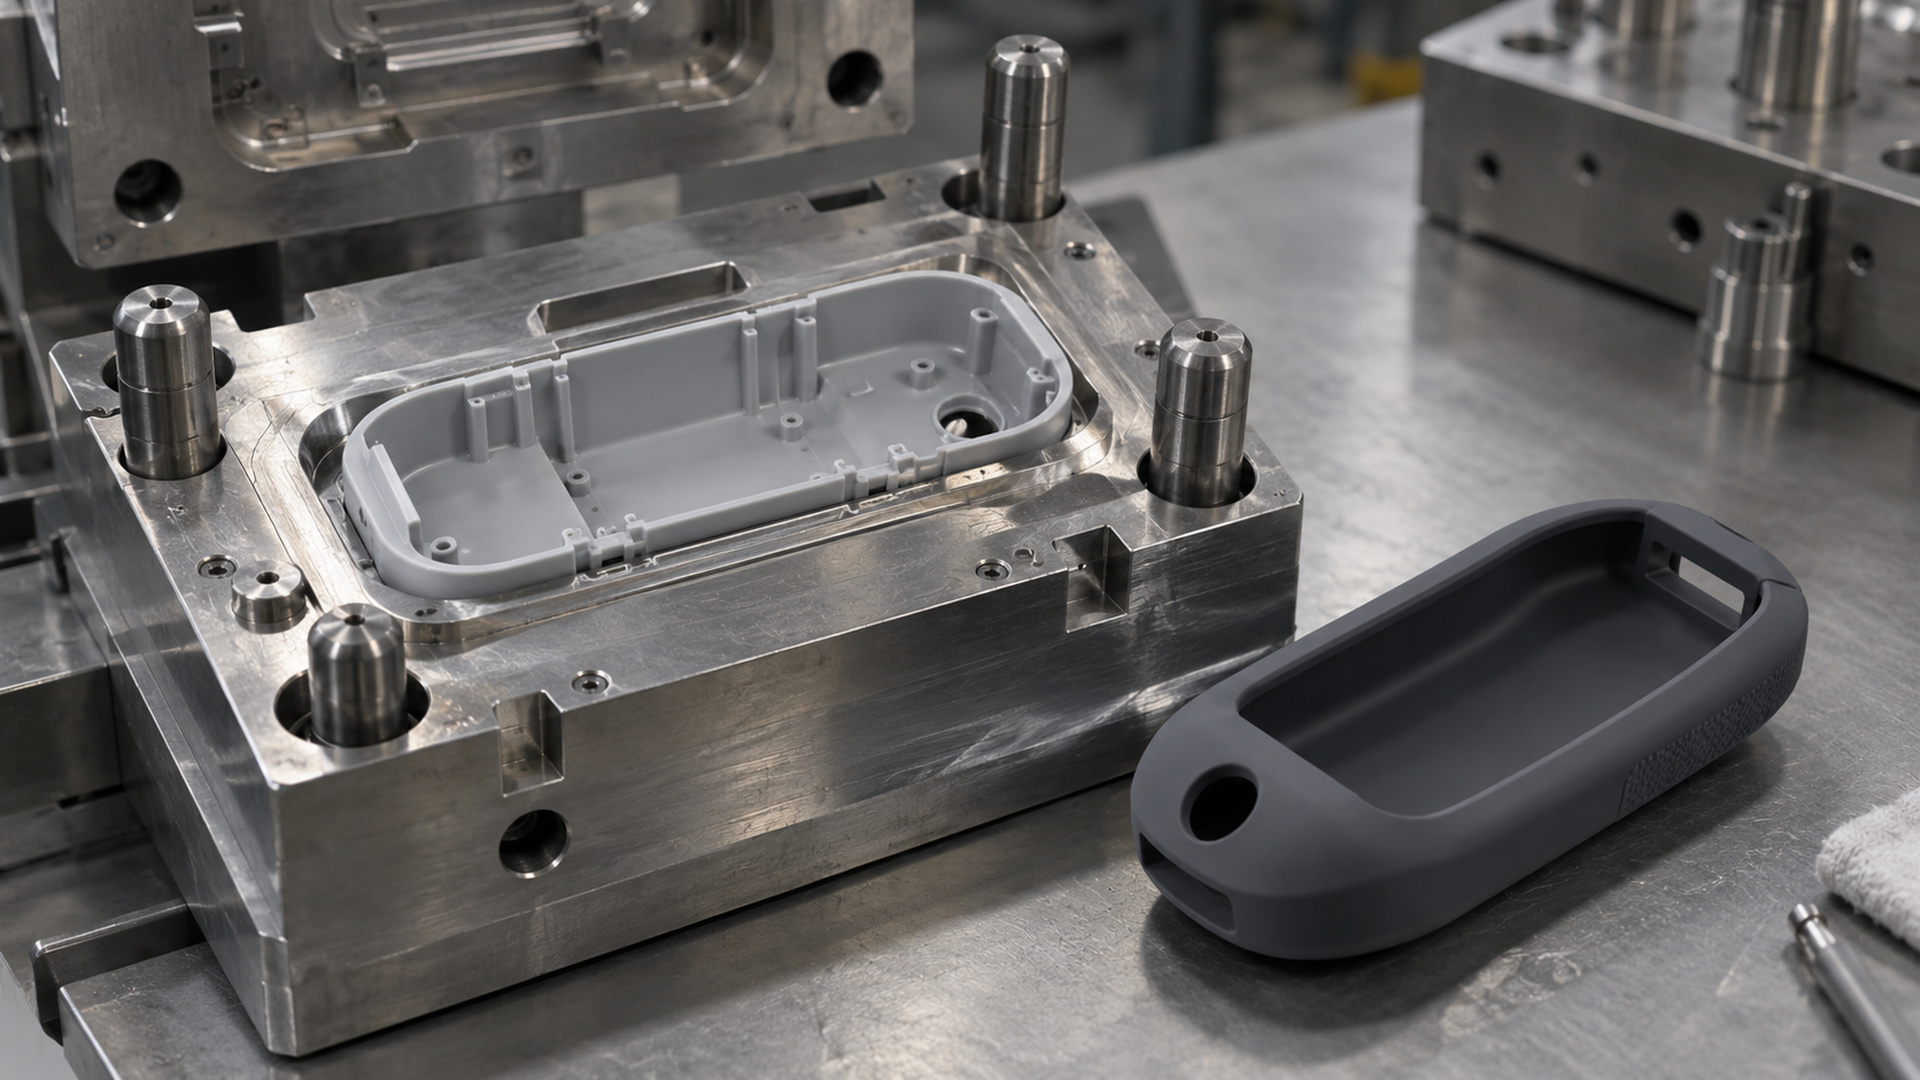
The mold must locate and support the insert, not just drop it in:
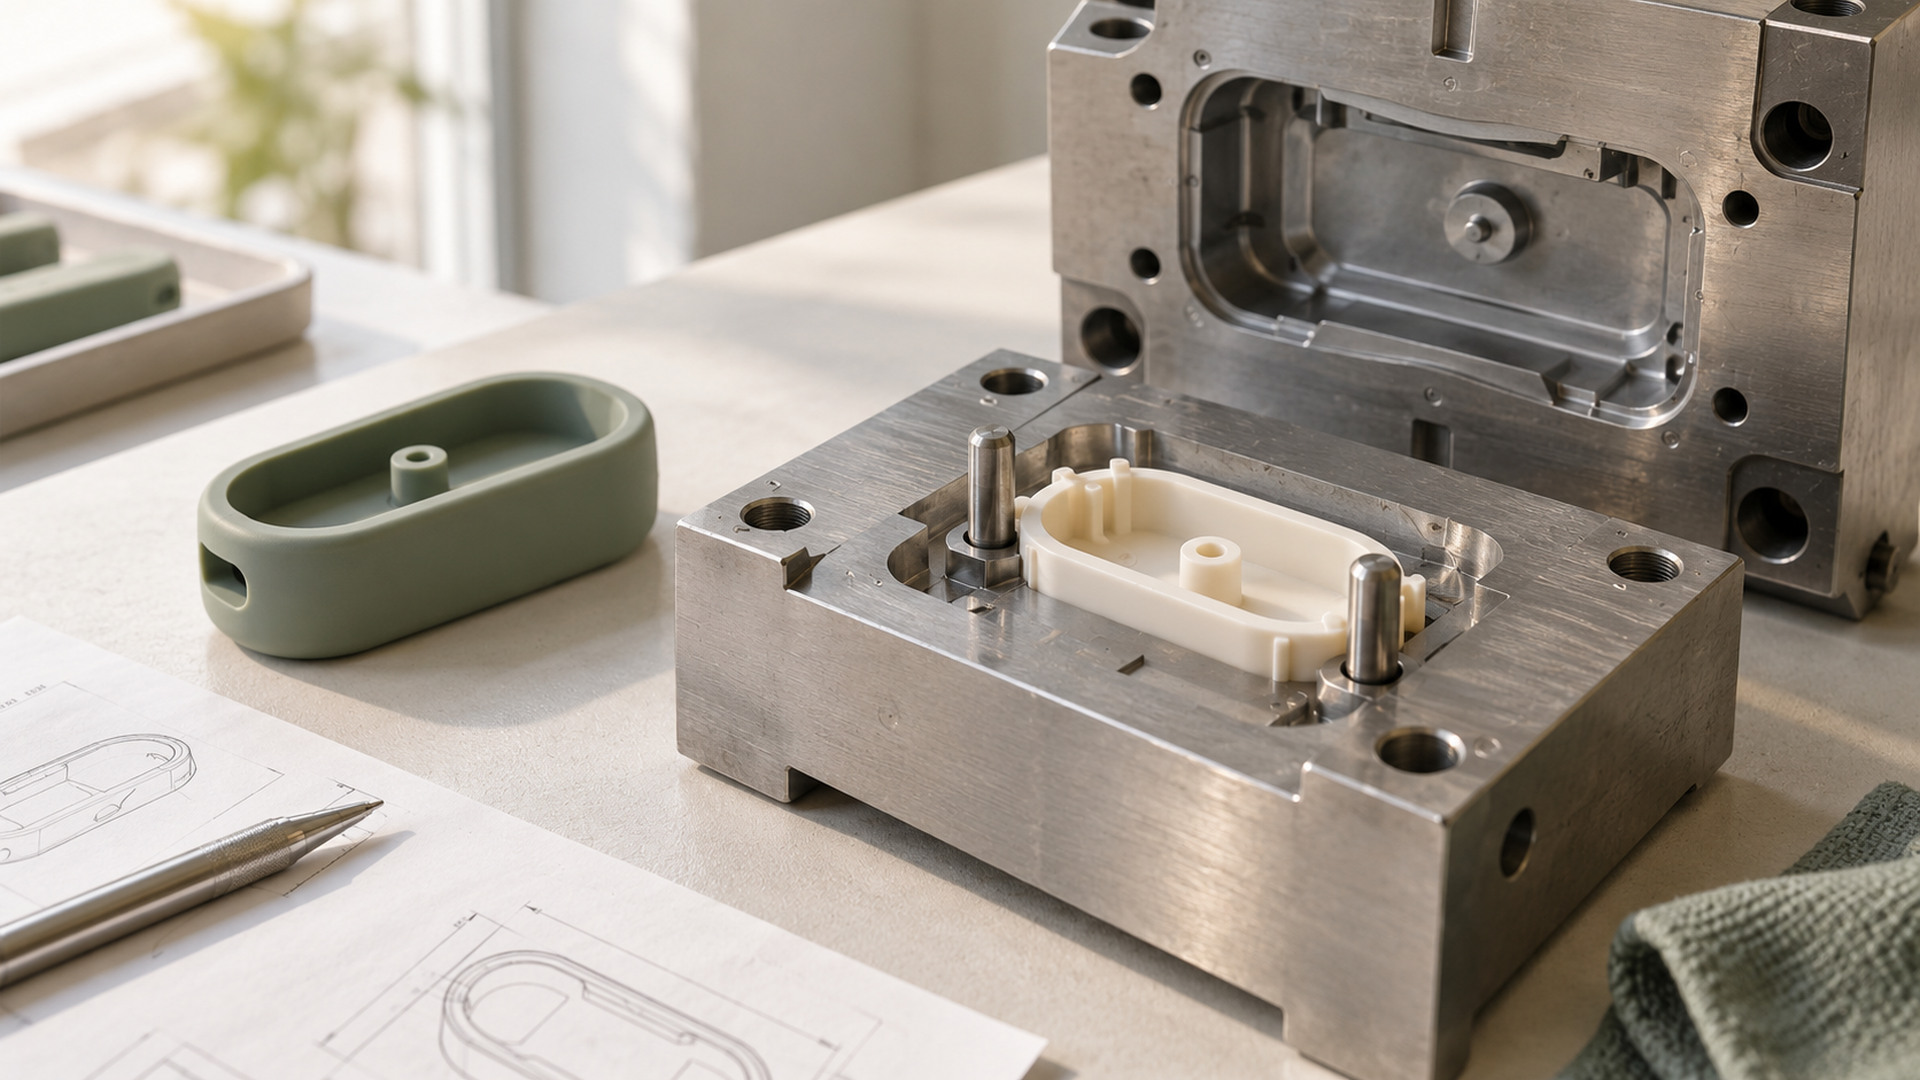
- Precision locating features — pins, pockets or nests that hold the insert in X, Y and Z.
- Support where pressure is highest — back up thin walls near gates.
- Avoid overhanging inserts that deflect under flow.
- Balance runner and gate layout so pressure does not push the insert to one side.
If the insert is a thin shell, the mold may need to support its inner surface as well as its parting line.
Choosing a plastic with thermal margin
The plastic insert must stay rigid during the silicone cure cycle. That means:
- Choosing a resin with a heat-deflection temperature comfortably above the molding and cure temperature.
- Avoiding thin-walled designs on low-melting resins.
- Accounting for moisture in hygroscopic resins like nylon, which can plasticize the part and cause splay or distortion.
Specify the exact resin grade, not just "plastic."
Key variables to control
- Exact plastic grade and its thermal stability.
- How the insert is located and supported in the mold.
- Gate position and injection pressure relative to thin walls.
- Surface condition (release agents, coatings) that affects bonding.
- Aging conditions after molding.
Two checks matter:
- Specify the exact plastic grade and surface condition.
- Combine chemical adhesion with geometry-based retention where risk is high.
Turn the issue into an acceptance test
"Dimensional" is not enough. Define:
- A controlled reference — an approved overmolded assembly.
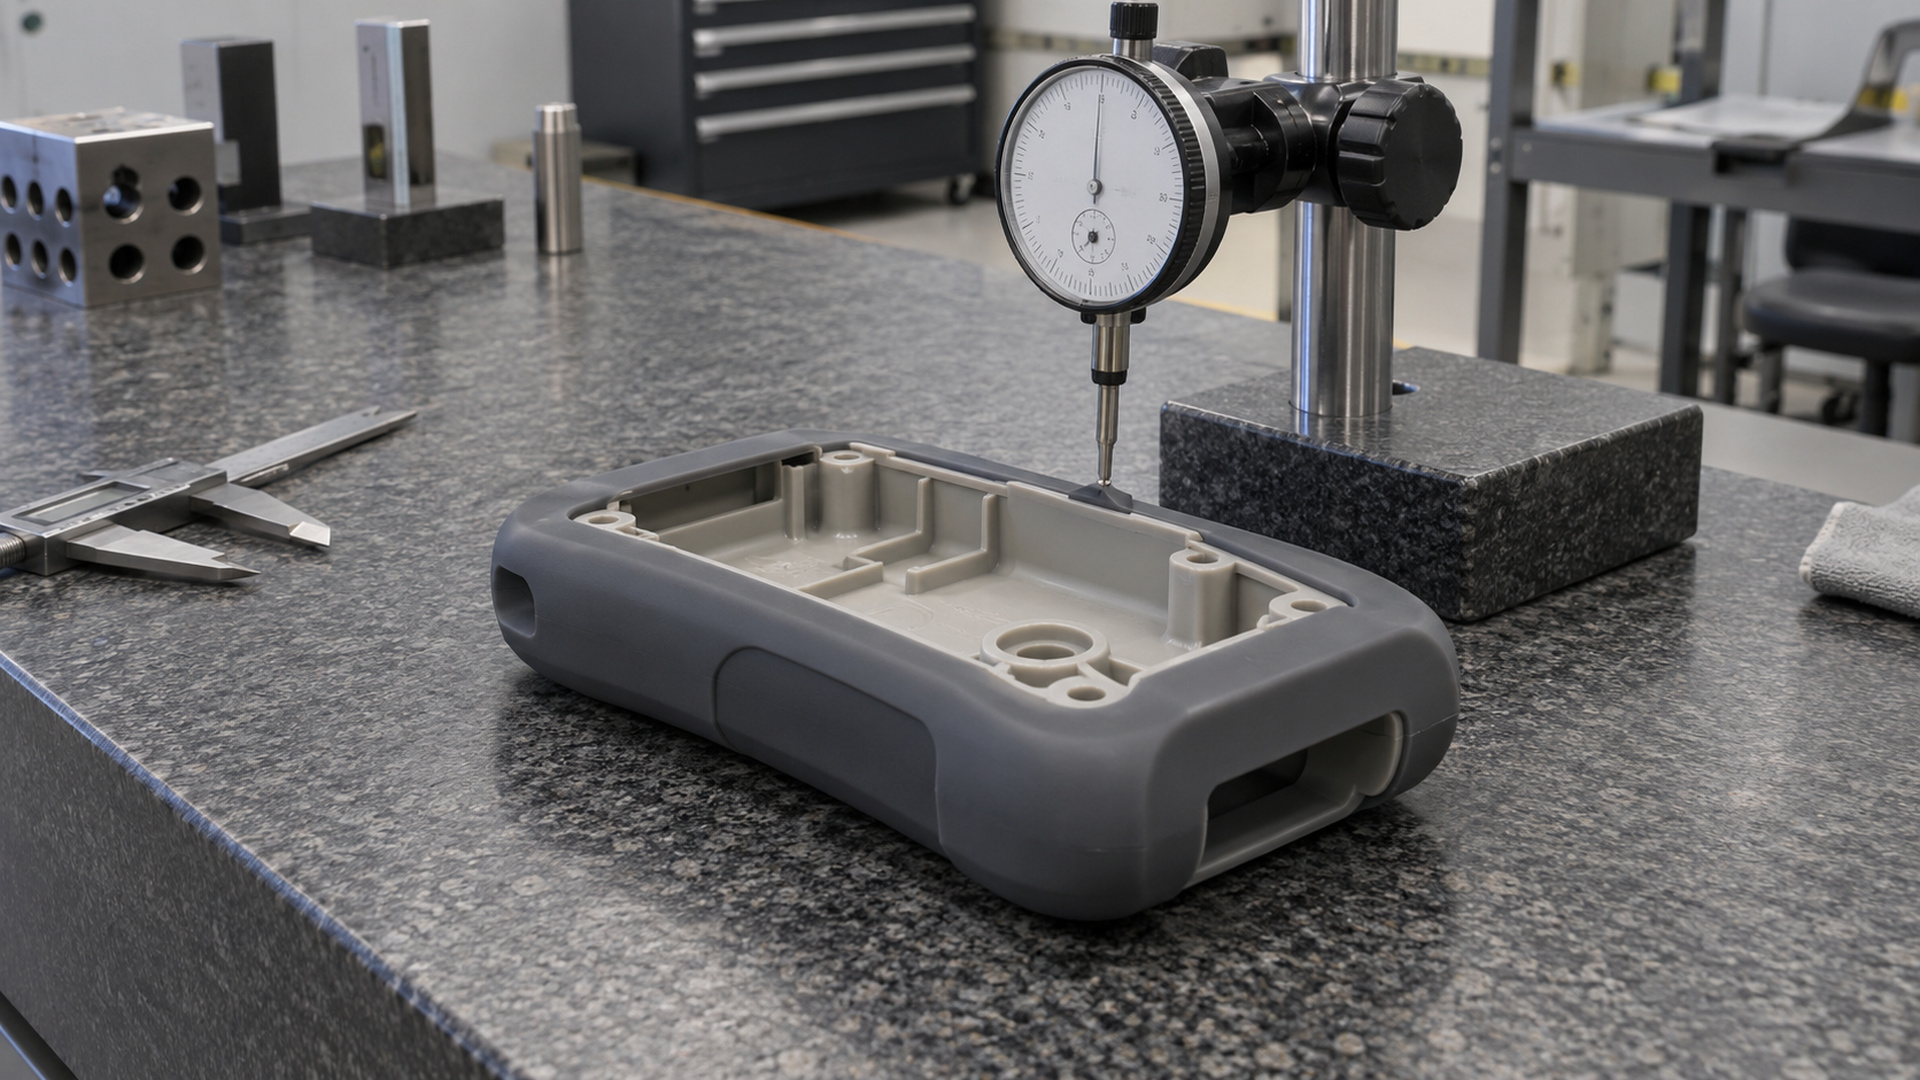
- Critical characteristics — insert flatness, silicone position relative to housing, bond-line location.
- A test condition — as-molded, after cooling, after assembly with the mating part.
- An acceptance rule — which dimensions must hold within tolerance, and what is cosmetic.
- A revision record — which insert lot and mold cycle the approval covers.
Compare options by trade-off
If the insert keeps distorting, the options are: switch to a higher-heat resin, add support features to the mold, redesign the thin wall, or slow down the injection cycle. Compare them on tooling cost, cycle time and assembly yield.
Validate before production
Run trial shots with the actual insert and check both the silicone position and the insert flatness after demolding and after cooling. A part that looks okay on ejection may move as it cools.
What to prepare before the RFQ
- CAD of the plastic insert and the silicone overmold.
- The exact plastic resin grade and wall thickness.
- Any thin walls, unsupported spans or deep bosses.
- The expected molding process (LSR or HCR).
- Critical dimensions that must align after overmolding.
- Target volume and regulatory context.
If wall thickness is not yet finalized, flag it — that is usually the driver of distortion.
Questions to ask the supplier
- How is the insert located and supported in the mold?
- Does the plastic resin have enough thermal margin for this cure cycle?
- Where will the gate be, and will it push on a thin wall?
- How do you verify insert position and flatness after overmolding?
- What is included in the quoted price and what is excluded?
Generic "we handle inserts" answers without a locating plan are not enough.
Conclusion
Plastic insert distortion during overmolding is a mold-design and resin-selection problem, not a silicone problem. Locate the insert precisely in the cavity, support the thin walls that injection pressure pushes on, and choose a resin that stays rigid at the cure temperature. Verify position and flatness after cooling, not just on ejection.