How can silicone-to-metal overmolding resist delamination?
Silicone does not stick to metal the way it sticks to a compatible plastic. The bond depends entirely on a prepared metal surface and a primer matched to the alloy. A shiny stainless pin inserted into a mold will produce a silicone part that looks fine on the bench but peels open after a few thermal cycles, because the adhesion was never more than surface contact.
For product teams designing overmolded grips, sensor housings, cable strain reliefs or wearables with metal hardware, the task is setting the surface treatment and bond validation plan before tooling, not after a delaminated sample comes back.
Why silicone-to-metal bonds fail
Delamination usually comes from one of three causes:
- Poor surface preparation. Oily, plated or passivated metal surfaces do not accept primer.
- Thermal mismatch. Metal expands and contracts at a different rate than silicone, and a weak bond separates with each cycle.
- Edge peel. The silicone pulls away from a sharp metal edge where stress concentrates.
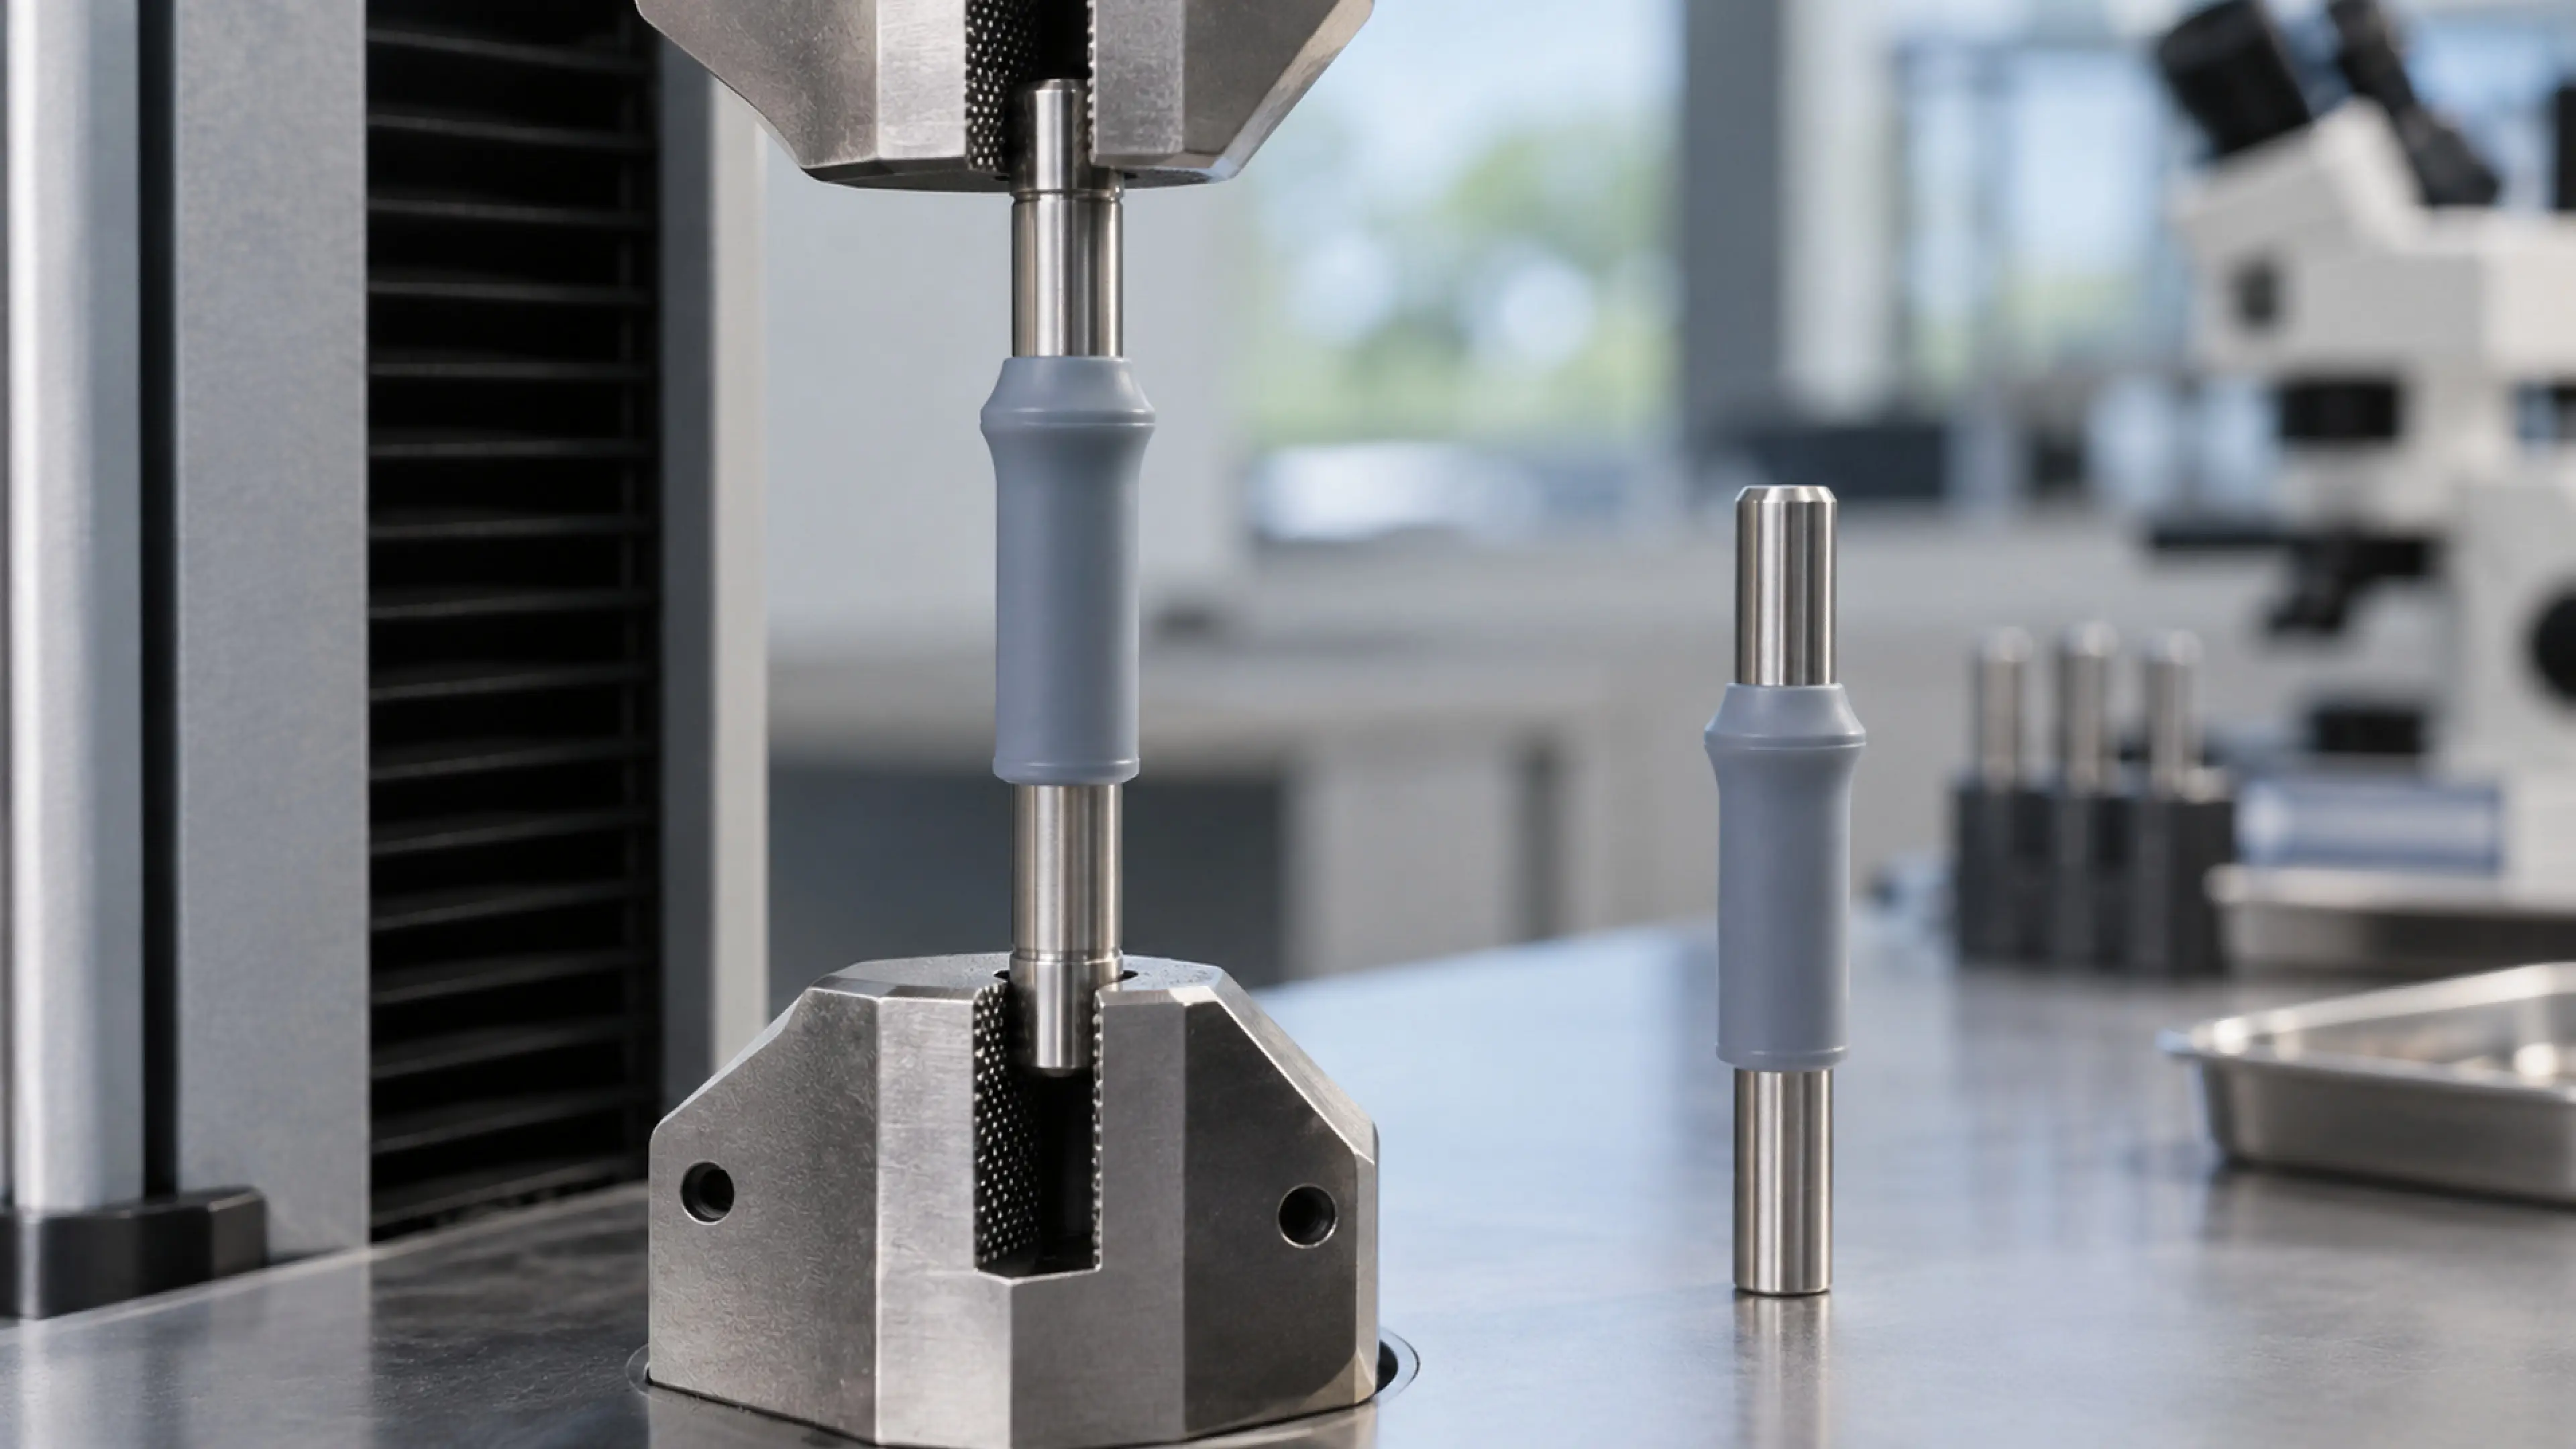
A fresh pull test on a clean, well-prepared coupon can pass while a production part with an oily insert or a sharp edge fails months later.
Surface treatment is the first lever
Metal inserts for silicone overmolding are commonly treated in one of several ways:
- Mechanical abrasion or grit blast to create a textured surface the primer can grip.
- Chemical conversion or primer systems formulated for the specific alloy (aluminum, stainless steel, brass).
- Cleaning and degreasing immediately before molding, because a prepared surface re-contaminates quickly.
The exact treatment depends on the alloy and the primer supplier's recommendation. Specify the alloy on the drawing — "steel" is not enough.
Mechanical capture backs up the primer
Even with a good primer, design the metal feature so the silicone is mechanically trapped:
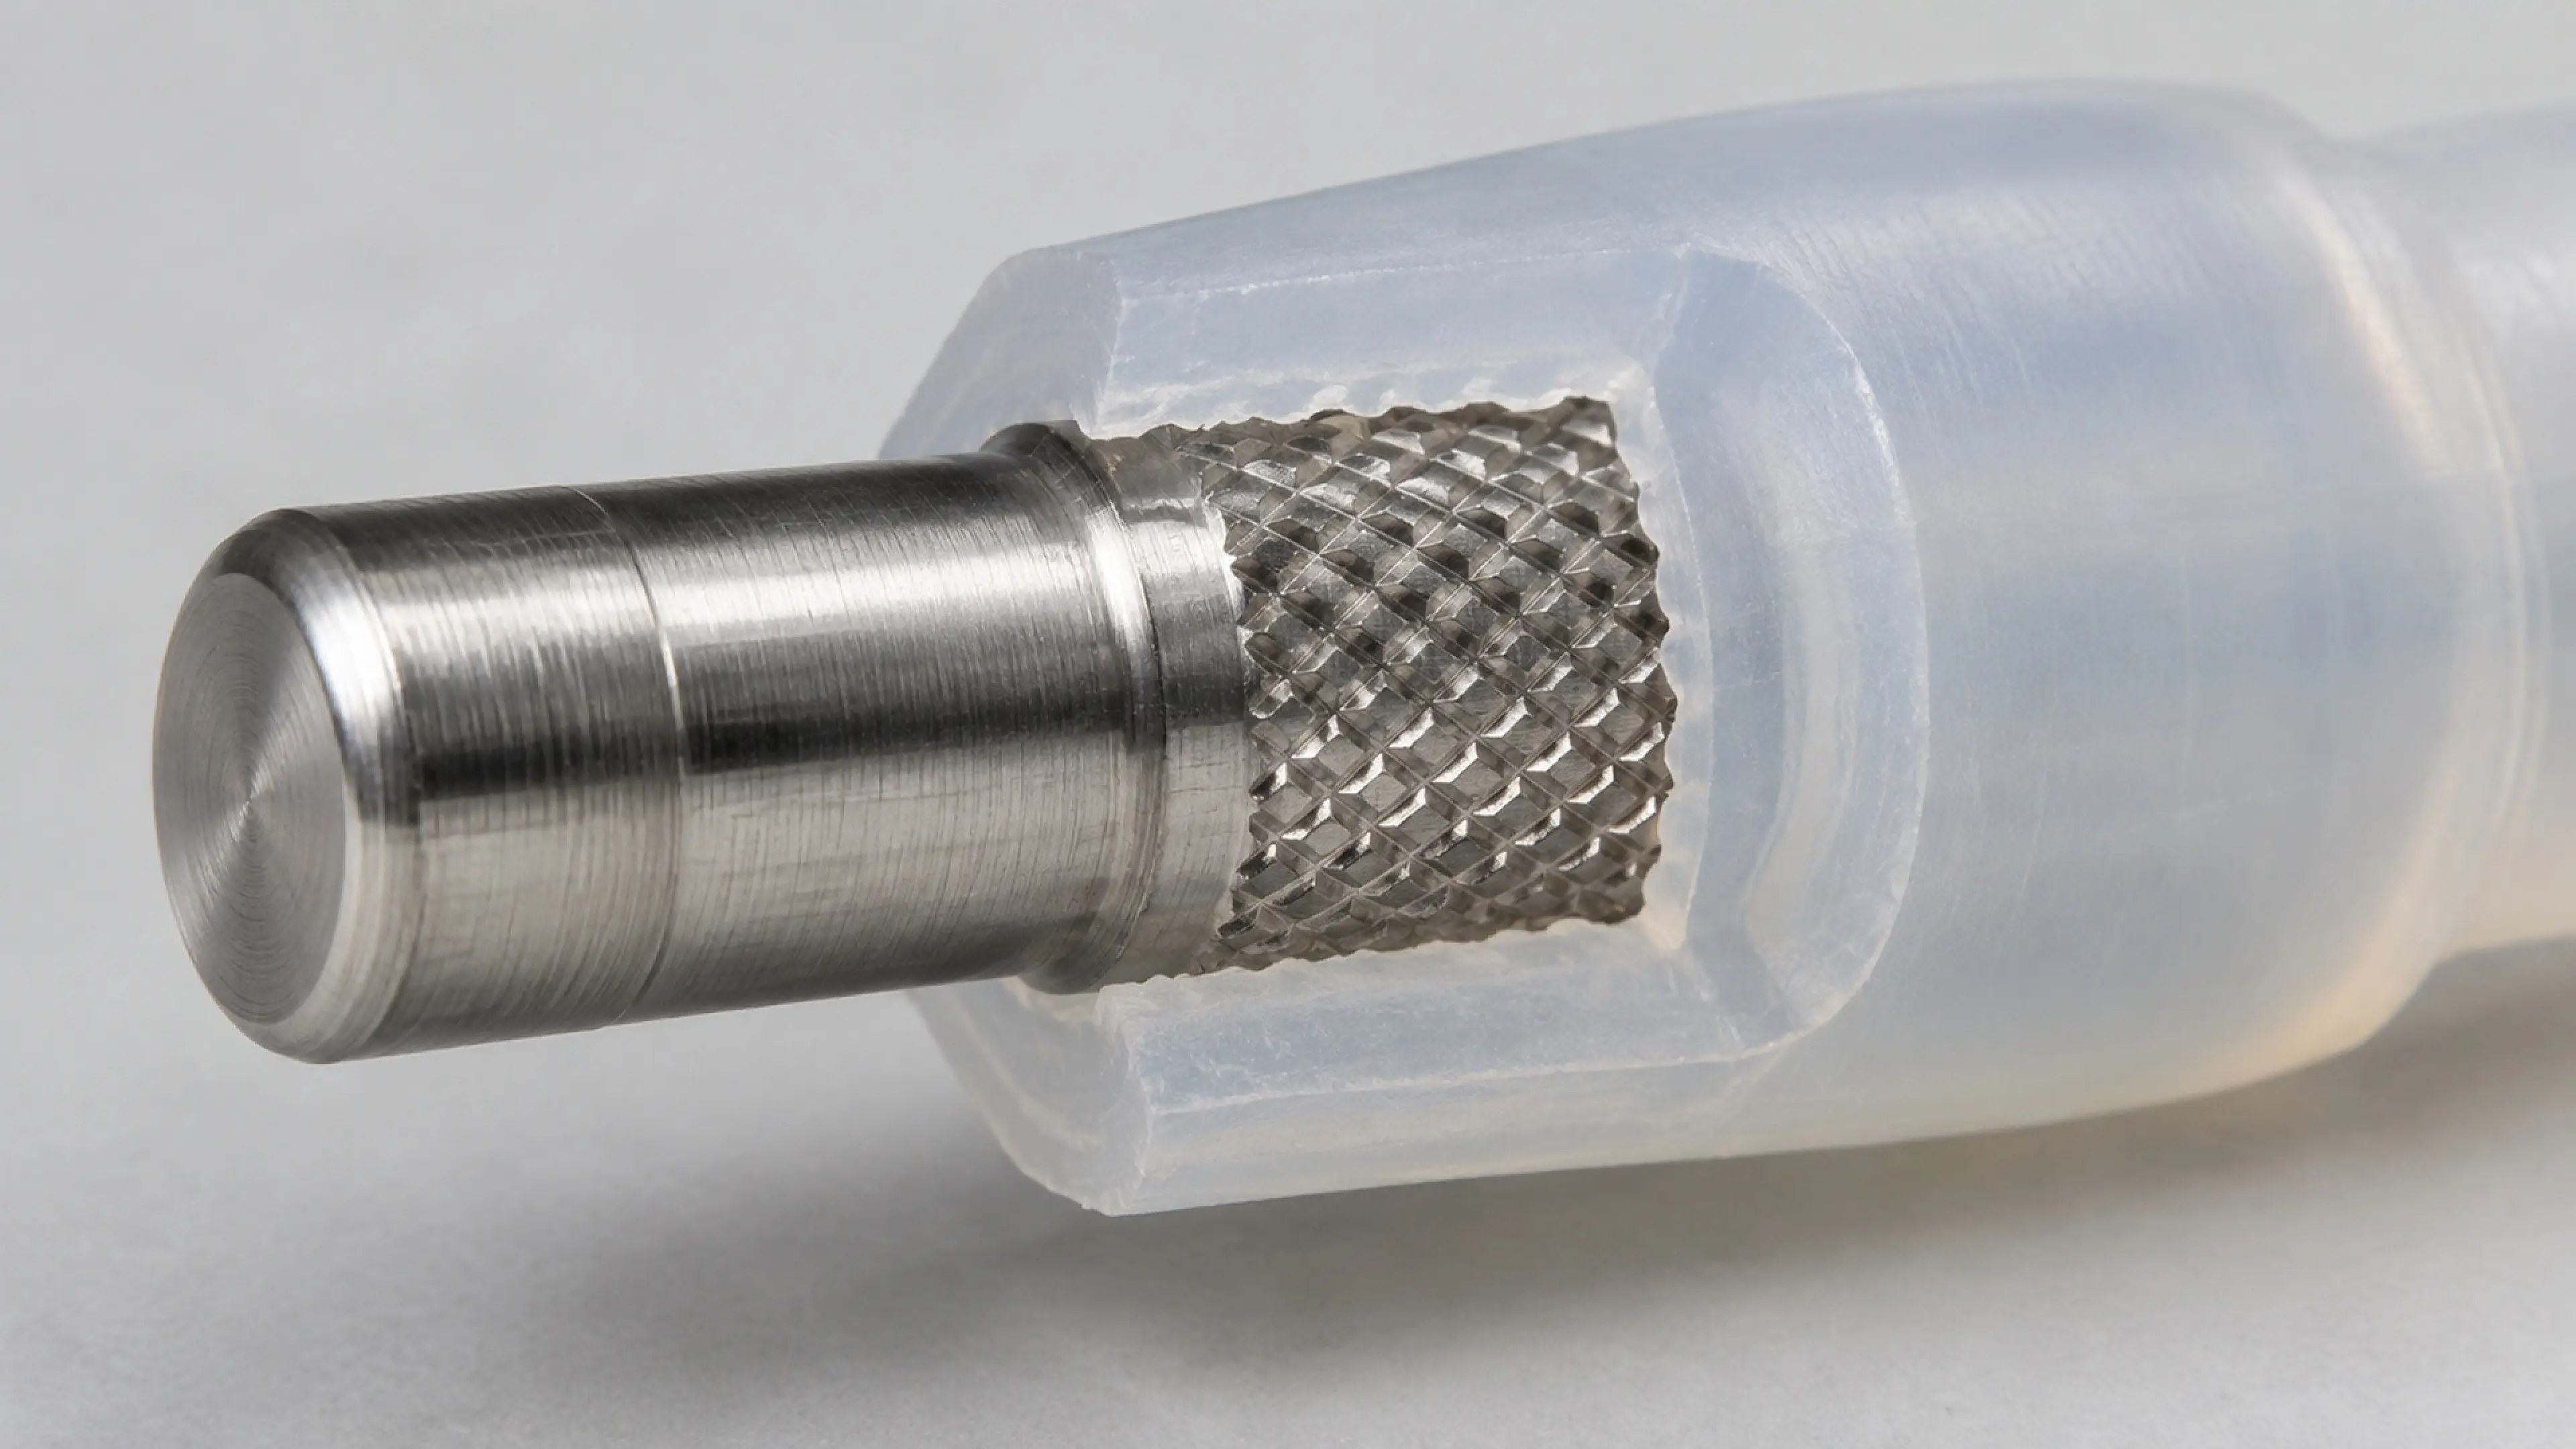
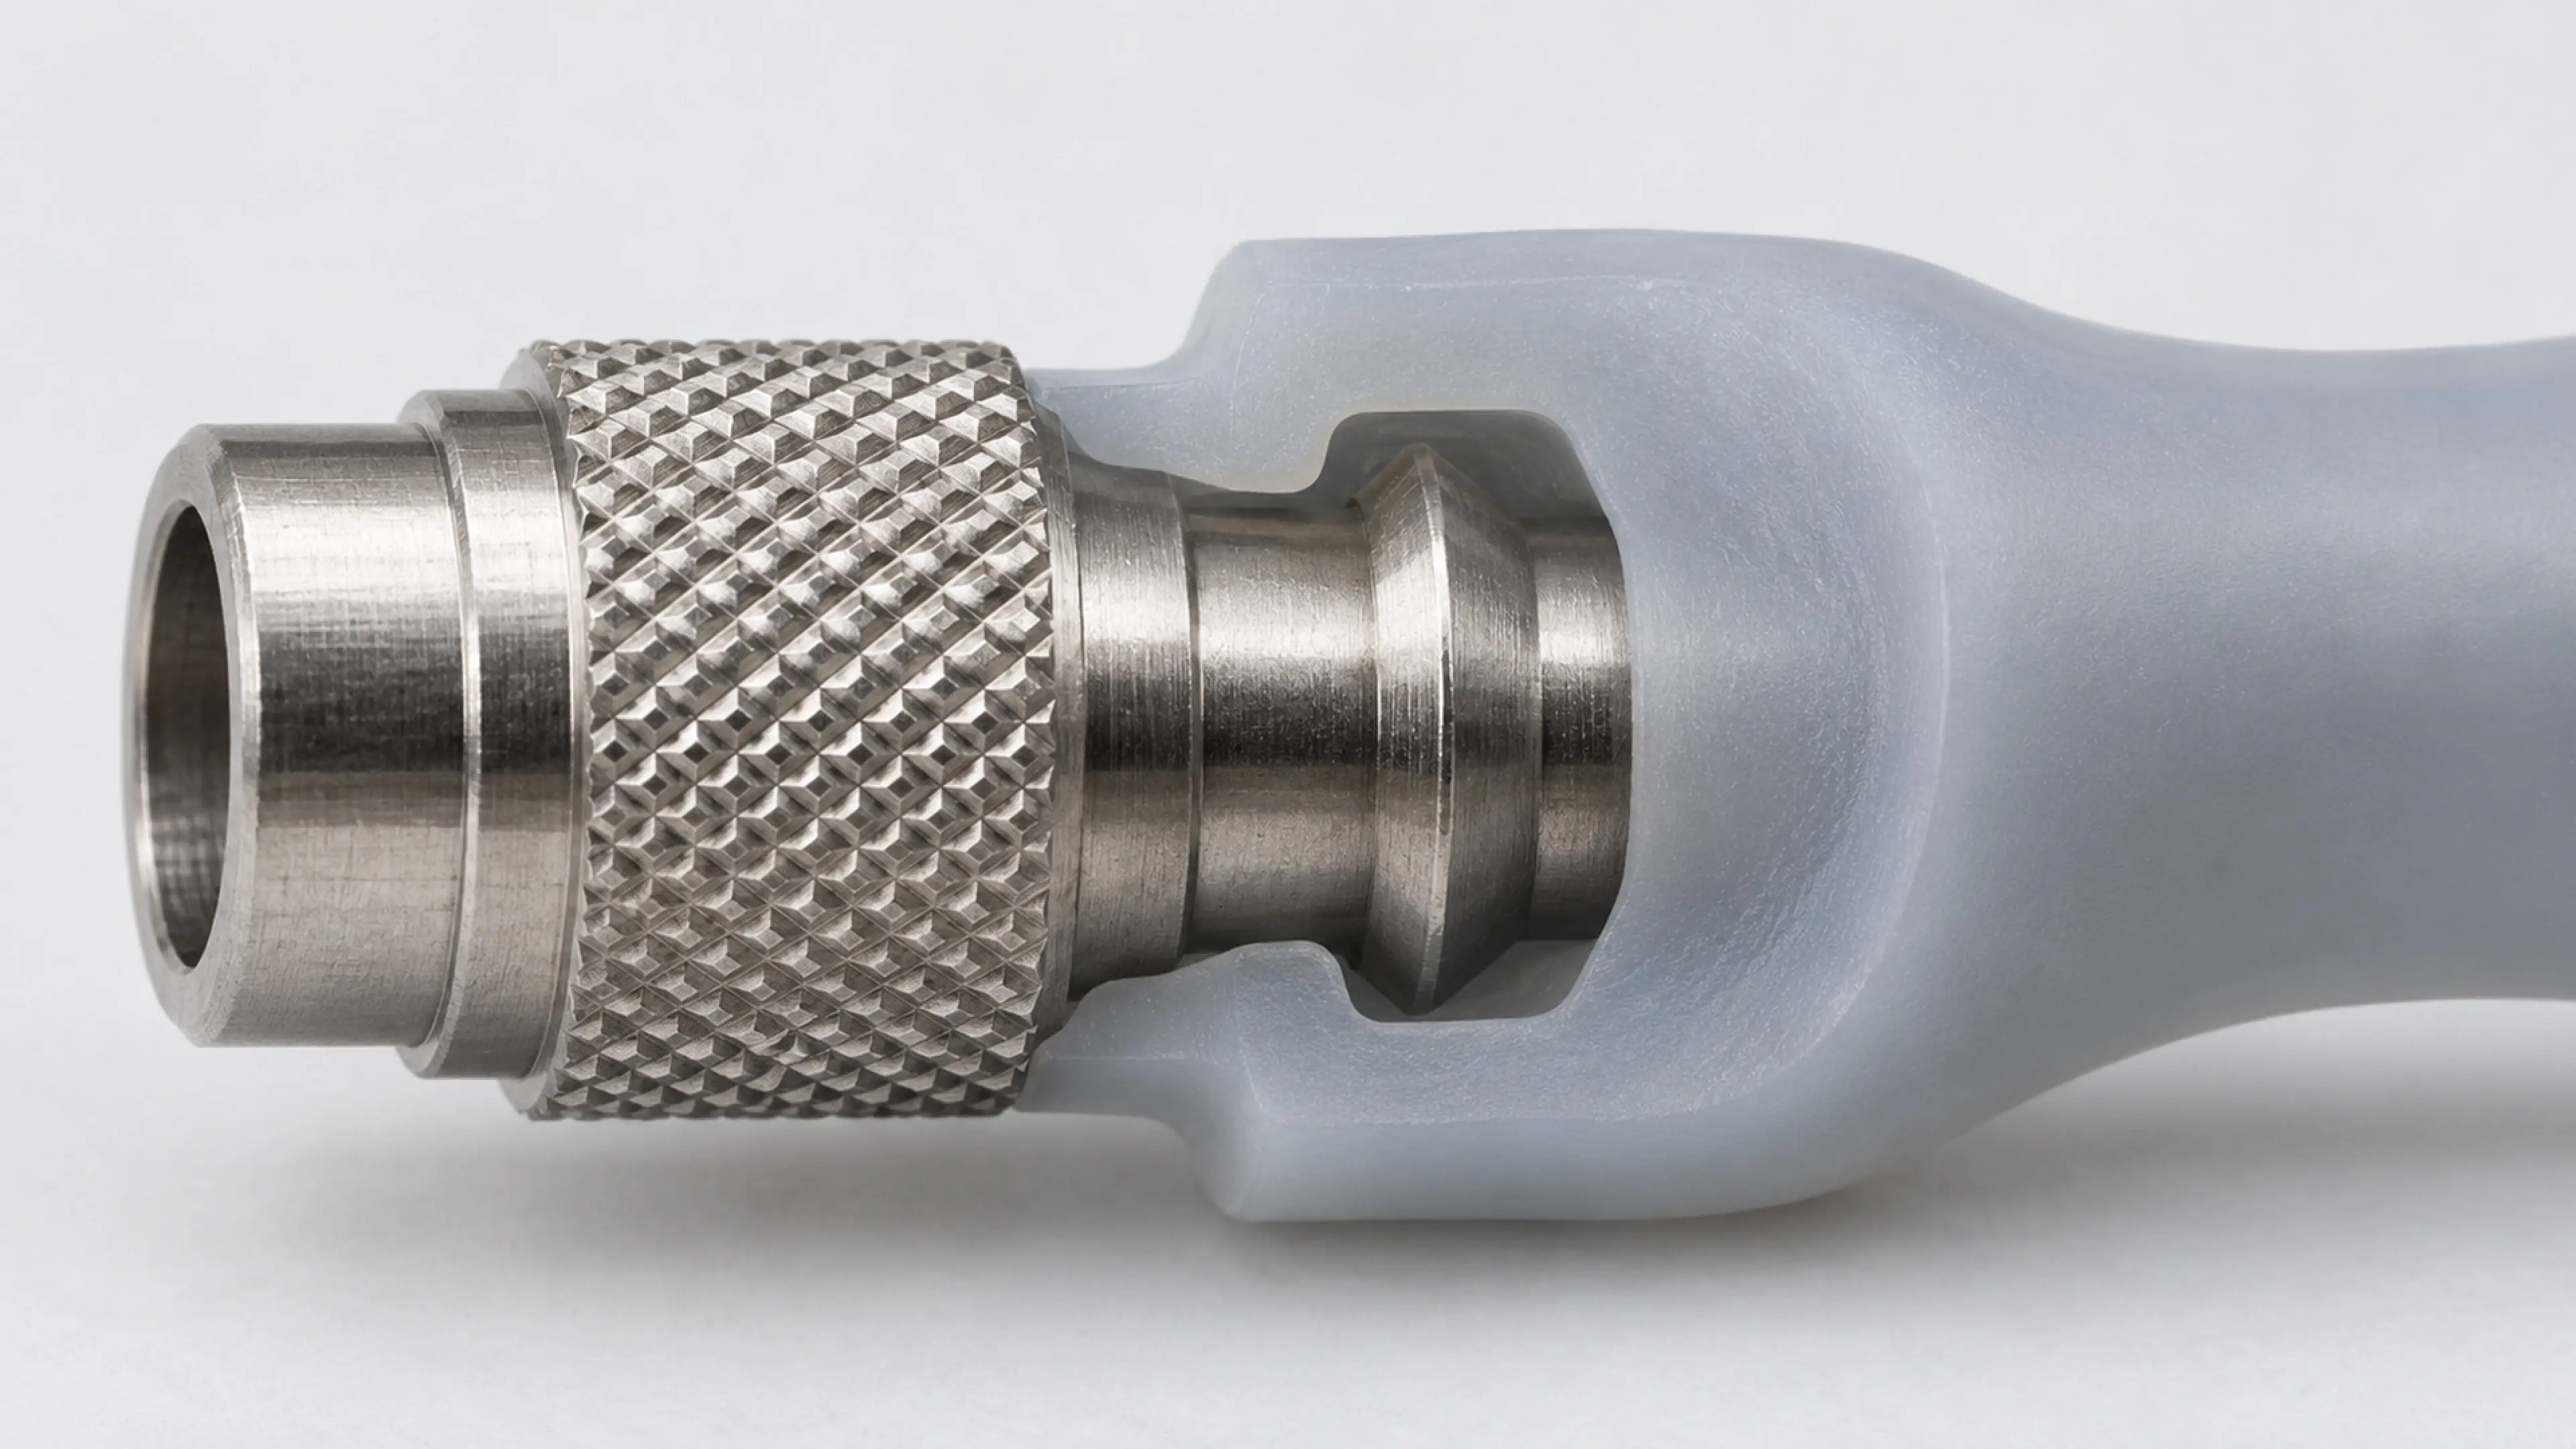
- Knurled or grooved bands around pins and shafts.
- Undercuts or barbs that the silicone flows behind.
- Through-holes that silicone bridges across.
- Rounded edges instead of sharp corners, to reduce peel stress.
Two checks matter here:
- Review the mechanical capture and pull-out path, not just the nominal adhesive or magnetic force.
- Check corrosion, plating and edge conditions where the metal interfaces with the silicone.
Key variables to control
- Exact metal alloy and any plating or coating.
- Surface preparation method and primer system.
- Insert support during molding, so the part does not shift under injection pressure.
- Contamination from handling, oil or storage.
- Aging conditions: heat, moisture, sweat, cleaners, flexing.
Turn the bond into an acceptance test
"Good bond" is not a criterion. Convert it into:
- A controlled reference — an approved overmolded assembly.
- Critical characteristics — pull-out force, peel resistance.
- A test condition — as-molded, after thermal cycling, after heat aging, after cleaning.
- An acceptance rule — cohesive failure in silicone is the target; adhesive failure at the metal interface is rejected.
- A revision record — which alloy lot, surface treatment and primer batch the approval covers.
Compare options by trade-off
A mechanical interlock adds tooling cost but reduces dependence on perfect surface preparation. A primer-only joint saves tooling but demands strict process control. For load-bearing or outdoor parts, the interlock is usually worth it.
Validate the real failure mode
Test the assembled part under thermal cycling and long-term heat aging, not just a fresh pull. Delamination is often a time-and-temperature failure, not a strength failure.
What to prepare before the RFQ
- CAD of the metal insert and the silicone overmold.
- The exact metal alloy and any plating or coating.
- The load the joint must carry.
- The environment the part will see (outdoor, sweat, chemicals).
- Whether the metal is cosmetic or hidden.
- Target volume and regulatory context.
If the alloy is not yet selected, ask the supplier to recommend grades that accept the primer system reliably.
Questions to ask the supplier
- Which surface treatment and primer do you recommend for this alloy?
- How are inserts cleaned immediately before molding?
- What mechanical interlock do you design into the metal feature?
- How is bond strength verified after thermal aging?
- How do you prevent plating or oil contamination on the insert surface?
Generic "we bond silicone to metal" answers without a named treatment or aging test are not enough.
Conclusion
Silicone-to-metal delamination is mostly a surface-preparation and geometry problem. Choose a primer system matched to the exact alloy, prepare and clean the insert immediately before molding, and back the chemical bond with knurling, barbs or rounded edges that capture the silicone mechanically. Validate after thermal aging, not just on a fresh sample.