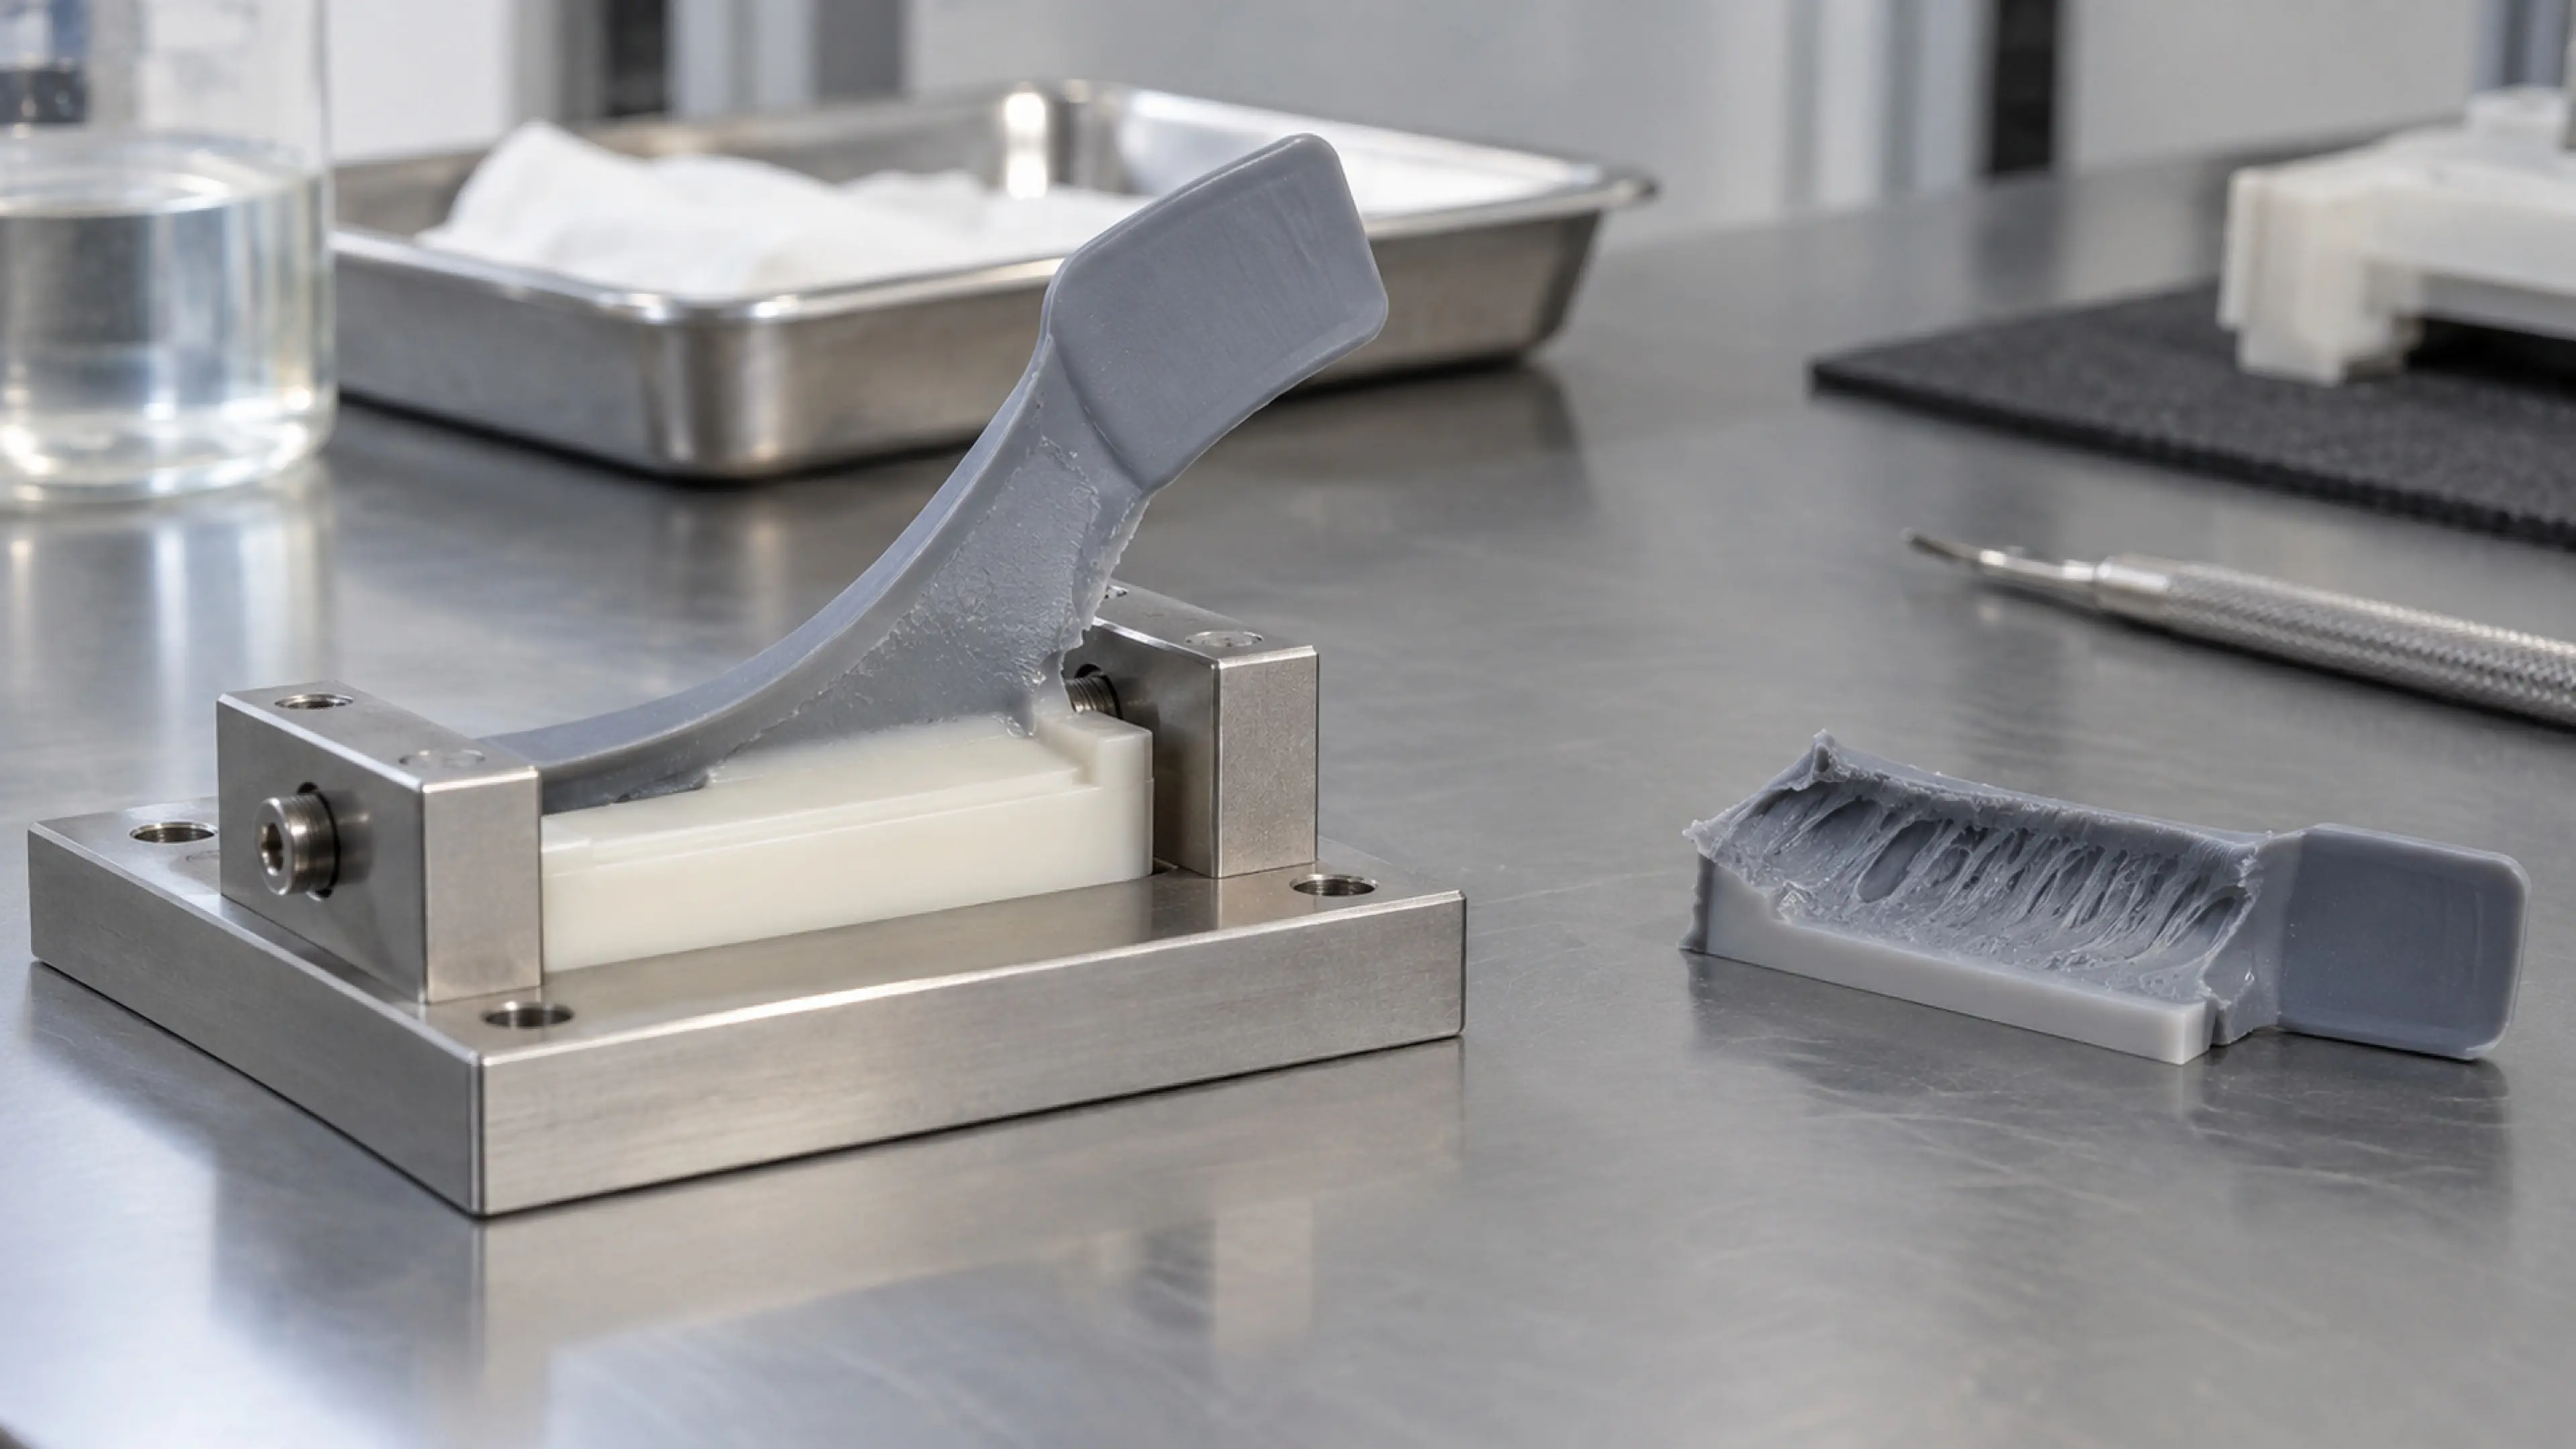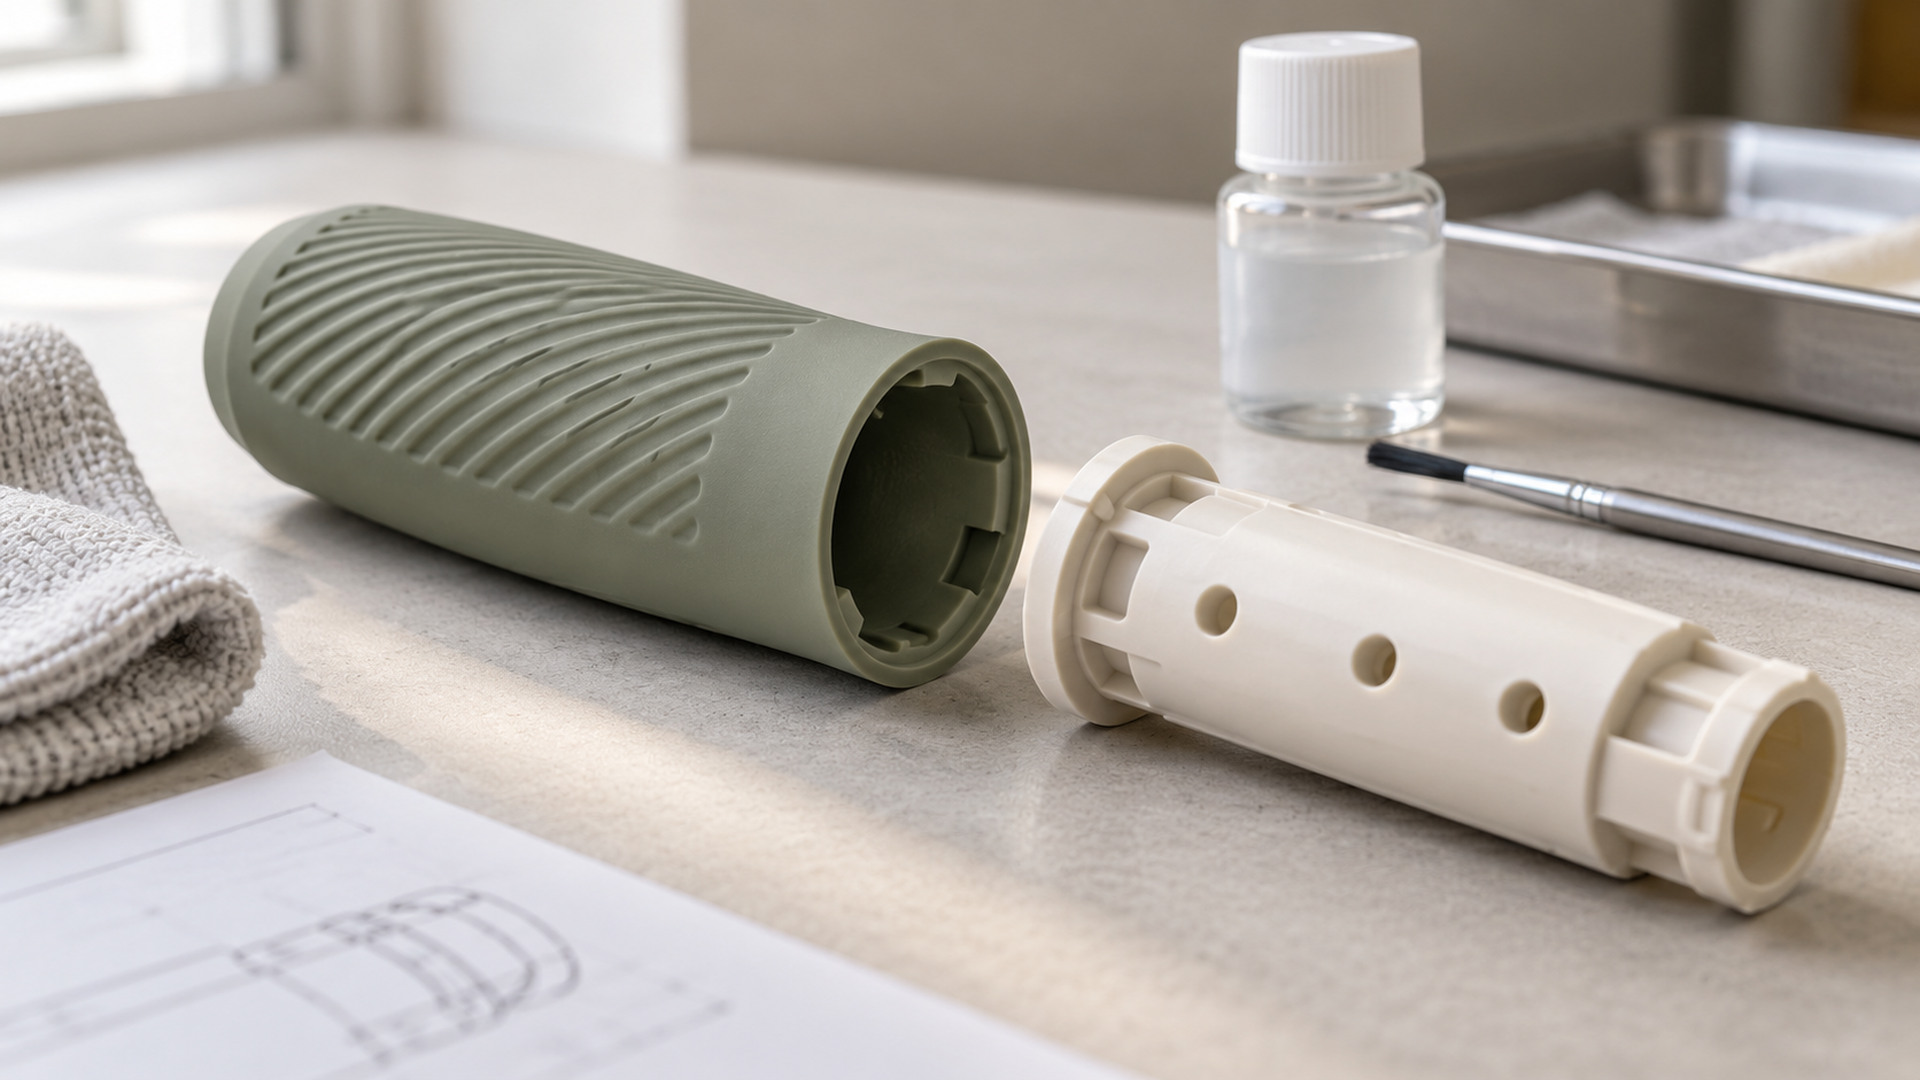
How should chemical bonding, primers and mechanical interlocks be combined?
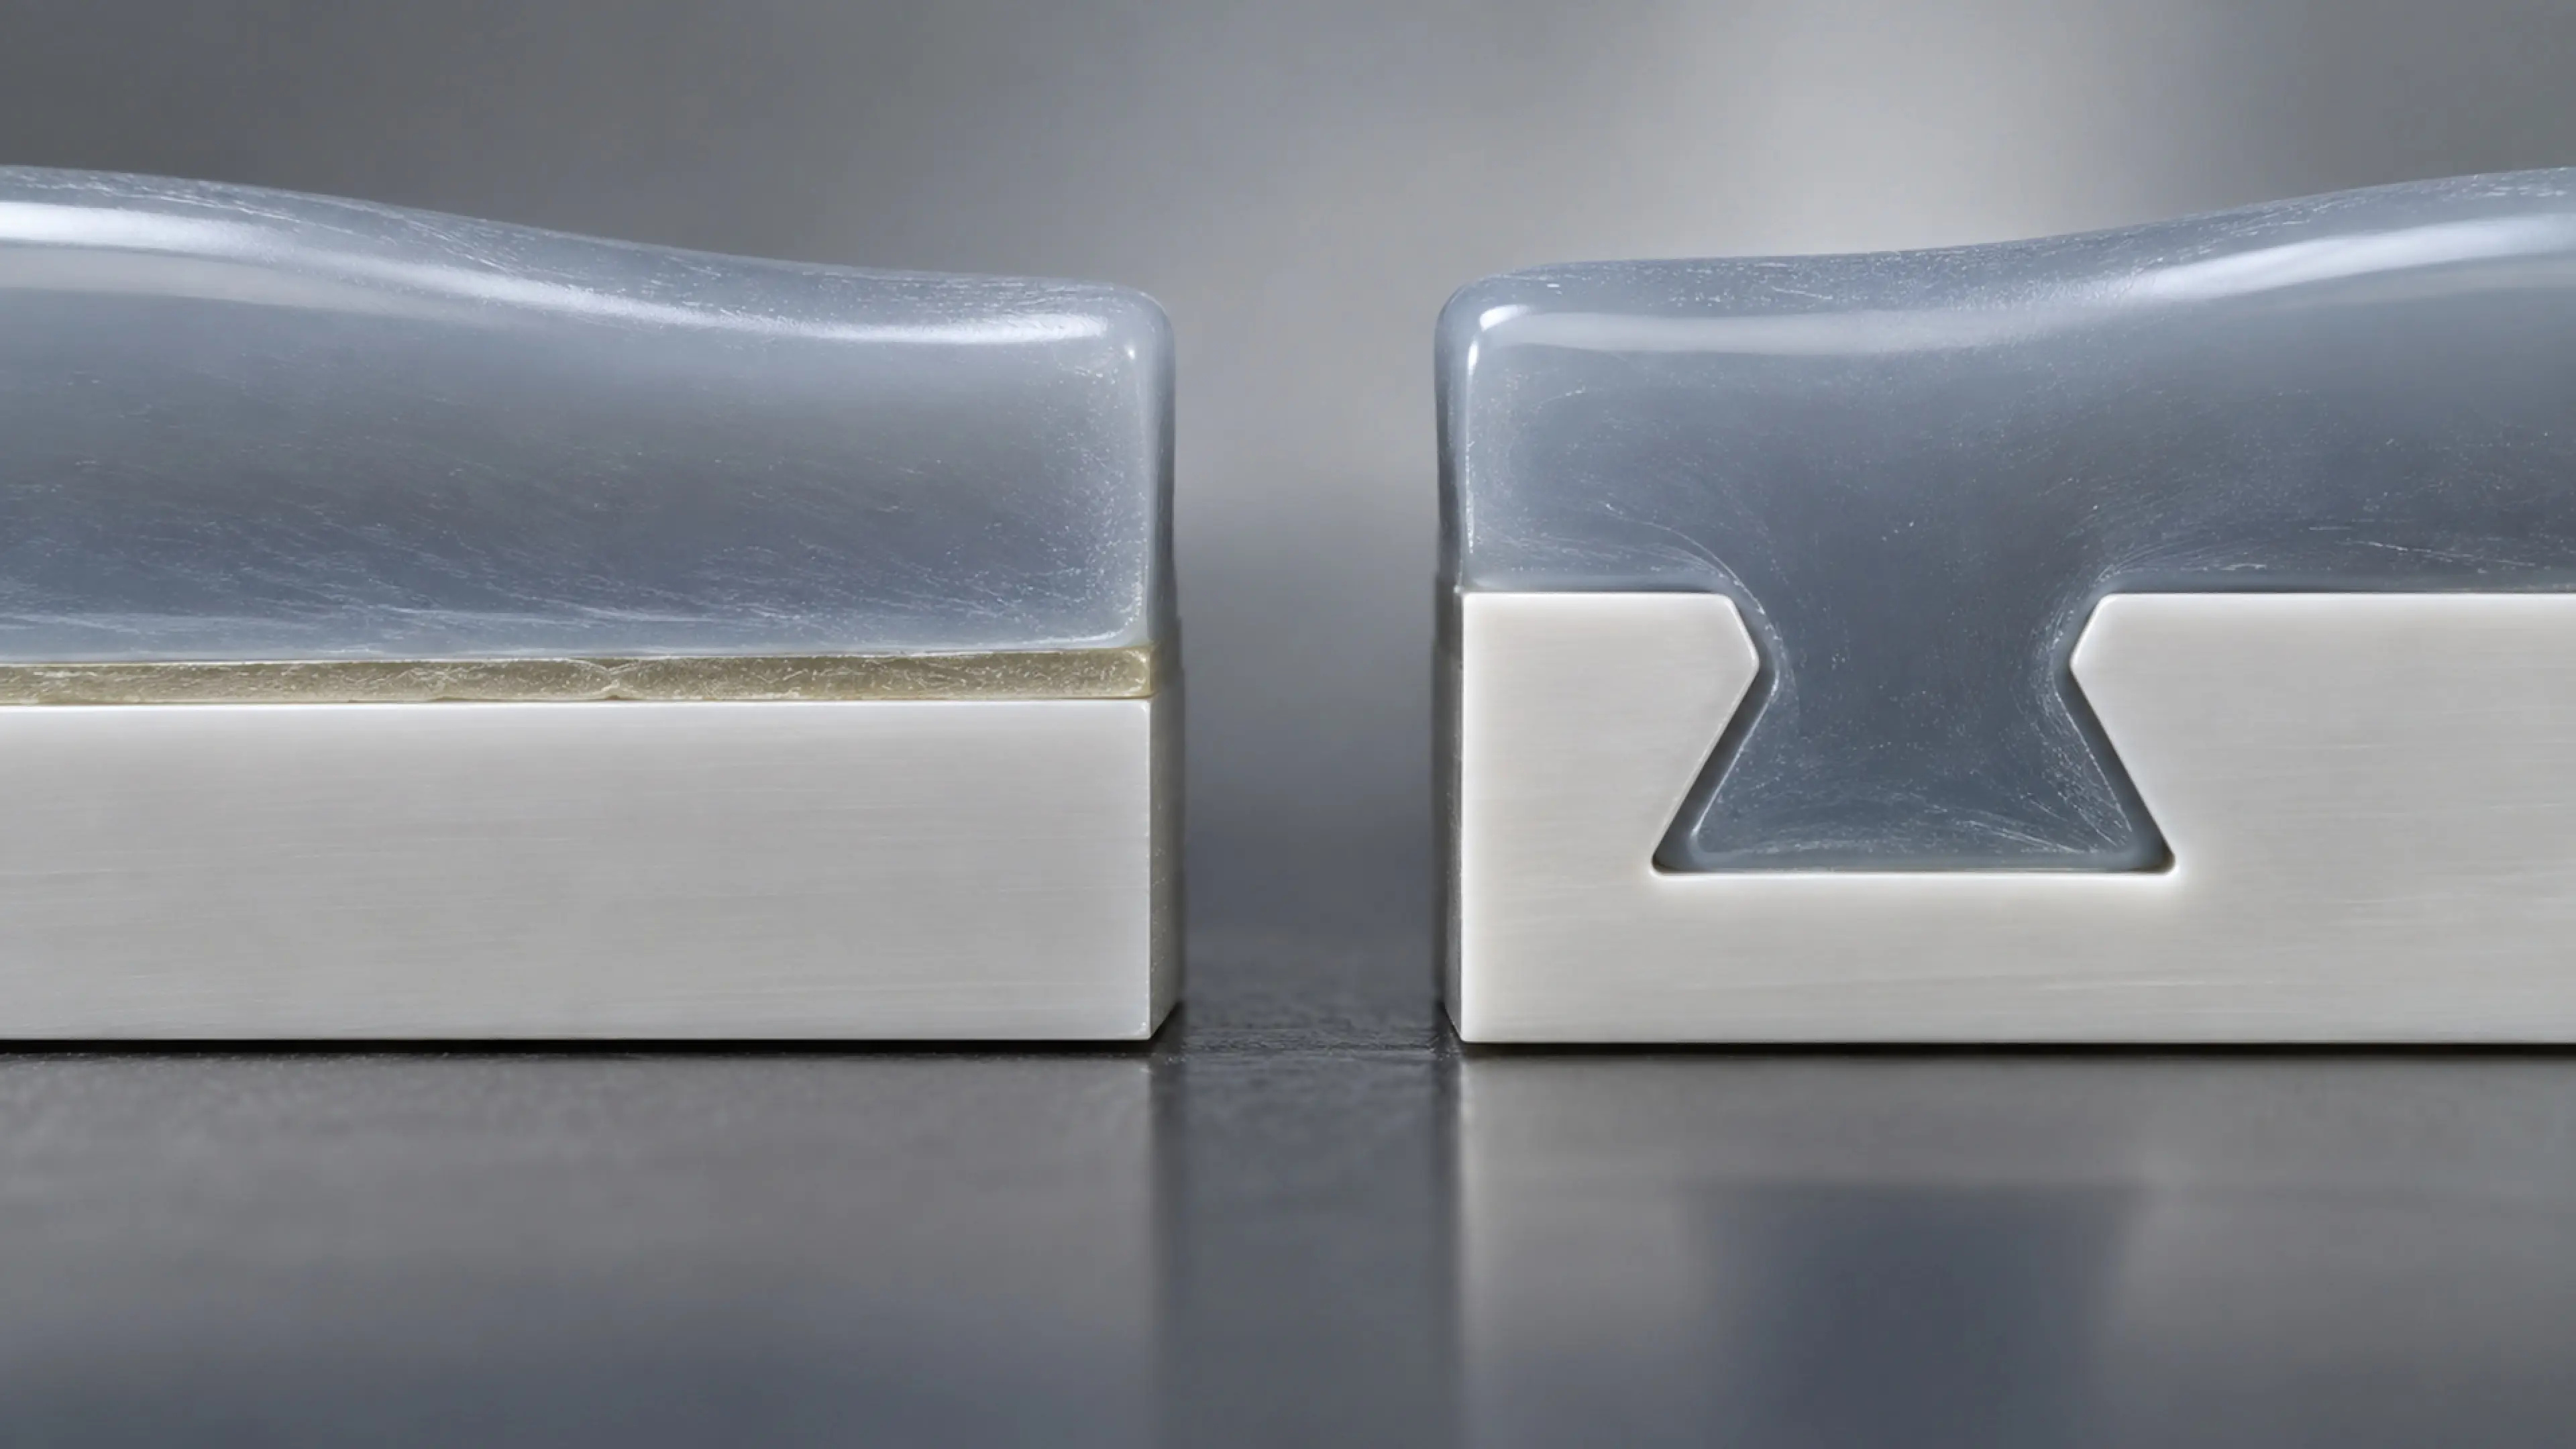
A primer makes silicone stick to a plastic or metal surface. A mechanical interlock makes the silicone stay attached even if the primer fails. The question is not which one to choose, but how to layer them: where the chemical bond carries the load and where geometry should back it up. Relying on primer alone is common, but it makes the joint sensitive to surface contamination, primer application thickness and cure conditions. Adding a well-designed undercut is cheap insurance that rarely costs tooling much.
For product teams designing load-bearing grips, strain reliefs, sealed buttons or overmolded housings, the decision is how geometry and process work together so no single step carries the whole joint.
What each mechanism does
Chemical adhesion (primer). A primer or coupling agent is applied to the clean insert surface before molding. It wets the substrate and bonds to the silicone as it cures. It works on smooth surfaces and gives a clean cosmetic appearance, but it is sensitive to contamination, moisture and primer coverage.
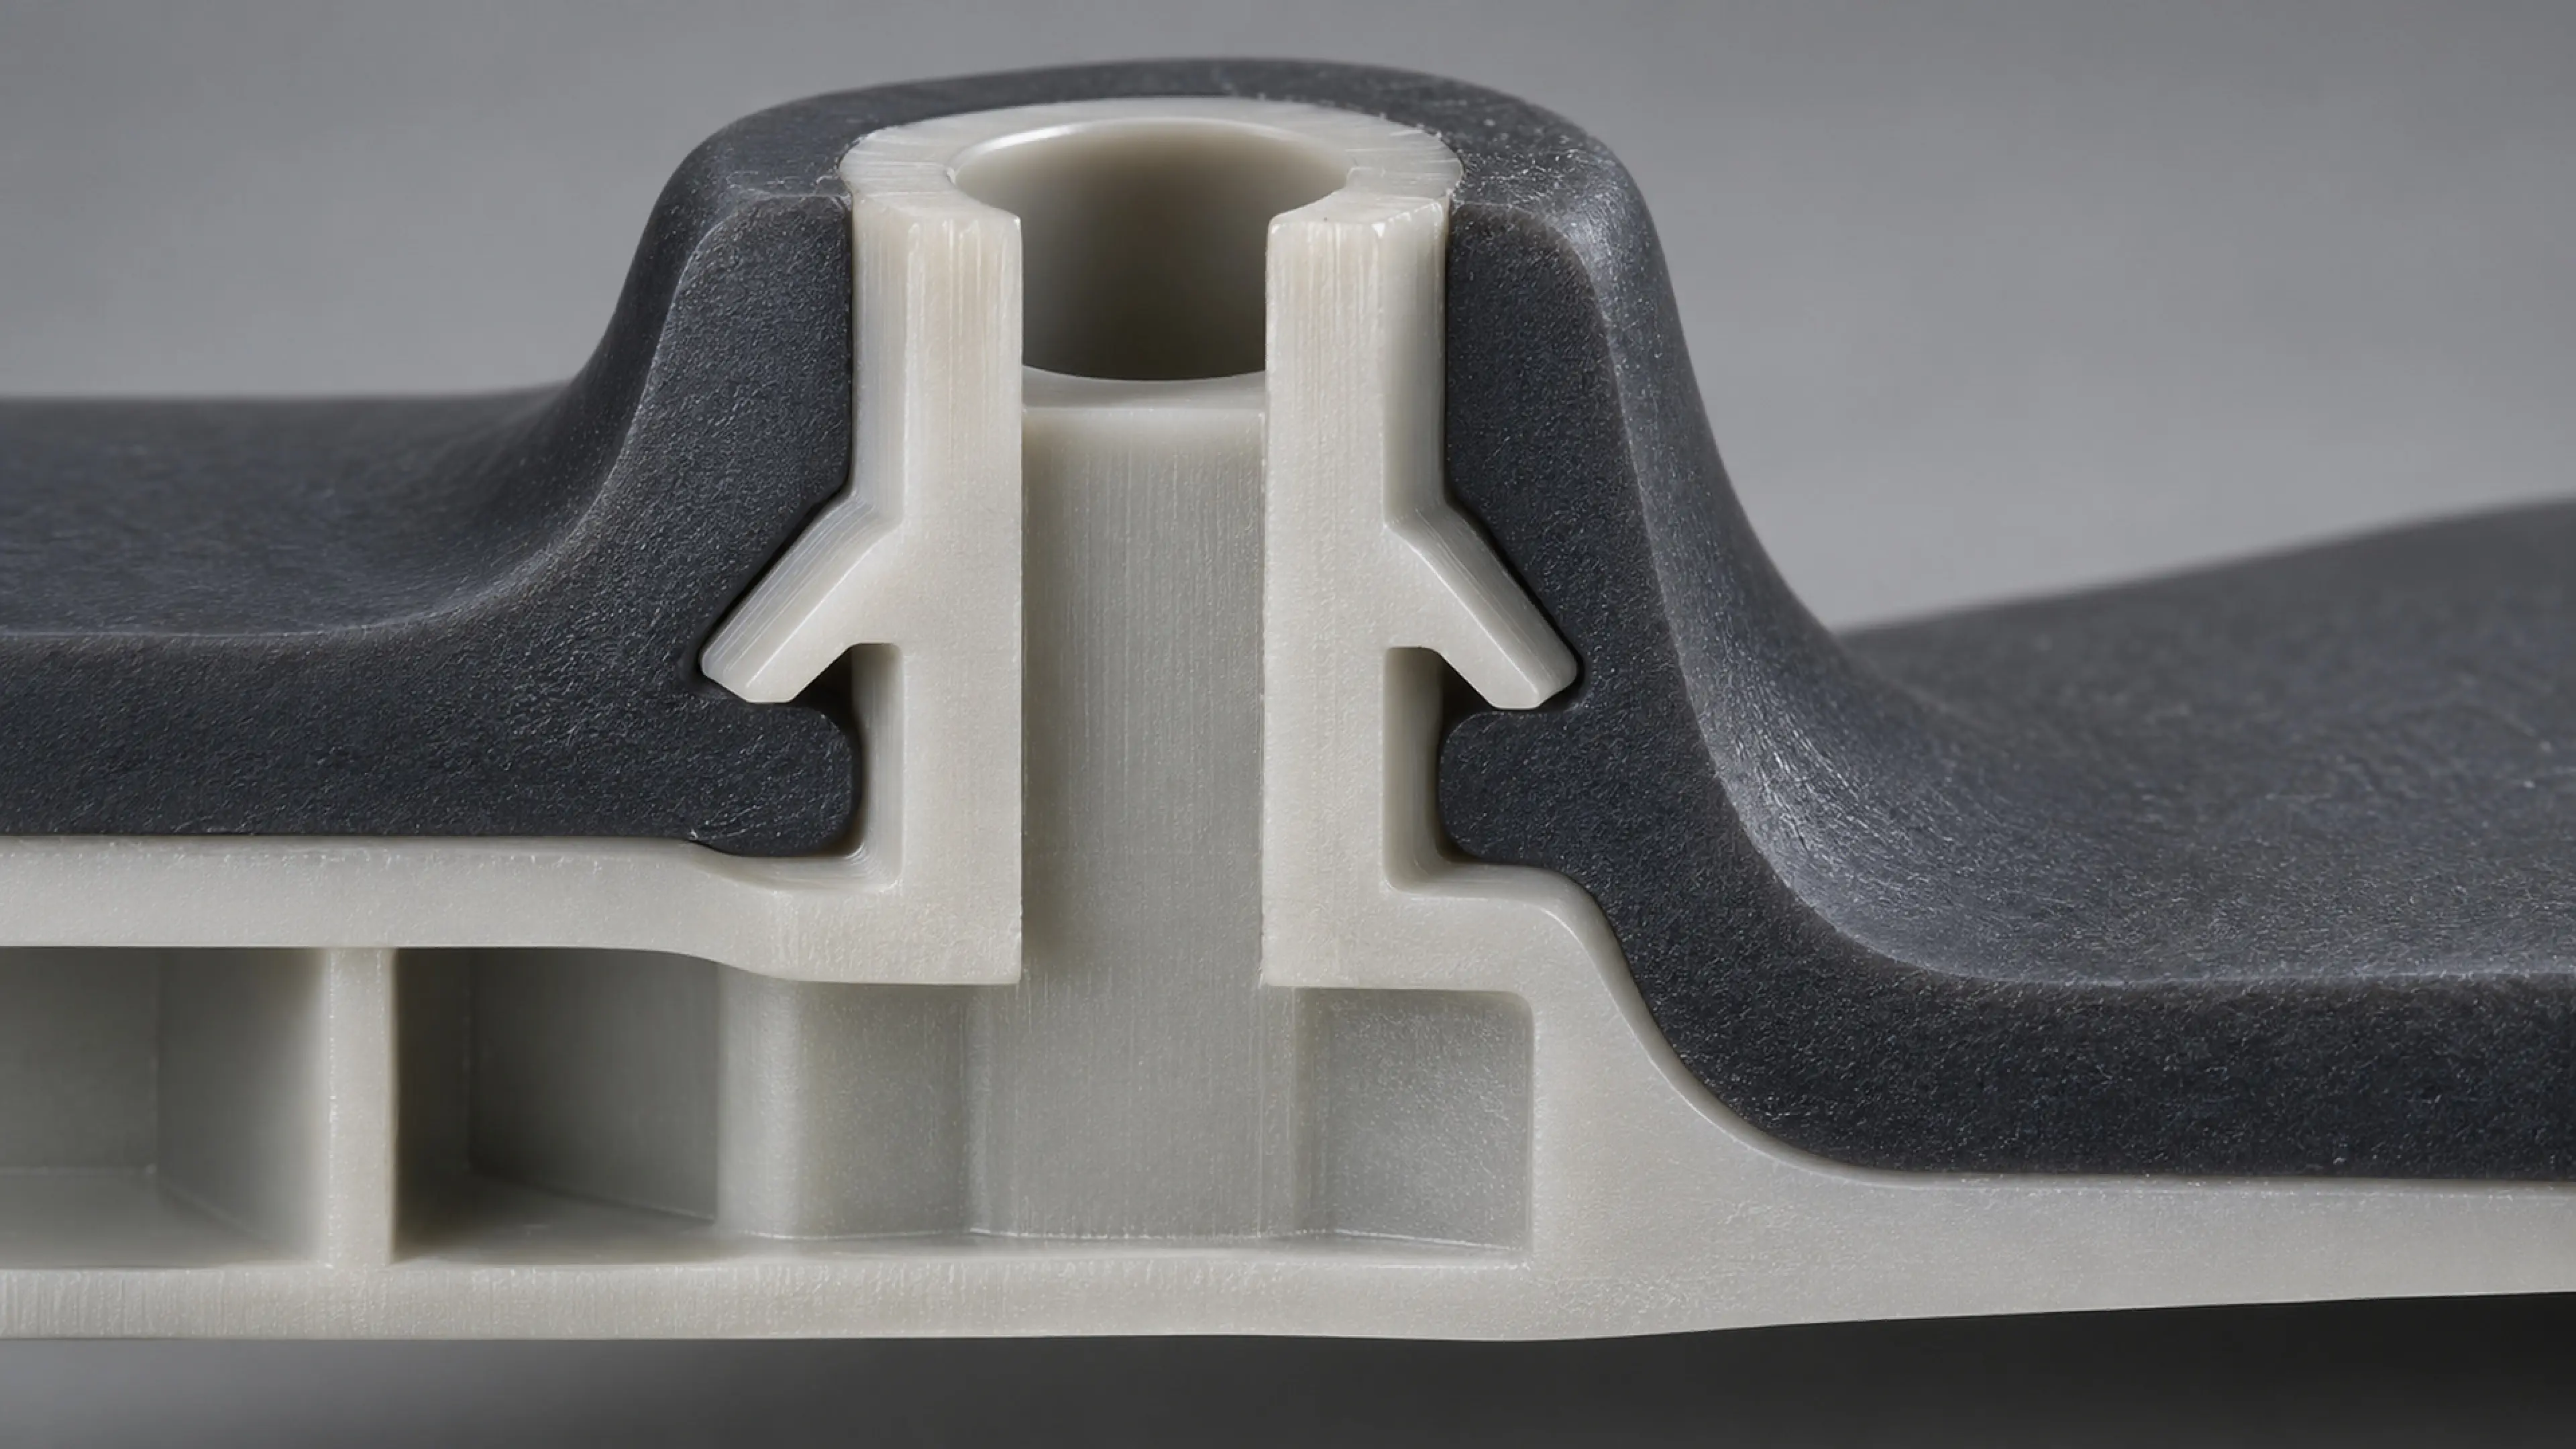
Mechanical interlock. The insert is designed with undercuts, through-holes, knurling or ribs that the silicone flows around and locks into. Even if chemical adhesion fails, the silicone cannot peel off because it is physically captured. It adds tooling complexity but is far less sensitive to process variation.
They are not either/or. Most robust overmolded joints use both.
When primer alone is enough
Primer-only bonding is reasonable when:
- The joint is non-cosmetically critical and not load-bearing.
- The plastic is a known overmoldable grade with a stable surface.
- The assembly does not see aggressive cleaners, oils or thermal cycling.
- Production process control over primer application is mature.
Cosmetic grips, soft-touch surfaces and low-strain seals often fall in this category.
When to add a mechanical interlock
Add geometry when:
- The joint carries pull-out, peel or impact loads.
- The plastic is low-surface-energy, coated or filled.
- The part sees thermal cycling, flexing or chemical exposure.
- The insert is metal, where primer adhesion alone is less forgiving.
Common interlock features include a barb or undercut around a boss, a through-hole that silicone flows through, a knurled band, or a dovetail channel. The interlock should be on the load path, not placed randomly.
Key variables to control
Whether you use one or both mechanisms, the following determine the result:
- Exact substrate grade and surface condition.
- Primer system matched to the substrate and silicone cure.
- How the insert is supported during molding.
- Surface contamination from release agents or fingerprints.
- Aging conditions the finished part will see.
Two checks matter:
- Specify the exact substrate grade and surface condition on the drawing.
- Combine chemical adhesion with geometry-based retention wherever the risk justifies the redundancy.
Turn the bond into an acceptance test
"Strong bond" is not measurable. Convert it into:
- A controlled reference — an approved bonded assembly.
- Critical characteristics — peel or pull-off force, and the failure mode (cohesive vs adhesive).
- A test condition — as-molded, after aging, after cleaning, after flexing.
- An acceptance rule — cohesive failure in silicone is the target; adhesive failure at the interface is rejected.
- A revision record — which primer batch, substrate lot and mold cycle the approval covers.
Compare options by trade-off
A mechanical interlock adds a small tooling cost but reduces reliance on primer process control. A primer-only joint saves tooling but adds inspection burden on primer coverage. Compare them on scrap rate, rework risk and the cost of a field failure.
Validate the failure mode that matters
A fresh pull test can pass while an edge peel develops after thermal cycling. Test representative assemblies under the conditions the product actually sees.
What to prepare before the RFQ
- CAD of the insert and the silicone overmold.
- The load the joint must carry (pull-off, peel, twist, impact).
- The exact substrate material and surface finish.
- The environment the part will see.
- Whether the joint is cosmetic.
- Target volume and regulatory context.
If the load path is not yet defined, ask the supplier to propose where the interlock should sit.
Questions to ask the supplier
- Do you recommend primer-only, primer-plus-interlock, or interlock-plus-adhesive?
- Which primer system is assumed?
- How is the insert surface prepared before primer application?
- How is bond strength verified in production?
- What happens if primer coverage is missed on one part?
Generic "we bond everything" answers without a named system or failure mode are not enough.
Conclusion
Primer adhesion and mechanical interlocks are complementary, not competing. Use primer for clean, cosmetic, low-load joints; add a geometric interlock wherever the joint carries real loads, sees aggressive environments, or uses a tricky substrate. Layer the two deliberately, and the bond stops being a single point of failure in the process.