How can roots of plugs, thin membranes and flexible clips resist tearing?
Tears in silicone parts almost never start where the design looks most stressed. They start at sharp corners, abrupt wall transitions, ejection-pin marks, or where a thin membrane meets a thick base — places where a geometric notch concentrates strain every time the part flexes. The fix is usually geometry rather than switching to a stronger material, because two silicone grades of the same hardness can differ widely in tear strength.
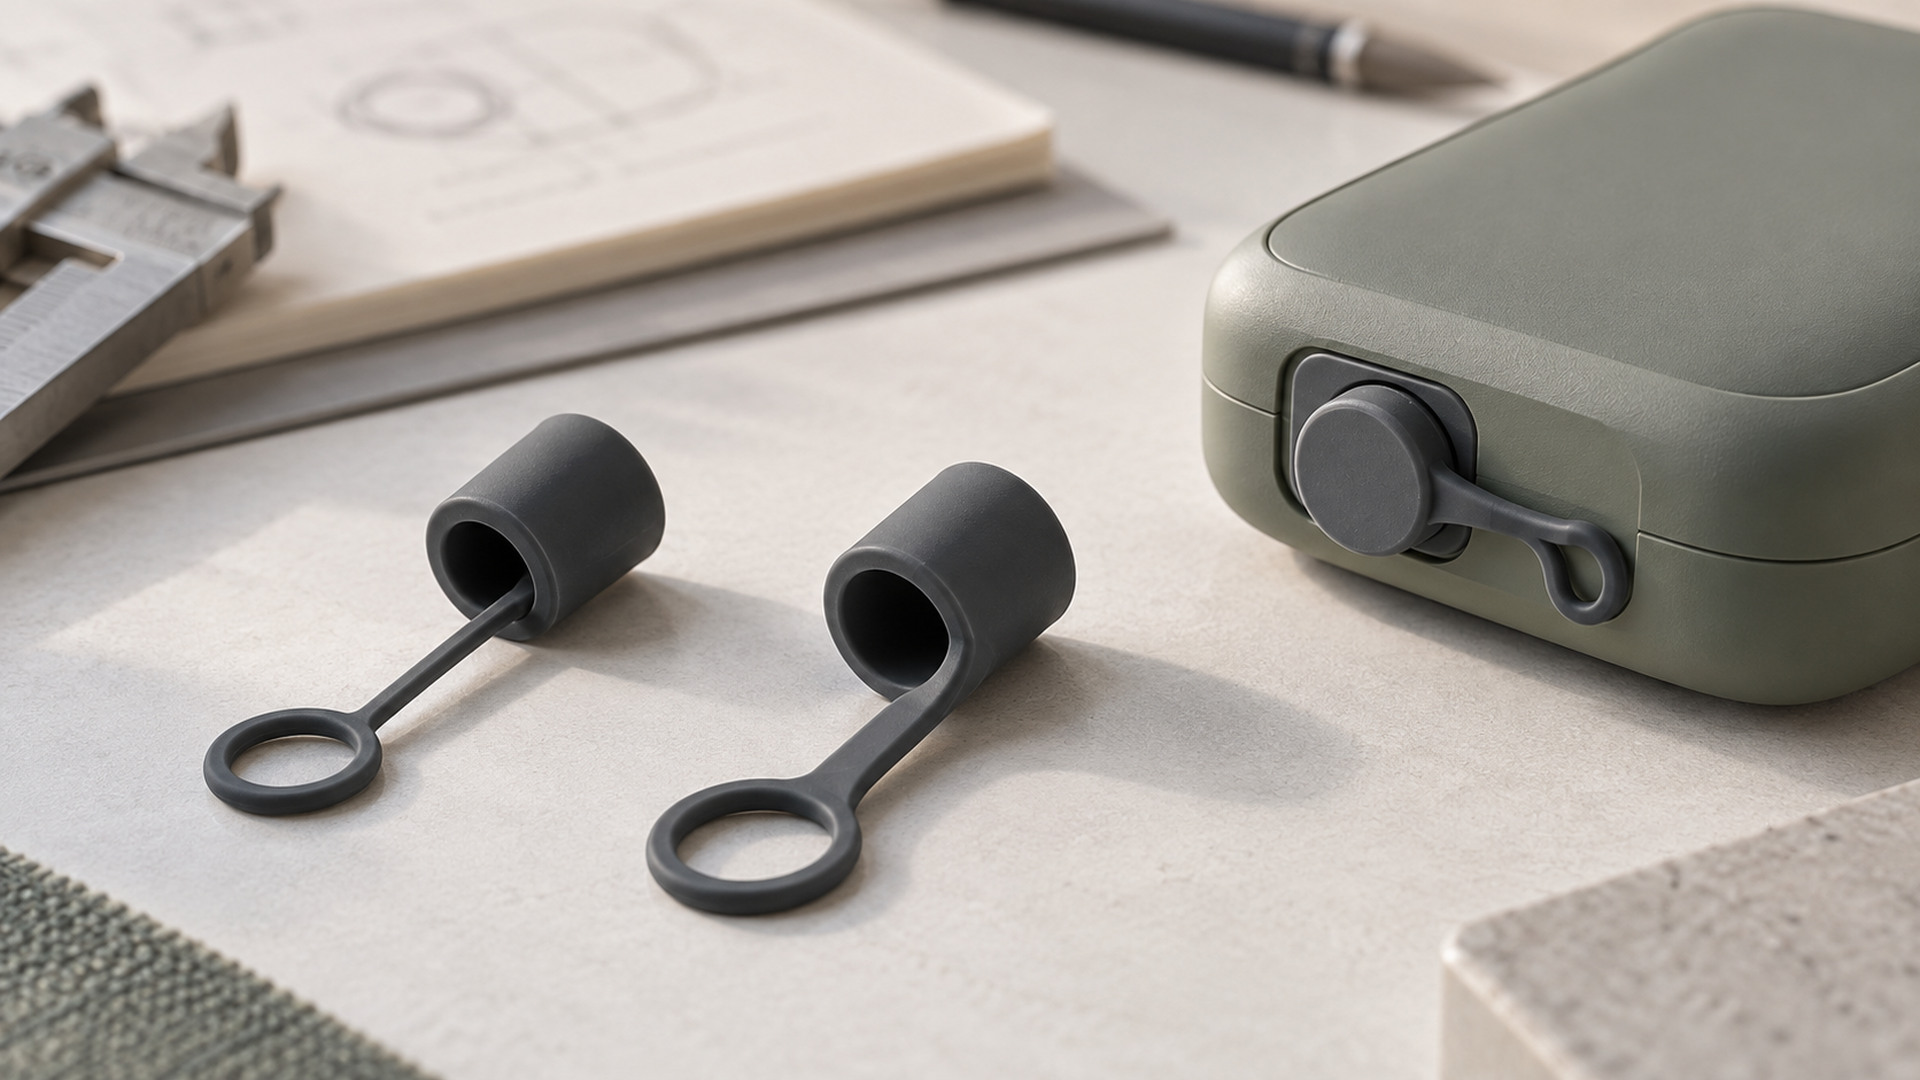
For product teams designing waterproof plugs, valve diaphragms, USB covers or snap-fit clips, the question is really how to relieve local stress and pair the geometry with a material grade that can survive repeated flexing.
Where tears actually start
Three common feature types fail in predictable ways:
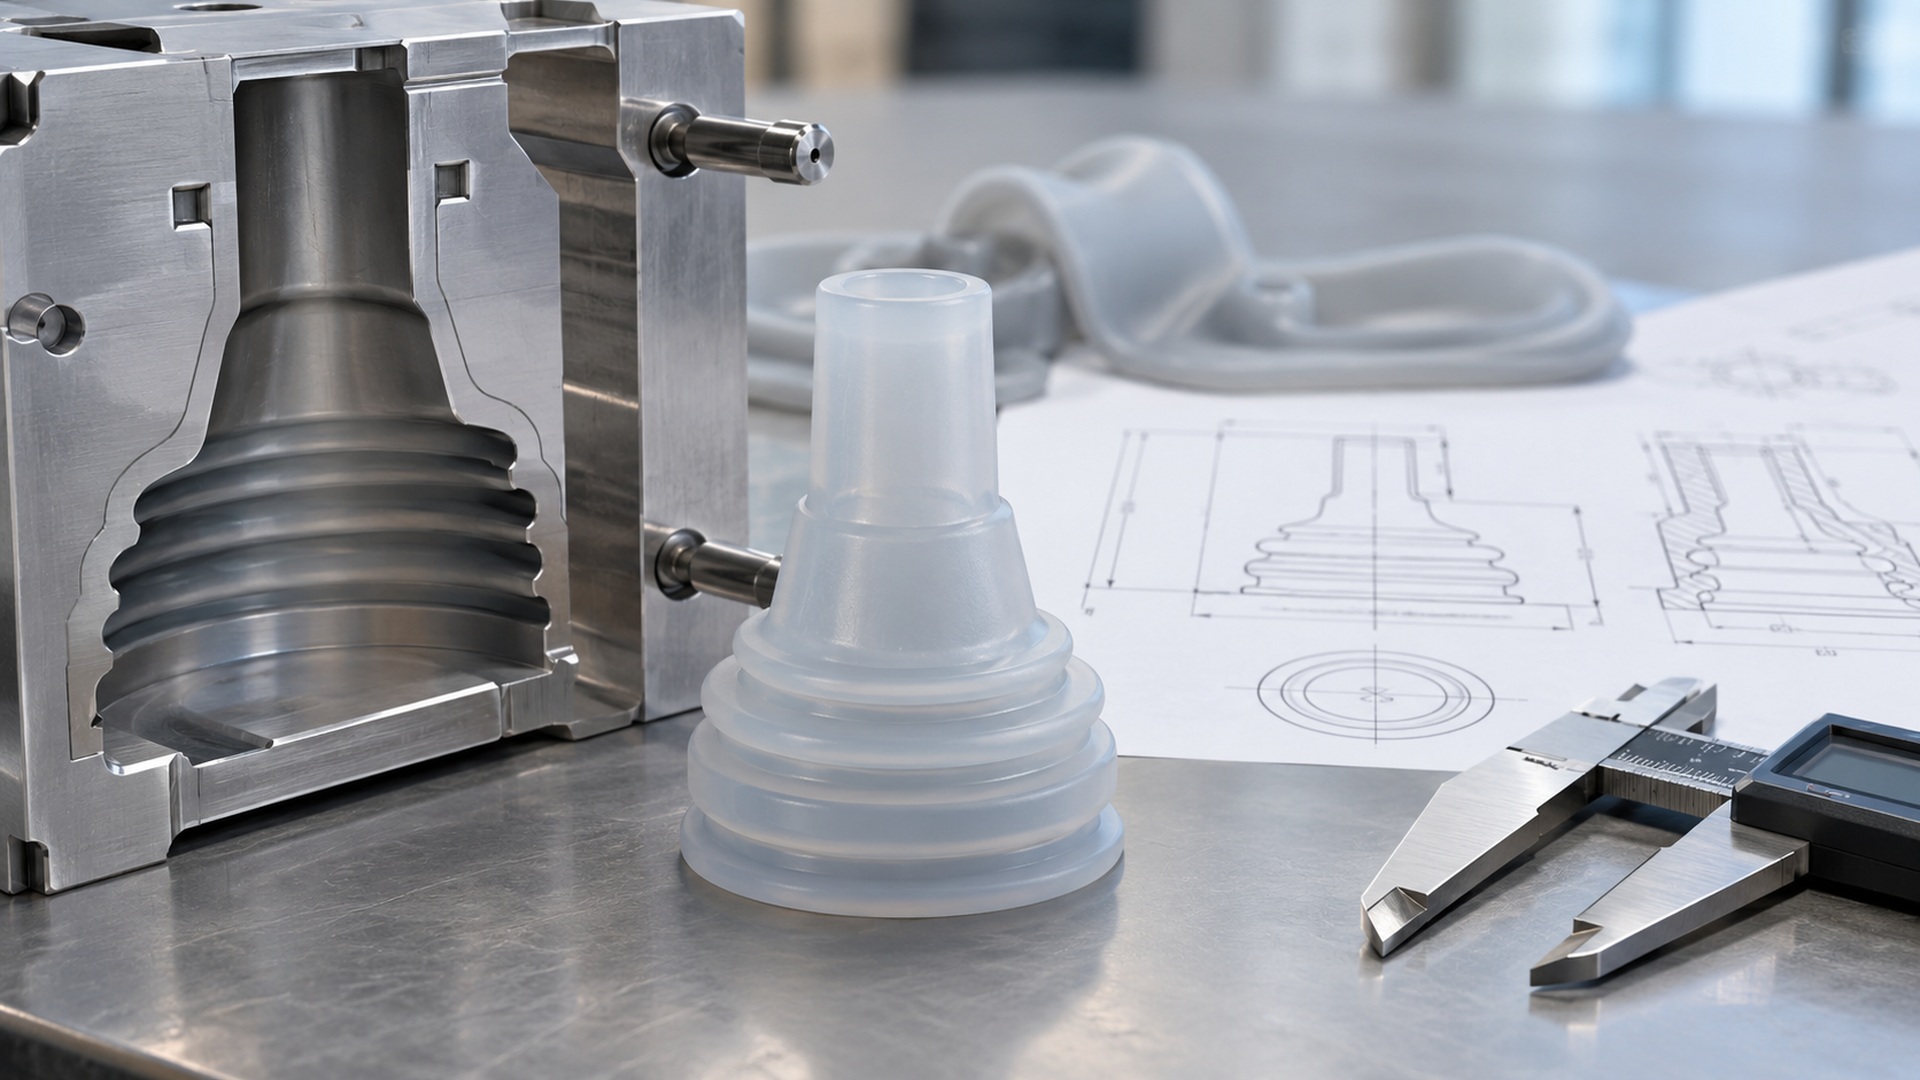
- Plug roots and cable boots. The junction where a flexible seal meets a rigid housing is bent every time the plug is inserted or removed. A sharp 90-degree corner here acts like a cut in the material.
- Thin membranes and diaphragms. A thin web stretched over a port or button deflects on every cycle. If the edge meets the thicker surrounding wall at a square corner, the membrane splits at the tangent point.
- Flexible clips and living hinges. A snap arm flexes outward during assembly and returns under load. A rib that ends abruptly inside the clip creates a high-strain notch.
The common thread is a geometric stress-raiser, not a bulk material weakness.
Geometry changes that reduce tearing
The DFM adjustments that matter most:
- Generous radii at every root and tangent. Corners should blend smoothly rather than transition abruptly.
- Wall transitions that taper. Let thick sections feed into thin sections over a short distance instead of stepping.
- Avoid sharp edges on ejection pins and gates that fall in a flexing zone.
- Support the clip or membrane so the strain is distributed, not concentrated at one line.
- Keep the parting line away from flexing zones, since flash and knit lines are natural tear starters.
Material choice matters, but second
Once geometry is reasonable, the silicone grade determines how much repeated flex the part can take. Tear strength is not the same as hardness: a 50 Shore A part can be made from a compound with much higher tear resistance than another 50A. The exact grade should be selected against the flex frequency and strain level the part actually sees, not assumed from a generic "food-grade silicone" label.
Two checks are worth writing into the spec:
- Define the functional flex requirement (how many cycles, how much deflection) before choosing the material.
- Use a representative flex test on a production-representative sample rather than judging tear resistance by feel.
Turn the requirement into an acceptance standard
"Tough," "flexible" or "won't tear" are not inspection criteria. Convert the intent into:
- A controlled reference — an approved sample that survives the intended use.
- Critical characteristics — minimum radius at the root, membrane thickness, clip wall.
- A test condition — number of flex cycles, deflection angle, temperature.
- An acceptance rule — no visible crack after N cycles; cosmetic versus functional failure.
- A revision record — which drawing and material batch the approval covers.
This is especially important when the first prototype is hand-cut or cast, because hand-finished radii are often smoother than the production cavity will be.
Compare options by trade-off
When a tear problem appears, the options are usually: redesign the radius, increase wall thickness locally, switch to a higher-tear grade, or add a reinforcing underlayer. Compare them on manufacturability, functional risk, tooling cost and unit price. A local radius change is almost always cheaper than a material switch and avoids re-validating food-contact or skin-contact compliance.
Quotations from different suppliers are not directly comparable unless each lists the assumed grade, tooling concept and inspection method.
Validate before production
Before steel is finalized, review the CAD with a focus on every root, tangent and flex line. Mark where a small dimensional shift could turn a smooth blend into a notch. Then validate with samples that go through real flex cycles, not just a one-time bend. A membrane that looks fine on day one may split after hundreds of cycles.
What to prepare before the RFQ
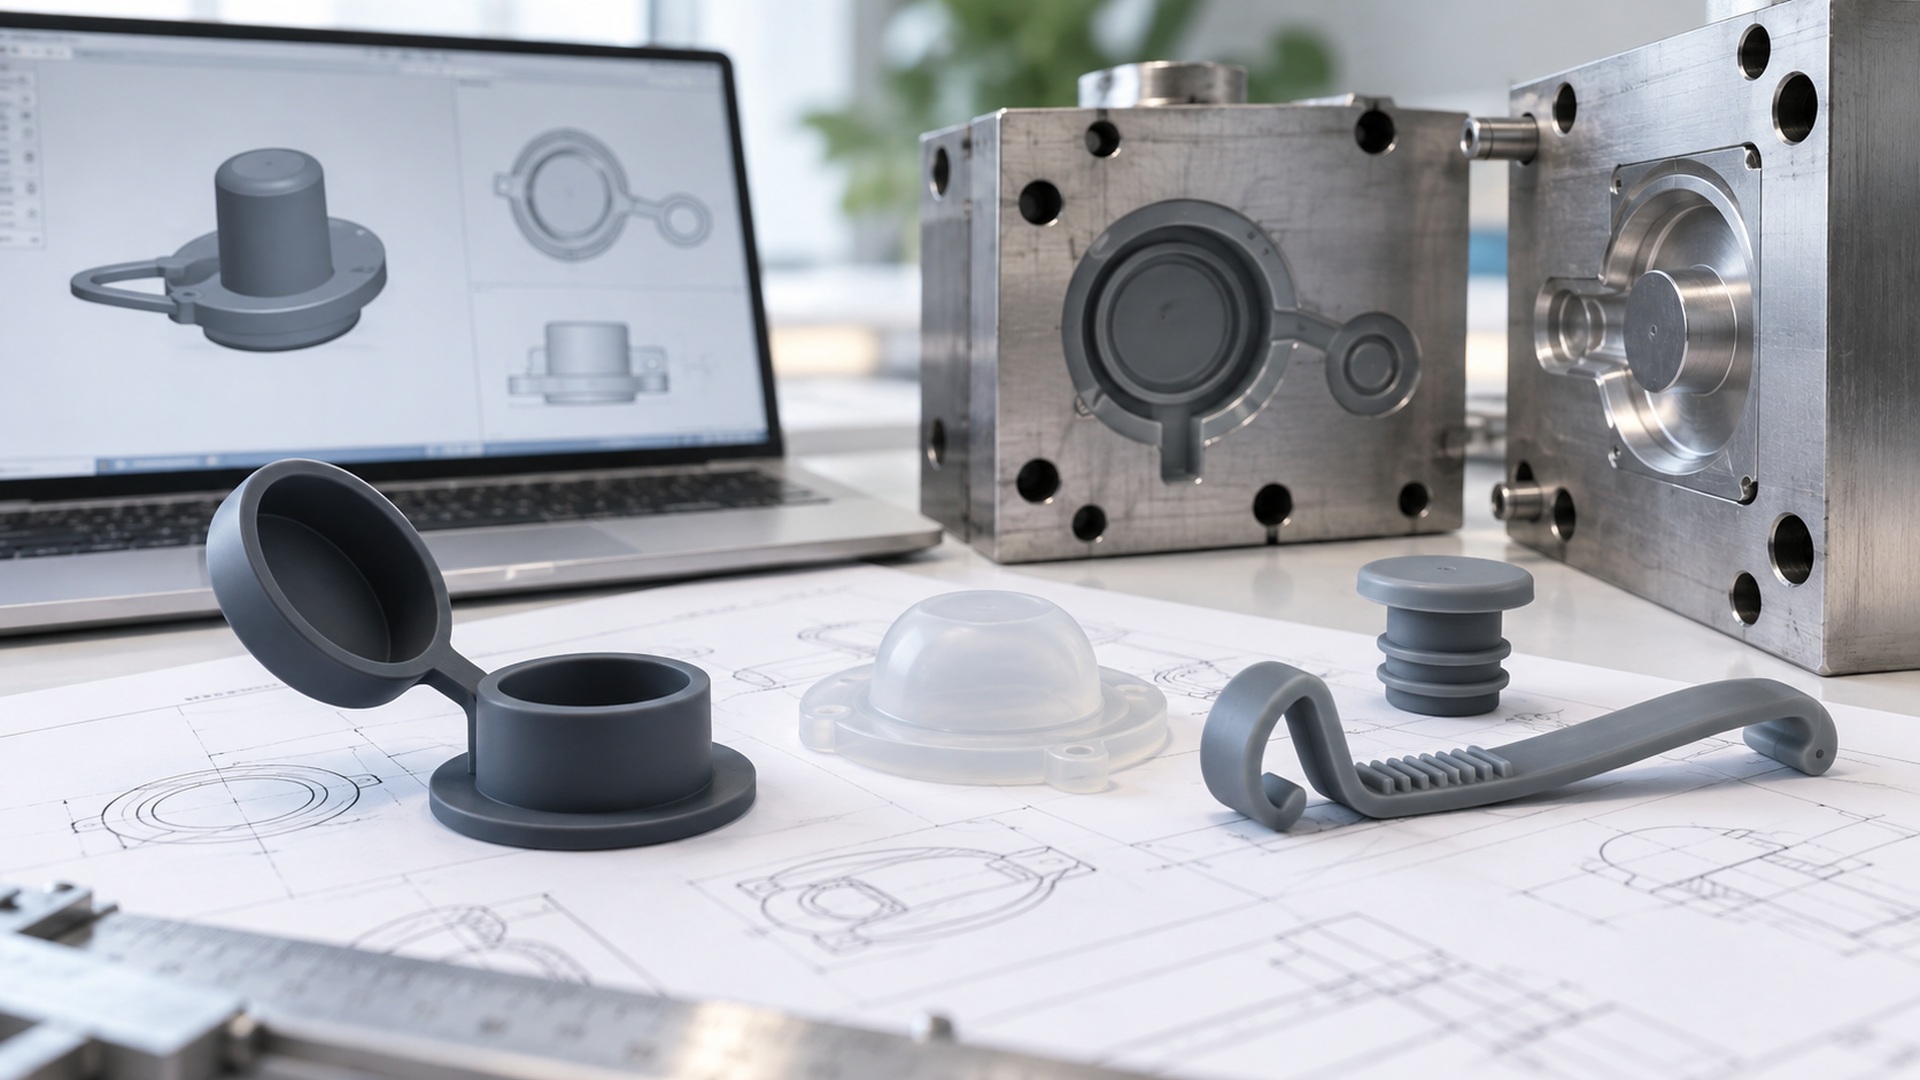
- CAD or 2D drawing showing the flexing features and their radii.
- How many insertion, closing or flex cycles the part must survive.
- The mating part the plug, diaphragm or clip interfaces with.
- Material contact requirements (food, skin, medical, outdoor exposure).
- Target market and any user-age or safety classification.
- Expected volume and repeat-order forecast.
- Cosmetic expectations for surfaces that will be visible.
If flex-life targets are not yet known, say so — the supplier's recommendation should then state the assumption rather than hide it.
Questions to ask the supplier
- What radius do you recommend at the plug root or clip tangent?
- Which silicone grade are you assuming, and what is its tear strength relative to standard grades?
- Will the parting line fall on a flexing surface?
- How do you validate flex life — on finished parts or test specimens?
- What is included in the quoted price and what is excluded?
- What changes after sample approval would require revalidation?
Generic claims like "high-tear silicone" without a named grade or test method are not enough.
Conclusion
Tear resistance in silicone is mostly designed in, not bought in. Fix the notches and abrupt transitions at plug roots, membrane edges and clip ends, choose a tear-appropriate grade for the actual flex frequency, and validate with cycle tests on production-representative parts. The part that survives a hundred bends in your hand is not the same as the part that survives a year of customer use.