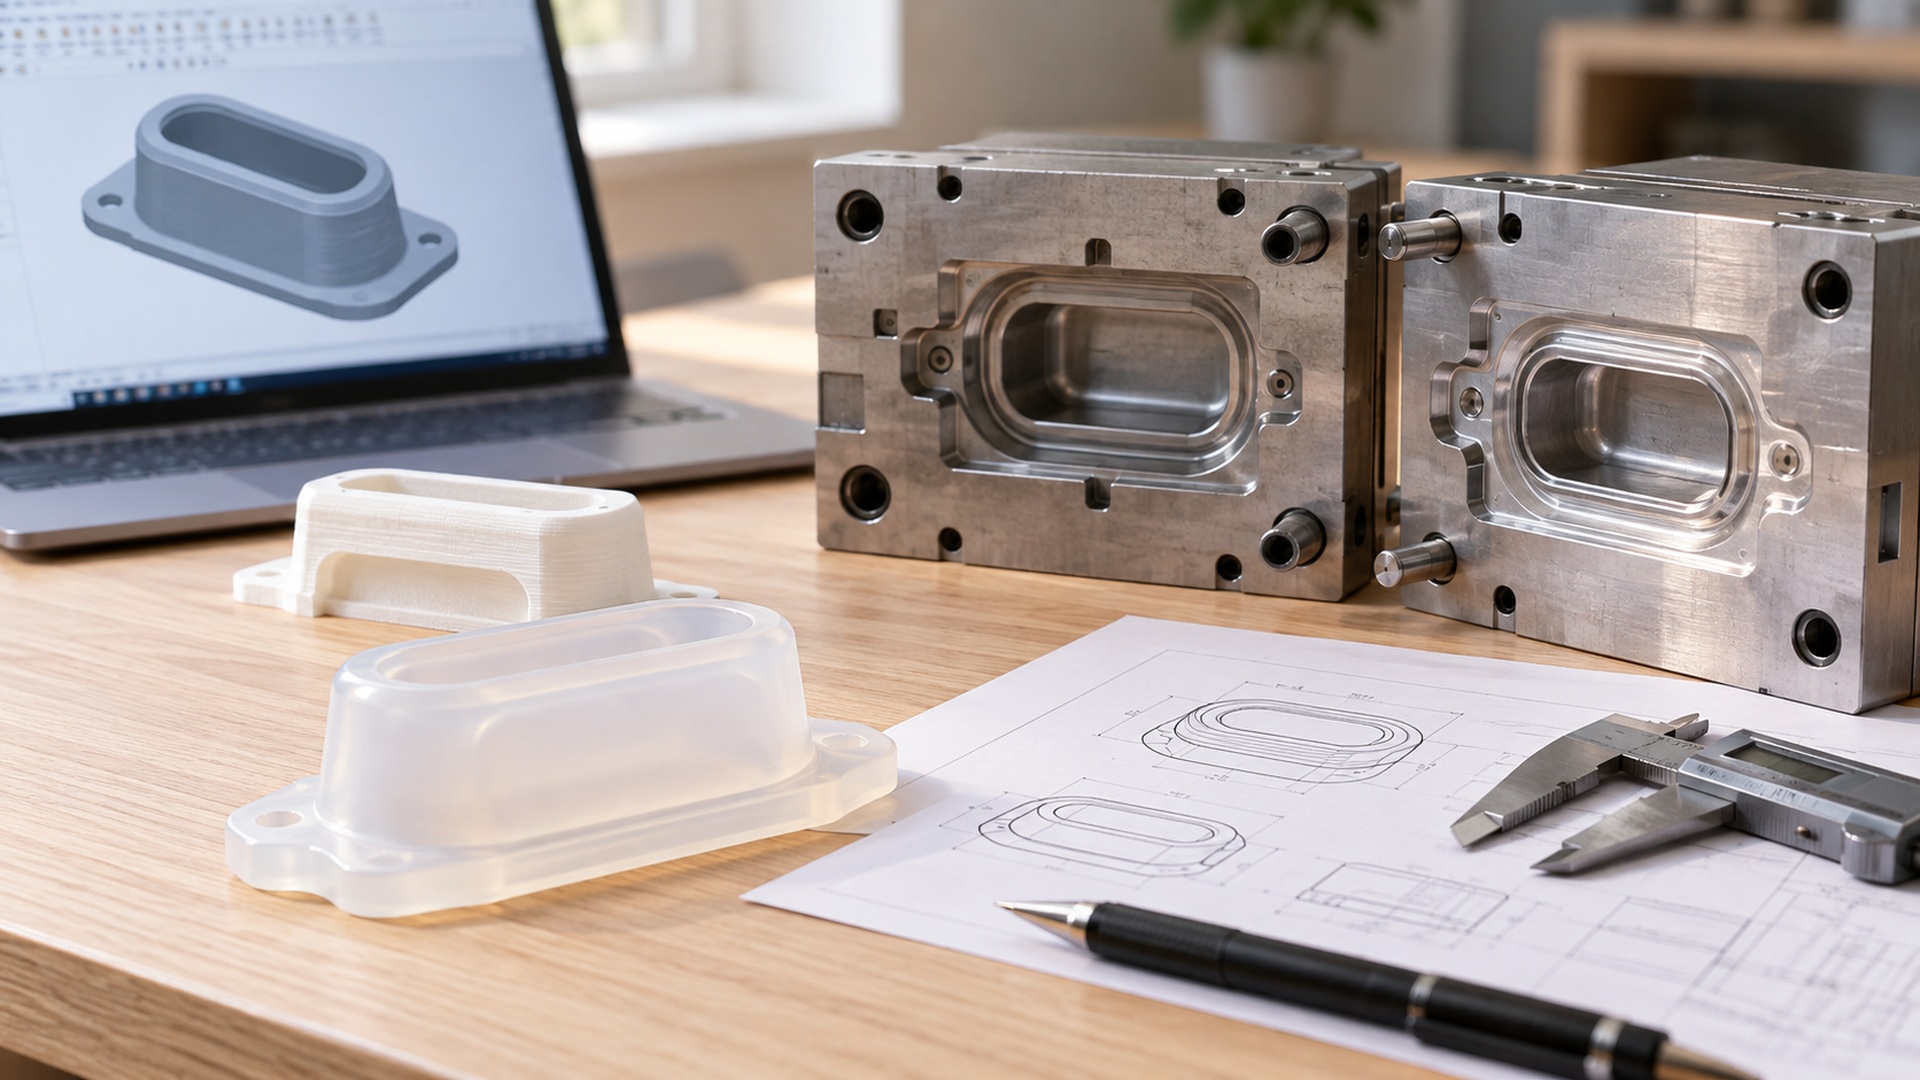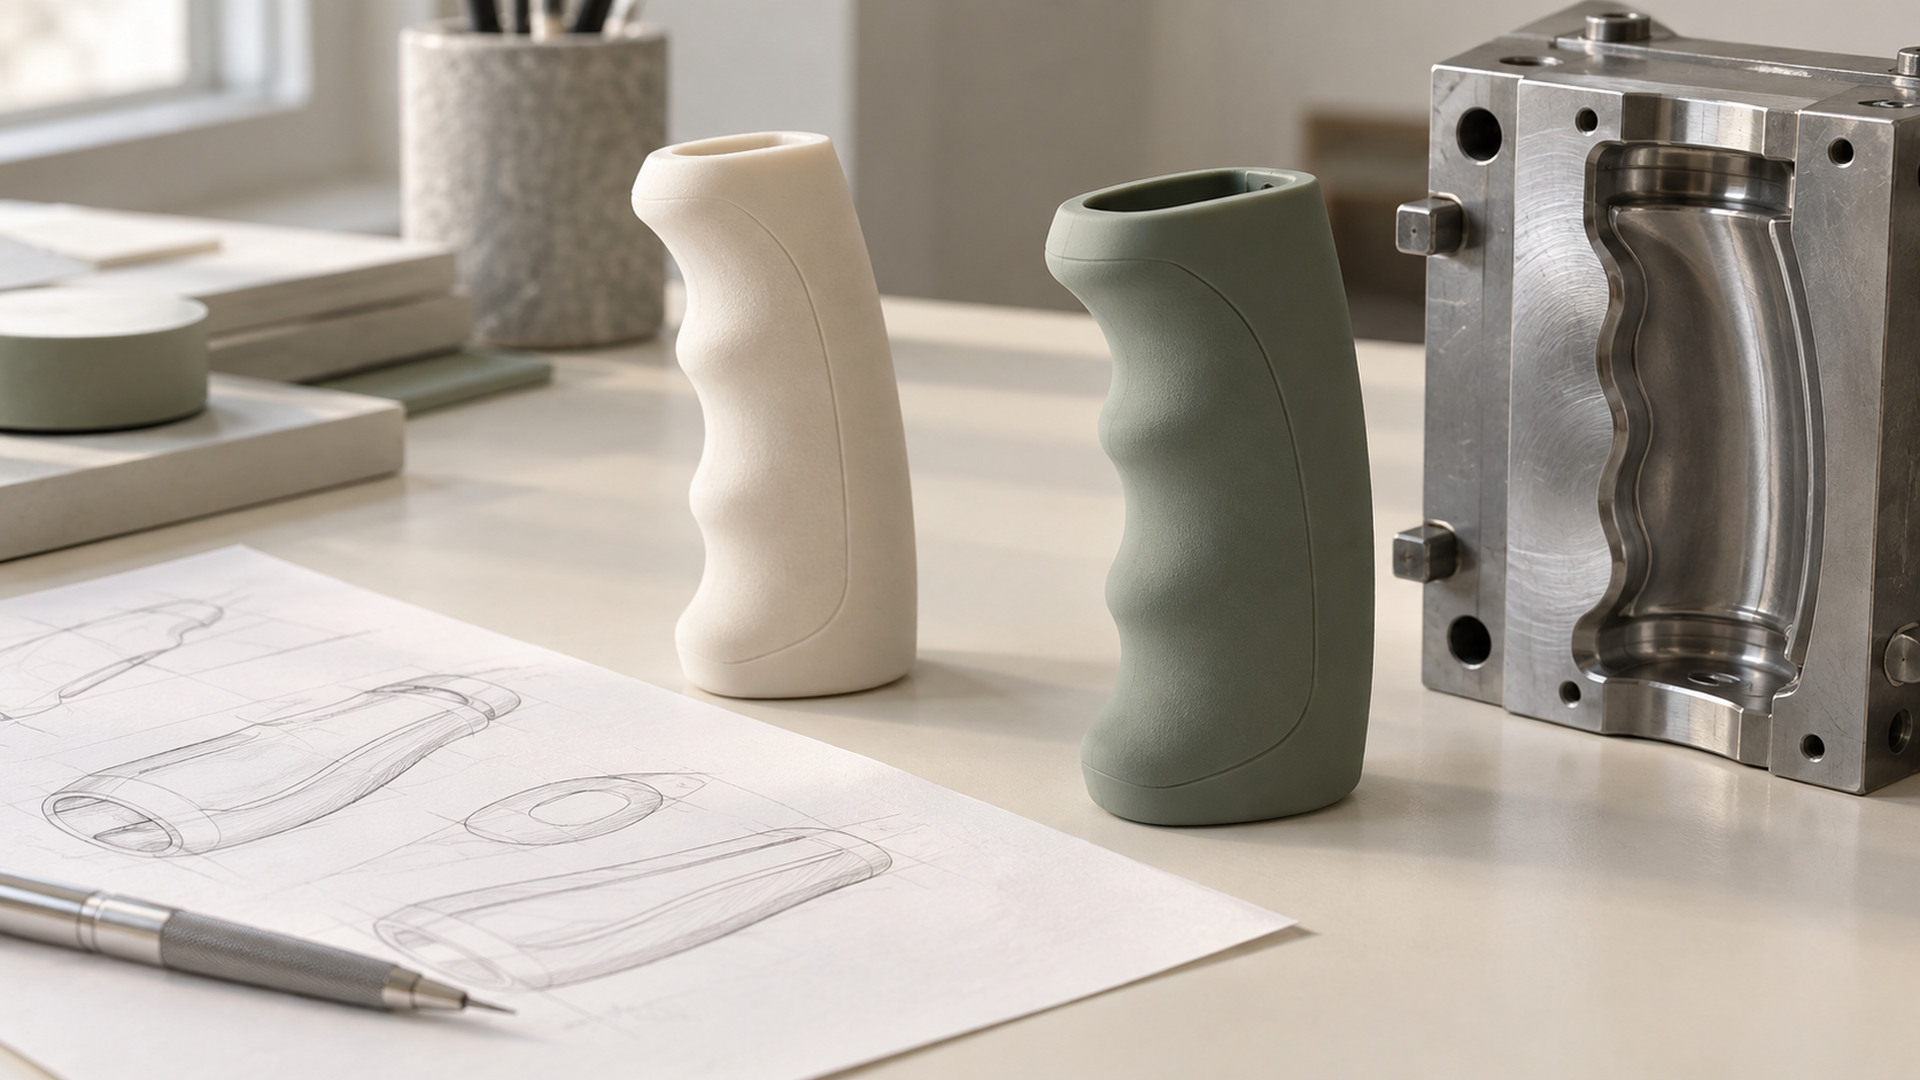
How do I translate a soft prototype into a production-ready silicone mold design?
A hand-poured or 3D-printed silicone prototype tells you the concept works. It does not tell you the part will mold the same way in steel. The gap between the two is almost never about whether the silicone is soft enough — it is about shrinkage, gating, venting and demolding geometry that only appear once material is injected or compressed into a closed, hard cavity.
Brand owners and product developers usually hit this question after a round of soft-tool or cast samples has been approved and the conversation moves to cutting production tooling. That is the right moment to ask, because every assumption carried into the steel mold becomes expensive to change later.
Why a prototype is not a production mold design
Soft prototypes are commonly cast in open silicone molds, printed molds, or finished by hand. The material may be room-temperature-cured, post-baked, or even a different durometer than the production grade. None of that reveals how the part will fill under pressure, where flash will form at the parting line, or how it will release from a hardened steel cavity.
The decision to write into the brief is not "can we make this?" — it is confirming exactly what differs between the prototype process and the production process. Those differences drive every DFM note that follows.
DFM items that must be resolved before tooling
The prototype review should surface the variables that control repeat production:
- Wall transitions and stress concentration. Sharp corners and abrupt thickness changes tear in service and trap voids during molding.
- Parting line, venting and gate placement. These decide where flash appears and which cosmetic surfaces must be protected.
- Undercuts, ribs, thin membranes and living hinges. Each changes the demolding direction and may require side actions or draft angles.
- Tolerance stack-up with mating plastic, metal or textile parts.
- Tooling concept: cavity balance, ejection, maintenance access, and the inspection method for critical dimensions.
Two checks deserve extra attention on this specific transition:
- Write the functional requirement down before choosing the manufacturing route — "soft grip" is not a specification.
- Freeze a representative sample and written acceptance criteria so subjective feel does not drift between prototype and production.
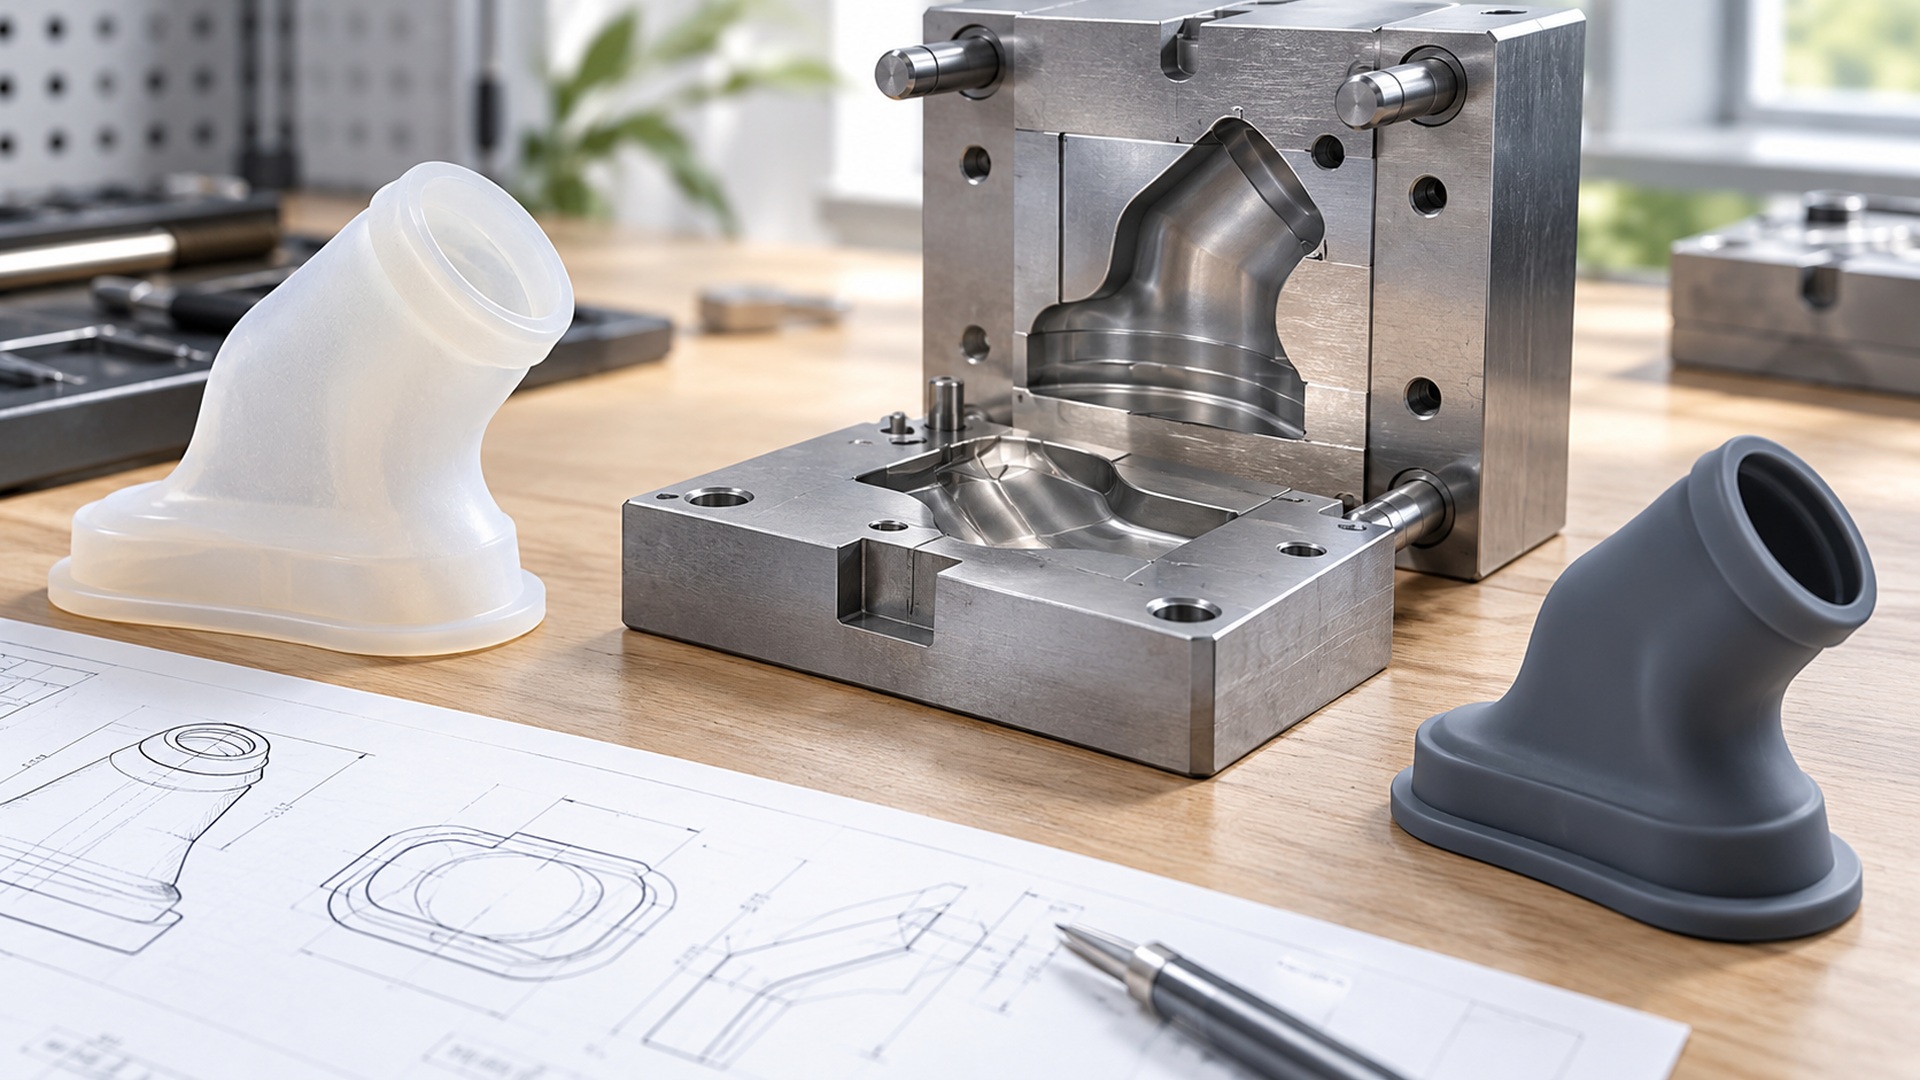
Convert subjective feel into an acceptance standard
Words like "soft," "premium," "flexible" or "durable" get the design conversation started but cannot be checked on a production line. Before tooling, convert intent into a controlled set of references:
- A controlled reference — signed physical sample, color standard, or approved visual.
- Critical characteristics — the dimensions, forces, interface fits or appearance zones that actually affect use.
- A test condition — how the part is loaded, cleaned, aged or assembled.
- An acceptance rule — what passes, what fails, and what is cosmetic versus functional.
- A revision record — which drawing, sample and packaging version the approval refers to.
This matters most when the first prototype was handmade or 3D-printed. Treat prototype approval as evidence the concept works, not as proof that production variation is solved.
Compare routes by trade-off, not headline specs
When more than one route looks possible — soft tooling for a short run, aluminum for a bridge, steel for volume — compare them on the same criteria: manufacturability, functional risk, tooling investment, unit cost, QC burden, compliance impact and repeat-order stability.
A cheaper route is right when the requirement is simple and risk is contained. A more expensive route earns its cost when it removes assembly steps or protects a critical interface. The question to ask each supplier is what cost is being removed and what risk is being added.
Quotations are not directly comparable unless exclusions are listed. A quote that covers only the molded part is not comparable to one that includes tooling validation, inspection, packaging and traceability.
Validate in steps, closest to production last
Before steel is cut, review CAD and 2D drawings together and mark every dimension where a small shift changes function. The point of DFM is not to simplify the part — it is to find where manufacturing variation actually matters.
Then move from design review to representative samples to pilot or first-production approval, with evidence getting closer to real production conditions at each step. For high-risk features, use more than one form of evidence: measure a dimension, but also function-test the assembly; pull-test a bond, but also age it.
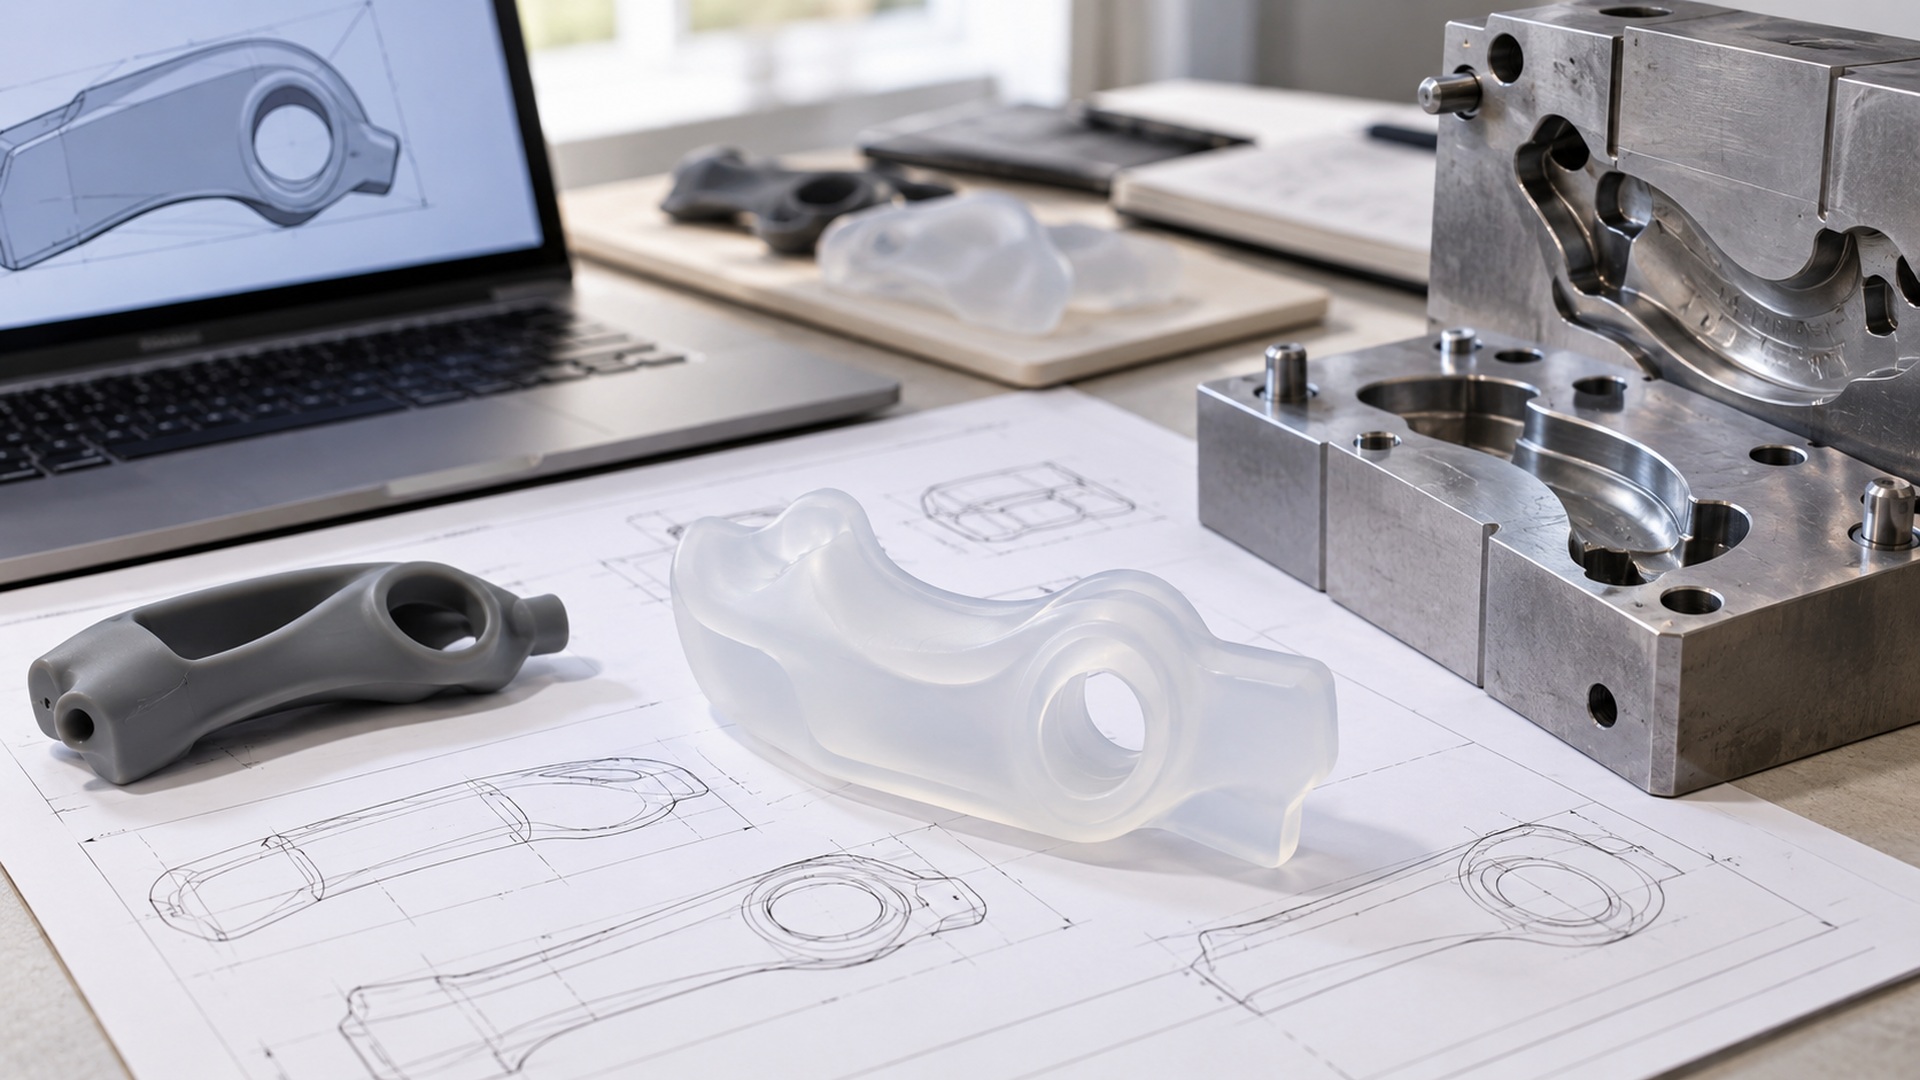
What to prepare before the RFQ
Give the supplier as much of the following as the project allows:
- CAD, 2D drawing, physical reference or clear sketch.
- Intended function and the failure modes that would be unacceptable.
- Material preference, if known, plus any restricted substances or contact conditions.
- Mating-part information for plastic, metal, glass, textile, magnets or electronics.
- Target market, user group and regulatory context.
- Expected launch quantity and repeat-order forecast.
- Cosmetic expectations, color and decorating requirements.
- Packaging, assembly and labeling scope.
- Critical dimensions and a proposed inspection method.
- Known exposure to heat, cleaners, sweat, food, UV, compression or flexing.
Missing information does not stop development, but the quote should identify which assumptions are still open and when they must be closed.
Questions to ask the supplier
- What manufacturing route are you proposing, and why?
- Which material grade or family is assumed?
- Which features do you consider highest risk for molding or assembly?
- What information is still missing before final tooling?
- How will critical dimensions be checked?
- What is included in the quoted price and what is excluded?
- What changes after sample approval would require revalidation?
- How will material batches, mold revisions and production lots be traced?
Generic answers like "we can make any silicone product" or "FDA silicone" do not substitute for a defined engineering and control plan.
Conclusion
Translating a soft prototype into a production mold is not a yes/no question. It is a controlled transition: identify every way the prototype process differs from production, write the requirement as measurable acceptance criteria, and validate with samples that get progressively closer to the real molding process. Done early, that work prevents tooling rework and the launch delays that follow it.