How can silicone be bonded securely to plastic with enough alignment time?
There are two ways to join silicone to plastic, and they have very different alignment windows. In overmolding, the plastic insert is placed in the mold and liquid silicone cures around it in seconds to minutes — there is no manual alignment step at all. In post-molded adhesive assembly, you apply a primer or adhesive, seat the silicone onto the plastic housing, and hold it until it grabs — which means the working time of the adhesive directly controls how long an operator has to line the parts up.
For product teams assembling grips, buttons, seals or soft-touch overmolds onto existing housings, the question is choosing a joining method whose process window matches the assembly time you actually have on the line.
Why first samples can lie
A silicone-to-plastic assembly can look perfect on day one and still fail later. The bond depends on the exact plastic grade, the surface condition of the insert, the primer system, the molding or curing cycle, and the environment the part sees after shipment. A sample that passes a hand-pull test at the bench may peel apart after thermal cycling or after the plastic housing flexes.
The two joining routes
Overmolding (insert molding). The plastic part is loaded into the silicone mold and silicone is cured directly onto it. Alignment is fixed by the mold tooling, so there is no adhesive open time to manage. The bond relies on a primer applied to the insert before molding, plus any mechanical undercut designed into the plastic feature. This is the most repeatable route for volume, but it requires tooling that holds the insert precisely.
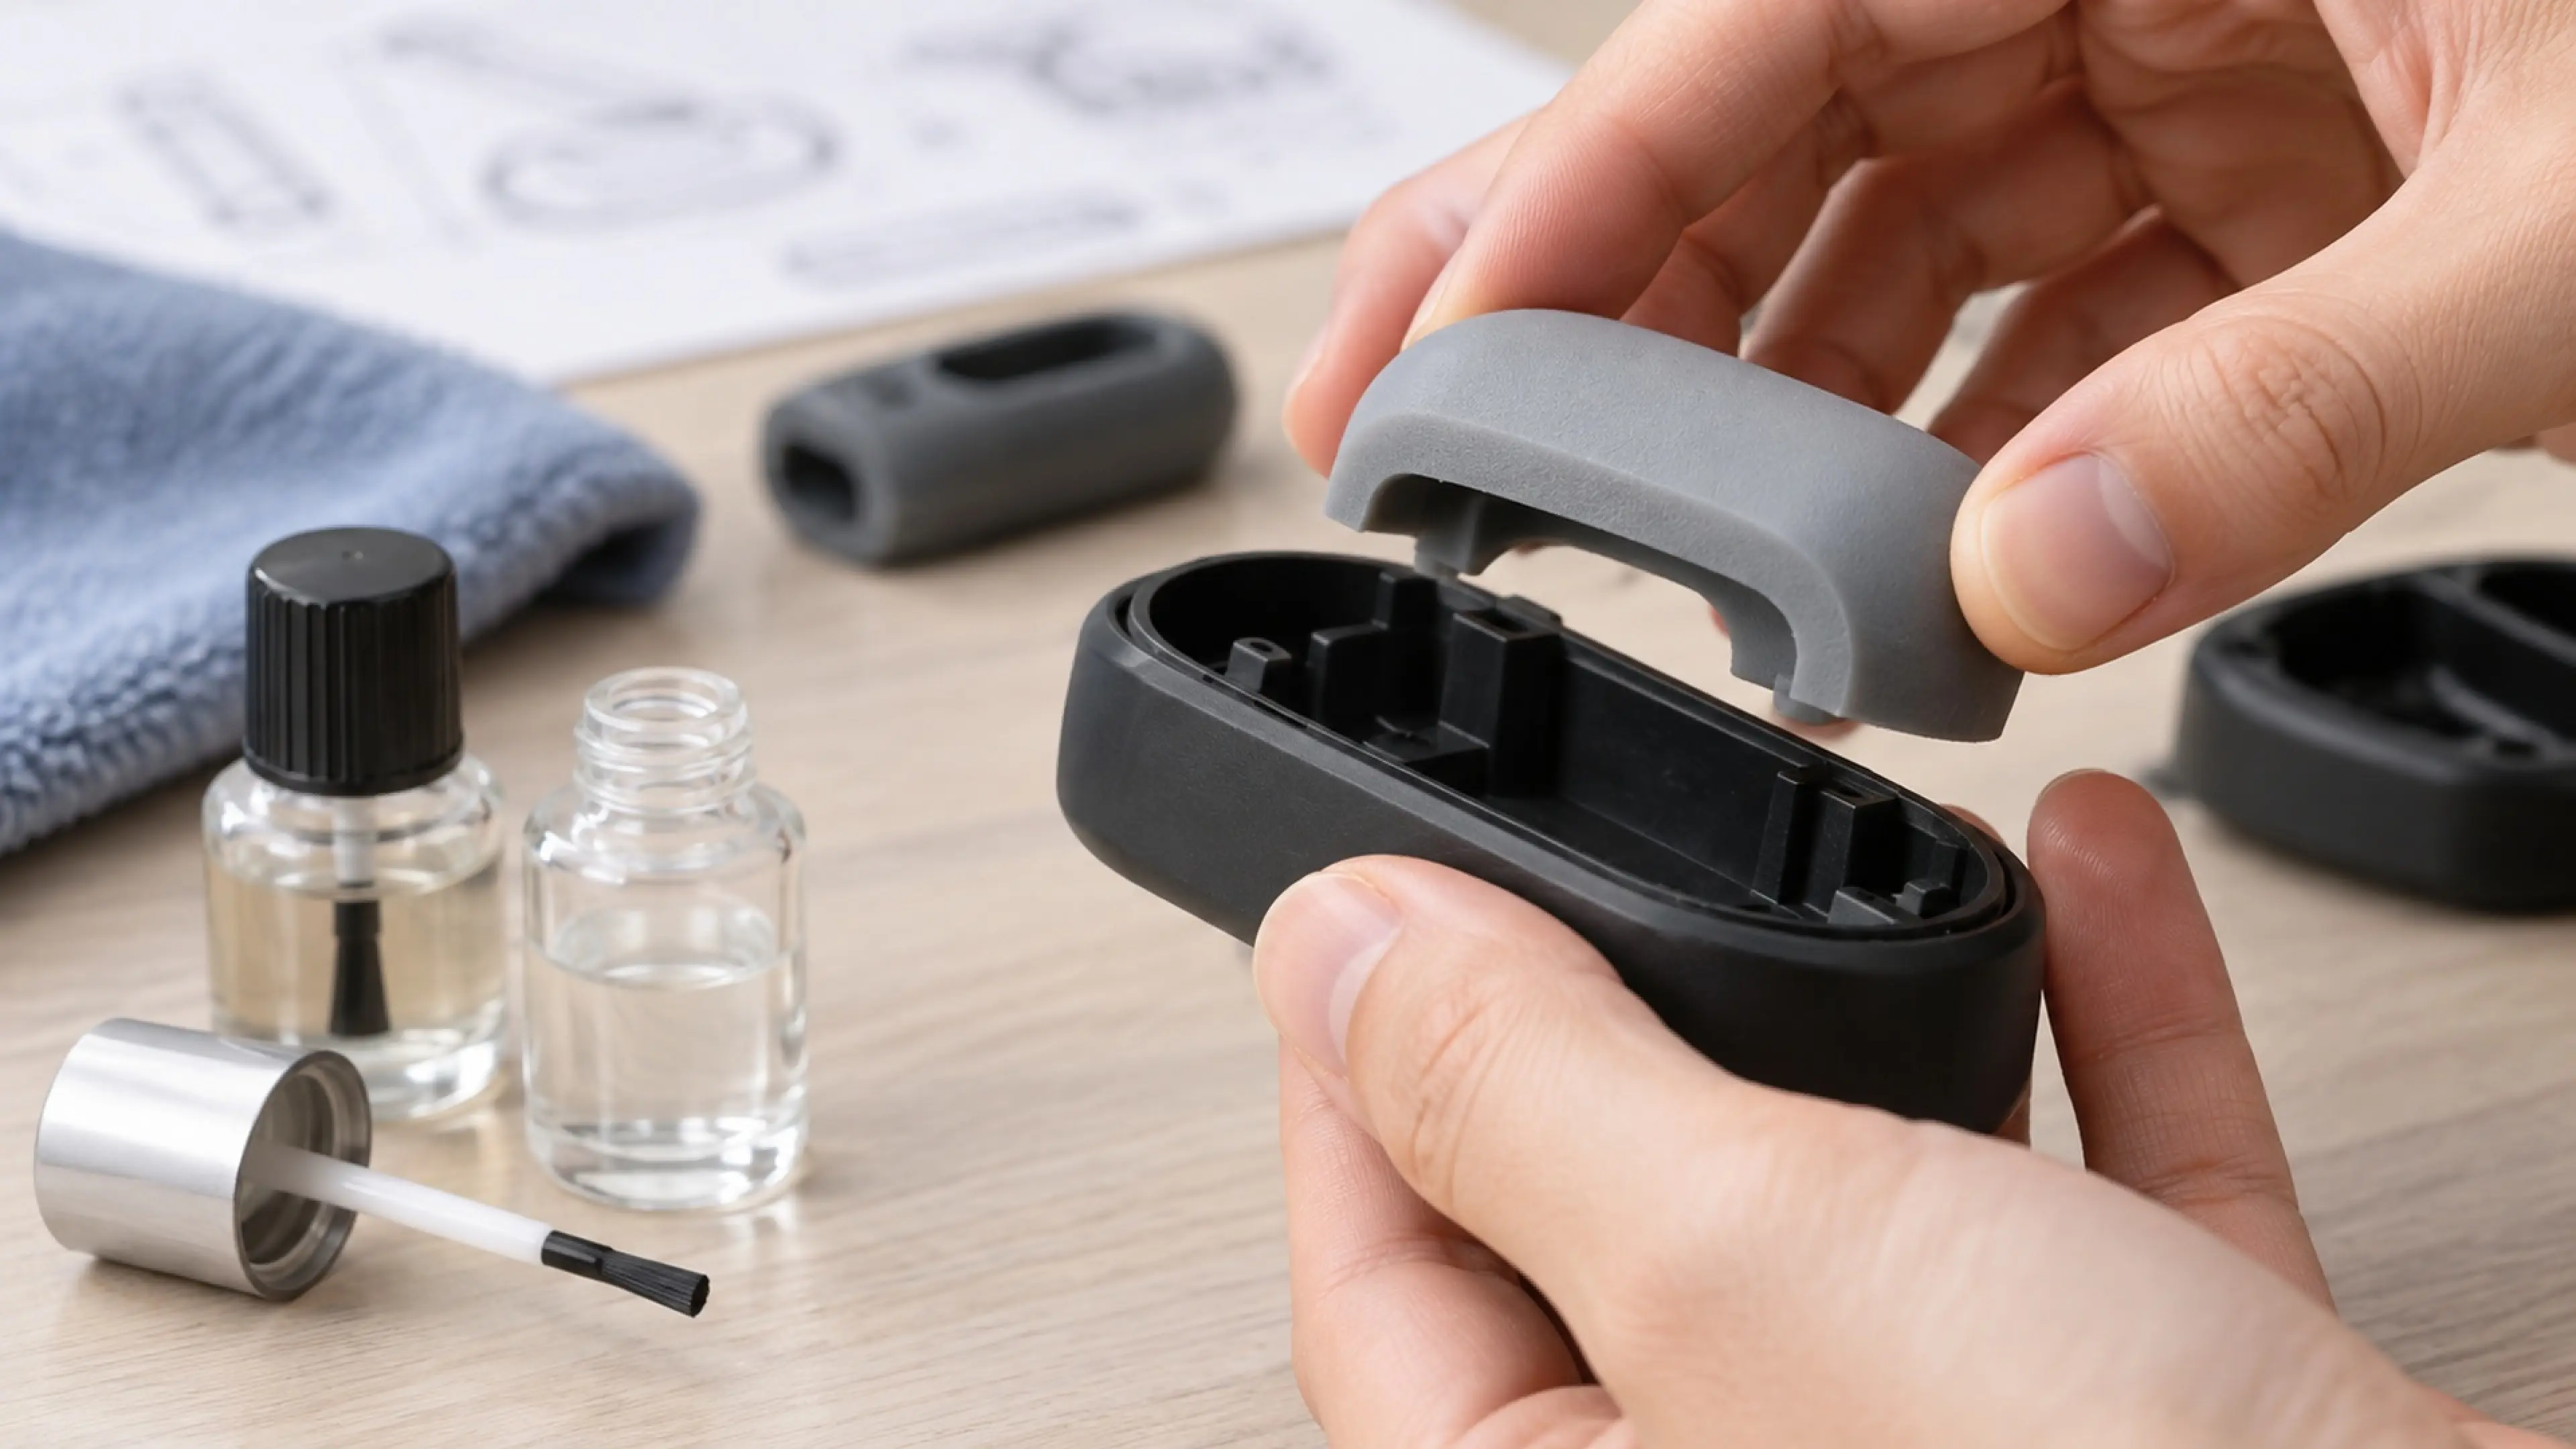
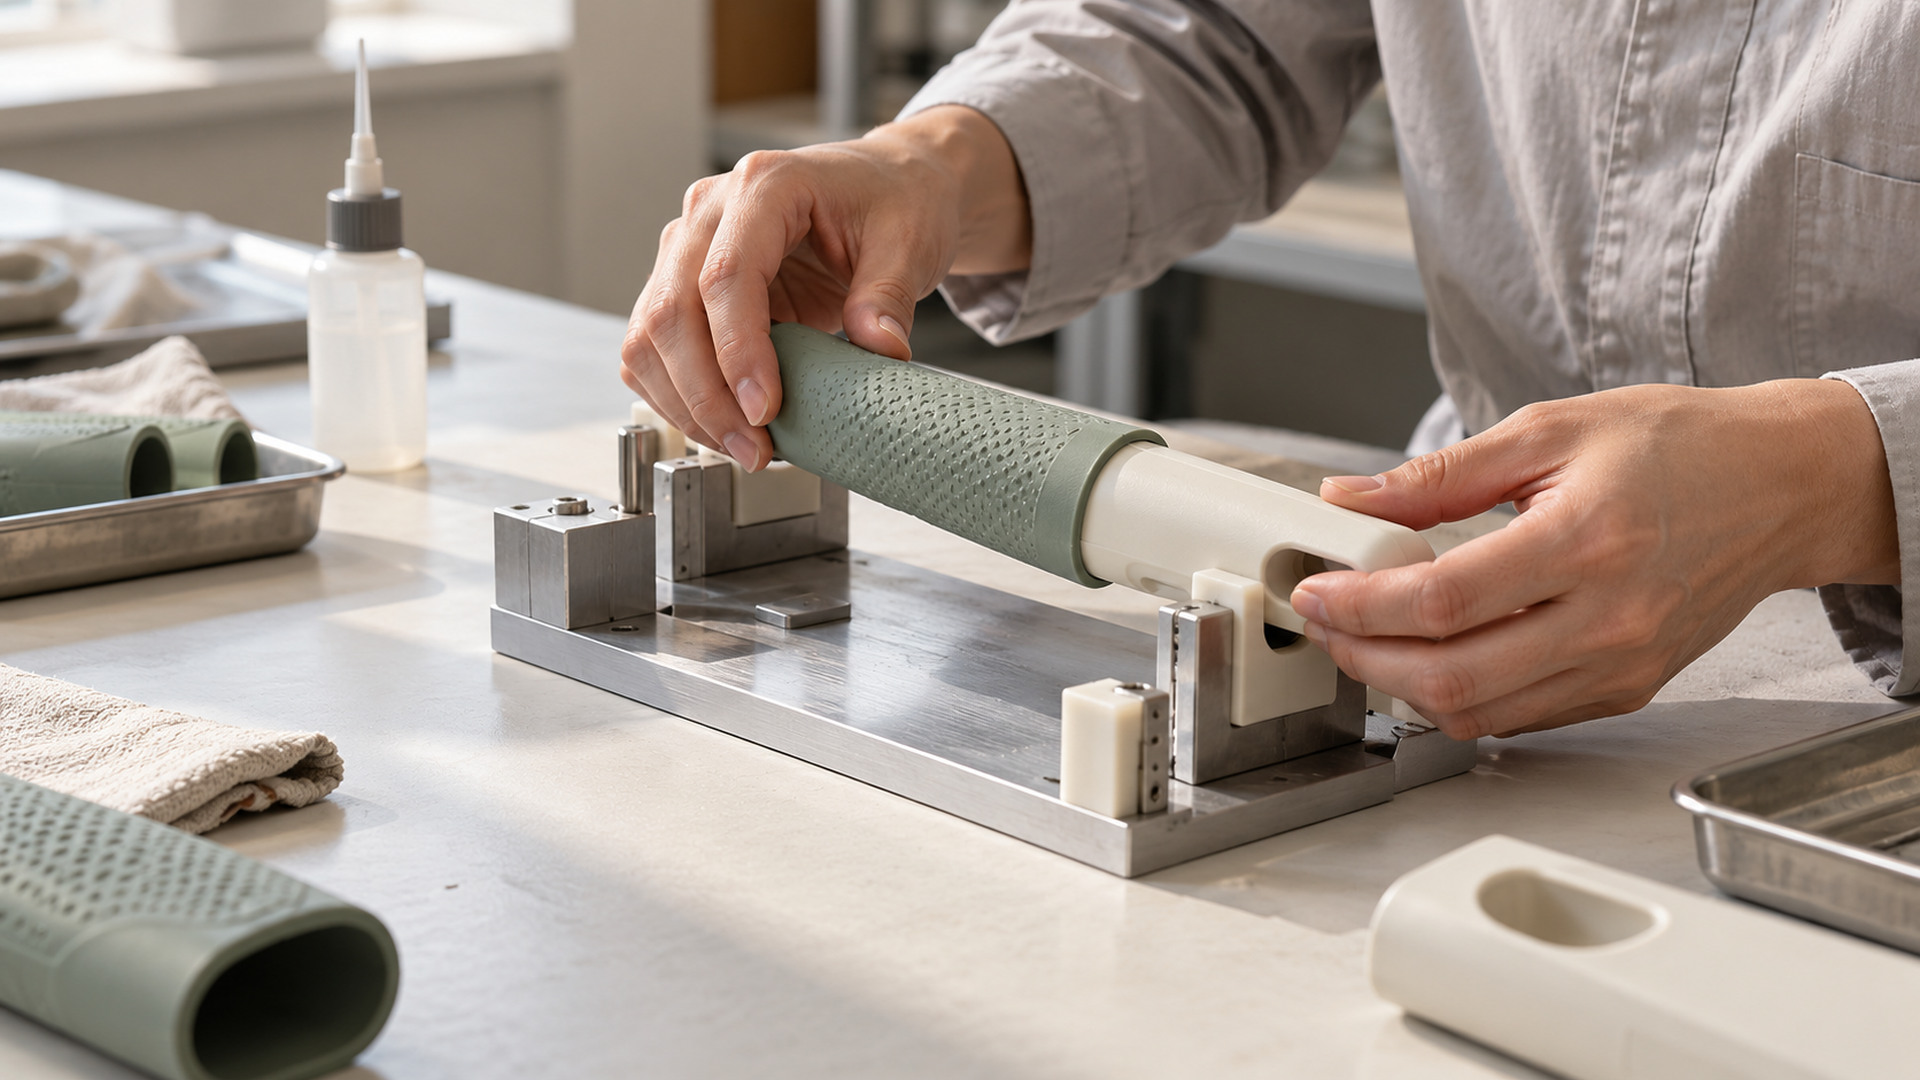
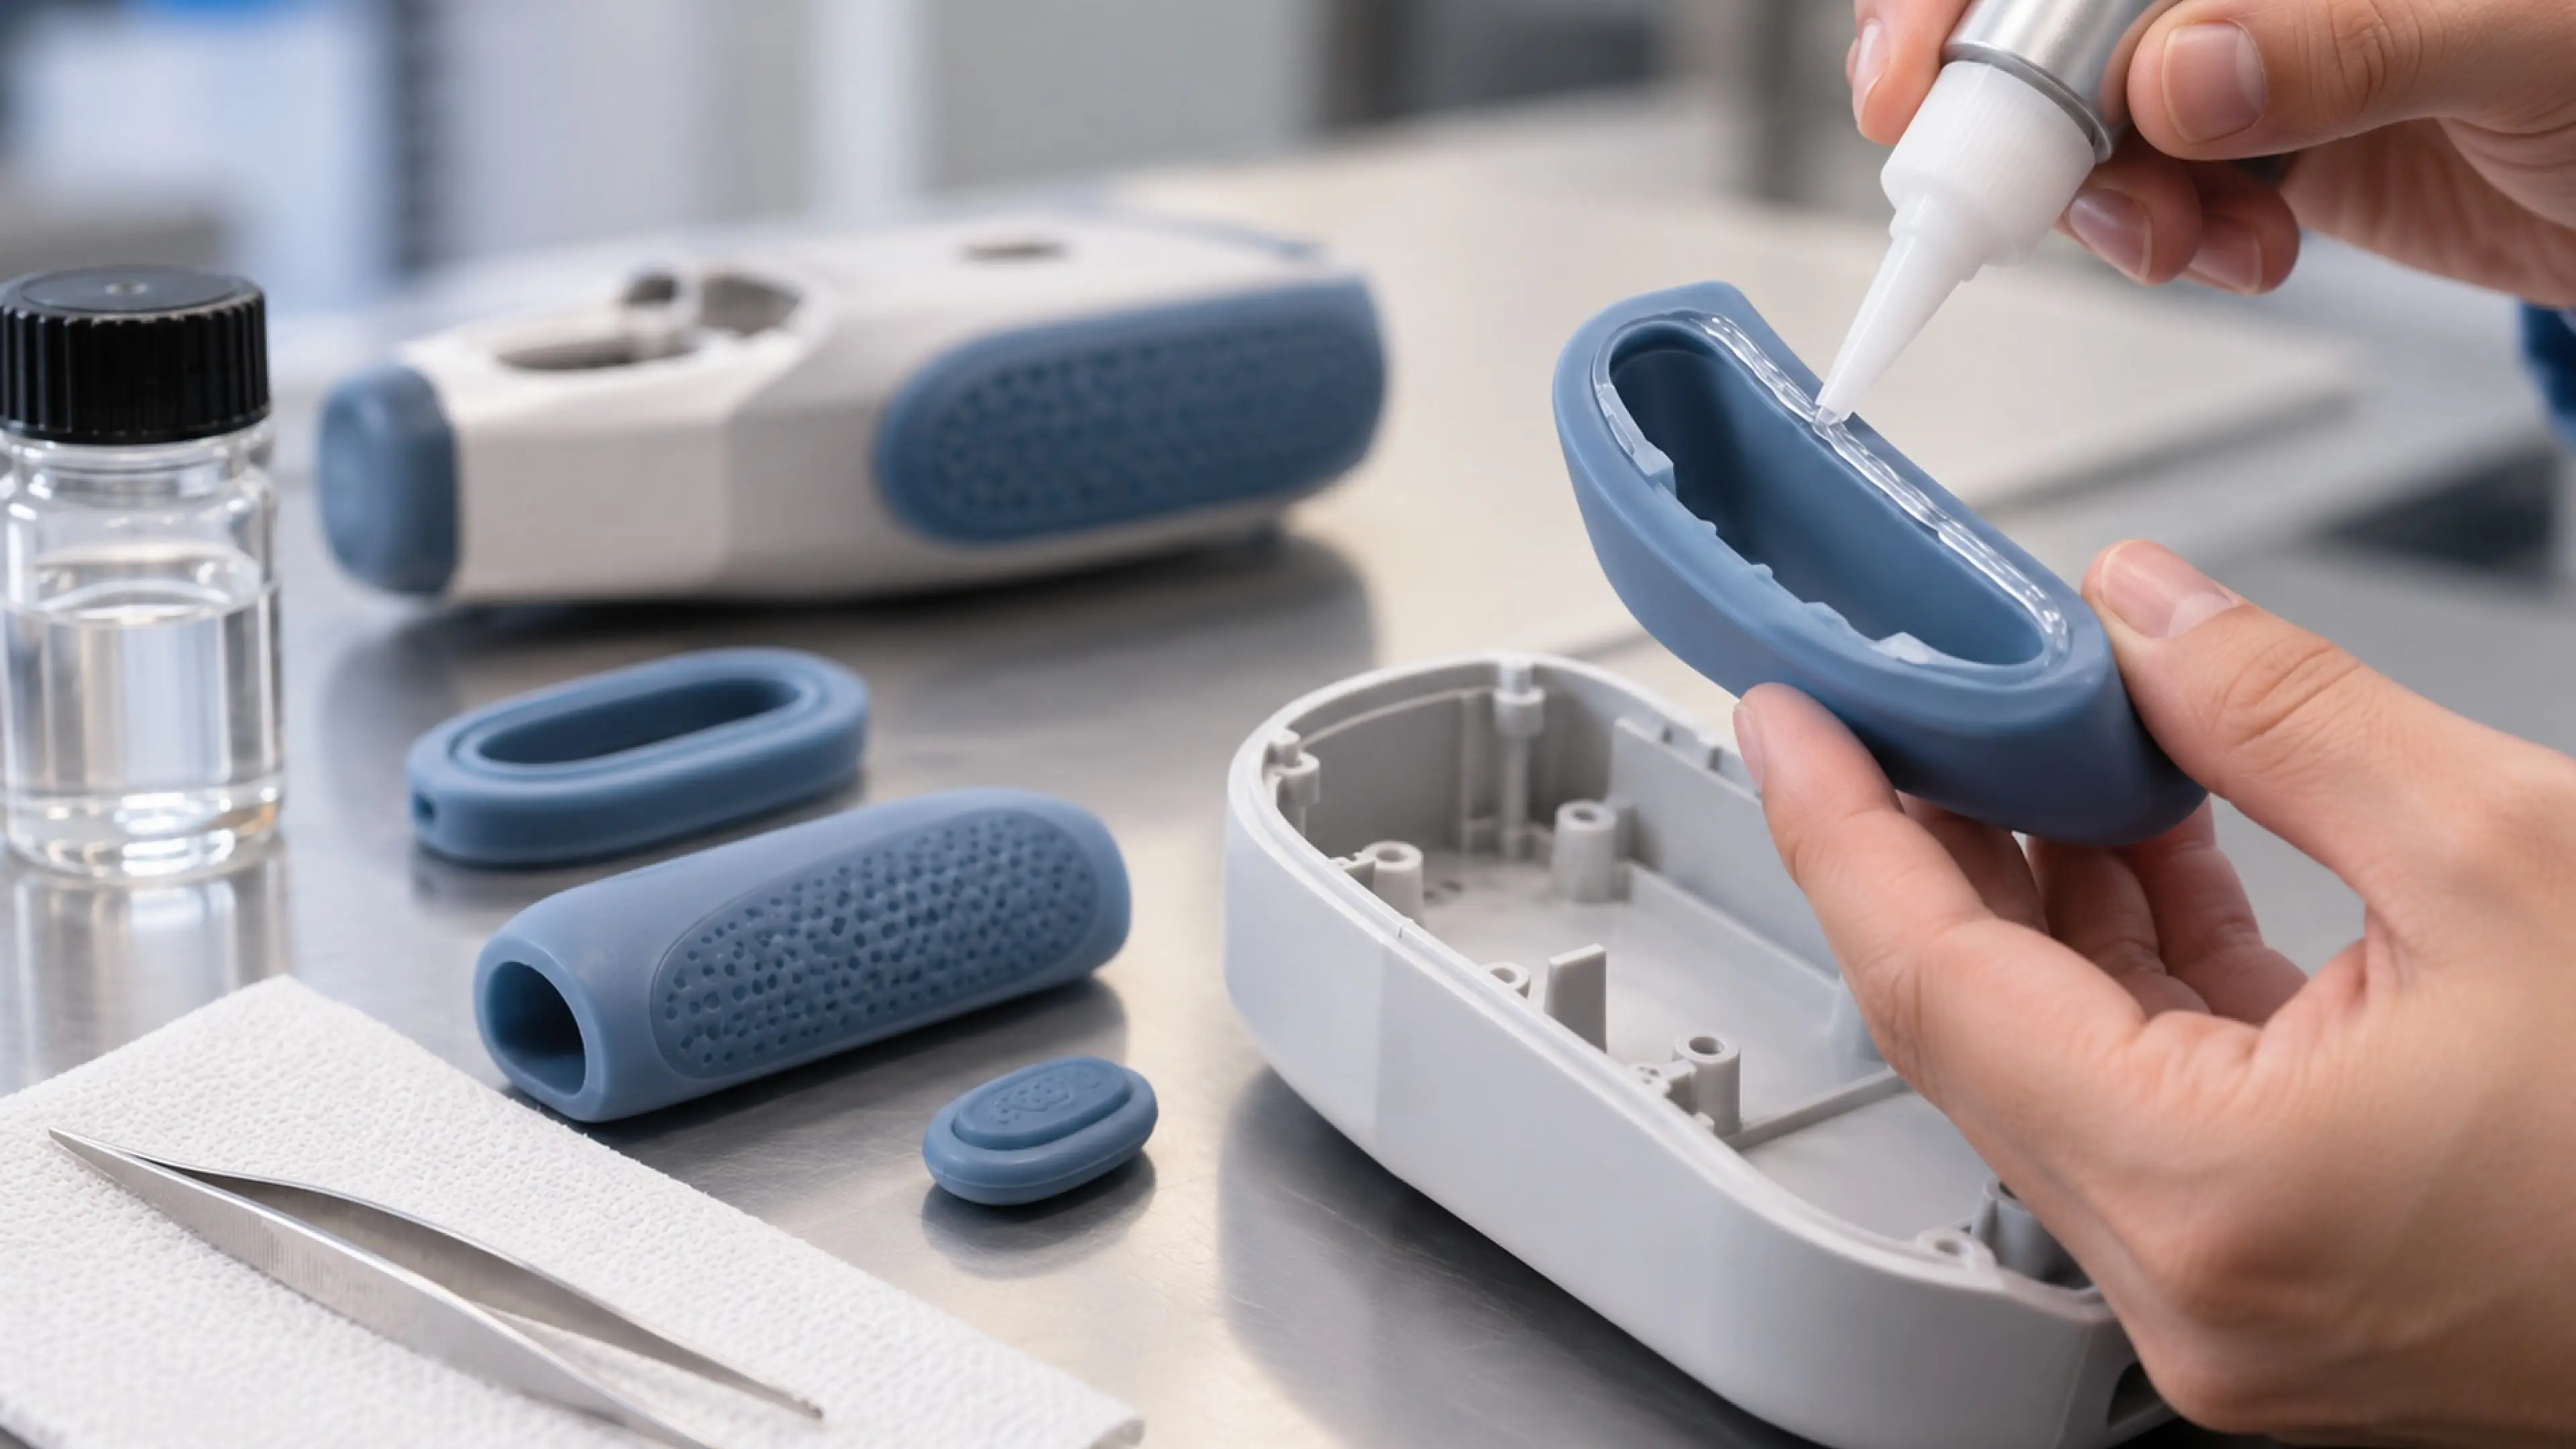
Post-molded adhesive bonding. A cured silicone part is glued to a separate plastic housing after molding. This route leaves a real assembly step: apply primer, apply adhesive, align, hold. The adhesive's open time and fixture time dictate whether a human operator or a robot can place the part before it skins over. Faster adhesives reduce cycle time but shrink the alignment window; slower adhesives give more time but extend fixturing.
Key variables that control the bond
Whichever route is chosen, the following determine whether the bond holds:
- Exact plastic grade, not just "ABS" or "polycarbonate" — different grades and fillers bond very differently.
- Primer system matched to the substrate and silicone cure chemistry.
- Mechanical interlock features (undercuts, through-holes, knurling) that retain the silicone even if chemical adhesion weakens.
- Insert support and thermal exposure during overmolding, which can distort thin plastic inserts.
- Surface contamination — mold release, fingerprints, coatings or storage dust on the plastic.
- Aging conditions the finished part will see: heat, moisture, cleaners, oils, repeated flexing.
Two checks are especially important:
- Specify the exact plastic grade and surface condition on the drawing, not just the material family.
- Where the risk justifies it, combine chemical adhesion with a mechanical interlock so the bond is not relying on one mechanism alone.
Turn the bond requirement into an acceptance test
"Strong bond" is not a test. Convert it into:
- A controlled reference — an approved bonded assembly.
- Critical characteristics — peel force, pull-off force, or the interface that must not separate.
- A test condition — as-molded, after thermal cycling, after cleaning, after flexing.
- An acceptance rule — adhesive failure versus cohesive failure, and what is acceptable.
- A revision record — which primer batch, plastic grade and cure cycle the approval covers.
Compare routes by trade-off
Overmolding removes the manual alignment step entirely but commits you to tooling that locates the insert. Adhesive bonding is more flexible for low volumes or existing housings but adds assembly labor and a process window that must be controlled. A lower-cost route is not always the cheaper one once fixturing, scrap and rework are counted.
Validate the failure mode that matters
A single pull test on a fresh sample can miss edge peel, cyclic flexing, swelling, thermal cycling or gradual delamination. Test representative assemblies under the conditions the product actually sees, and define what failure would be unacceptable.
What to prepare before the RFQ
- CAD of both the silicone part and the plastic housing it joins.
- The exact plastic resin grade and any surface coating or texture.
- The expected assembly method (overmold or post-bond) and production volume.
- The environment the bonded joint will see (heat, cleaners, sweat, oils).
- Whether the joint is cosmetic, functional or both.
- Target market and regulatory context.
If the assembly method is not yet decided, ask the supplier to compare both routes with their assumptions stated.
Questions to ask the supplier
- Are you proposing overmolding or post-molded adhesive, and why?
- Which primer or adhesive system is assumed, and what is its open time?
- How is the insert located in the mold?
- What surface preparation is required on the plastic?
- How will bond strength be checked in production?
- What aging or cycling tests back up the bond claim?
Generic "strong bond" claims without a named primer, test method or failure criterion are not enough.
Conclusion
A secure silicone-to-plastic bond is a process decision, not just a material one. Overmolding removes the alignment problem by design; adhesive bonding makes the adhesive's working time the bottleneck. Either way, specify the exact plastic grade, back the chemical bond with a mechanical interlock where risk is high, and validate the joint under the real aging conditions the product will face.