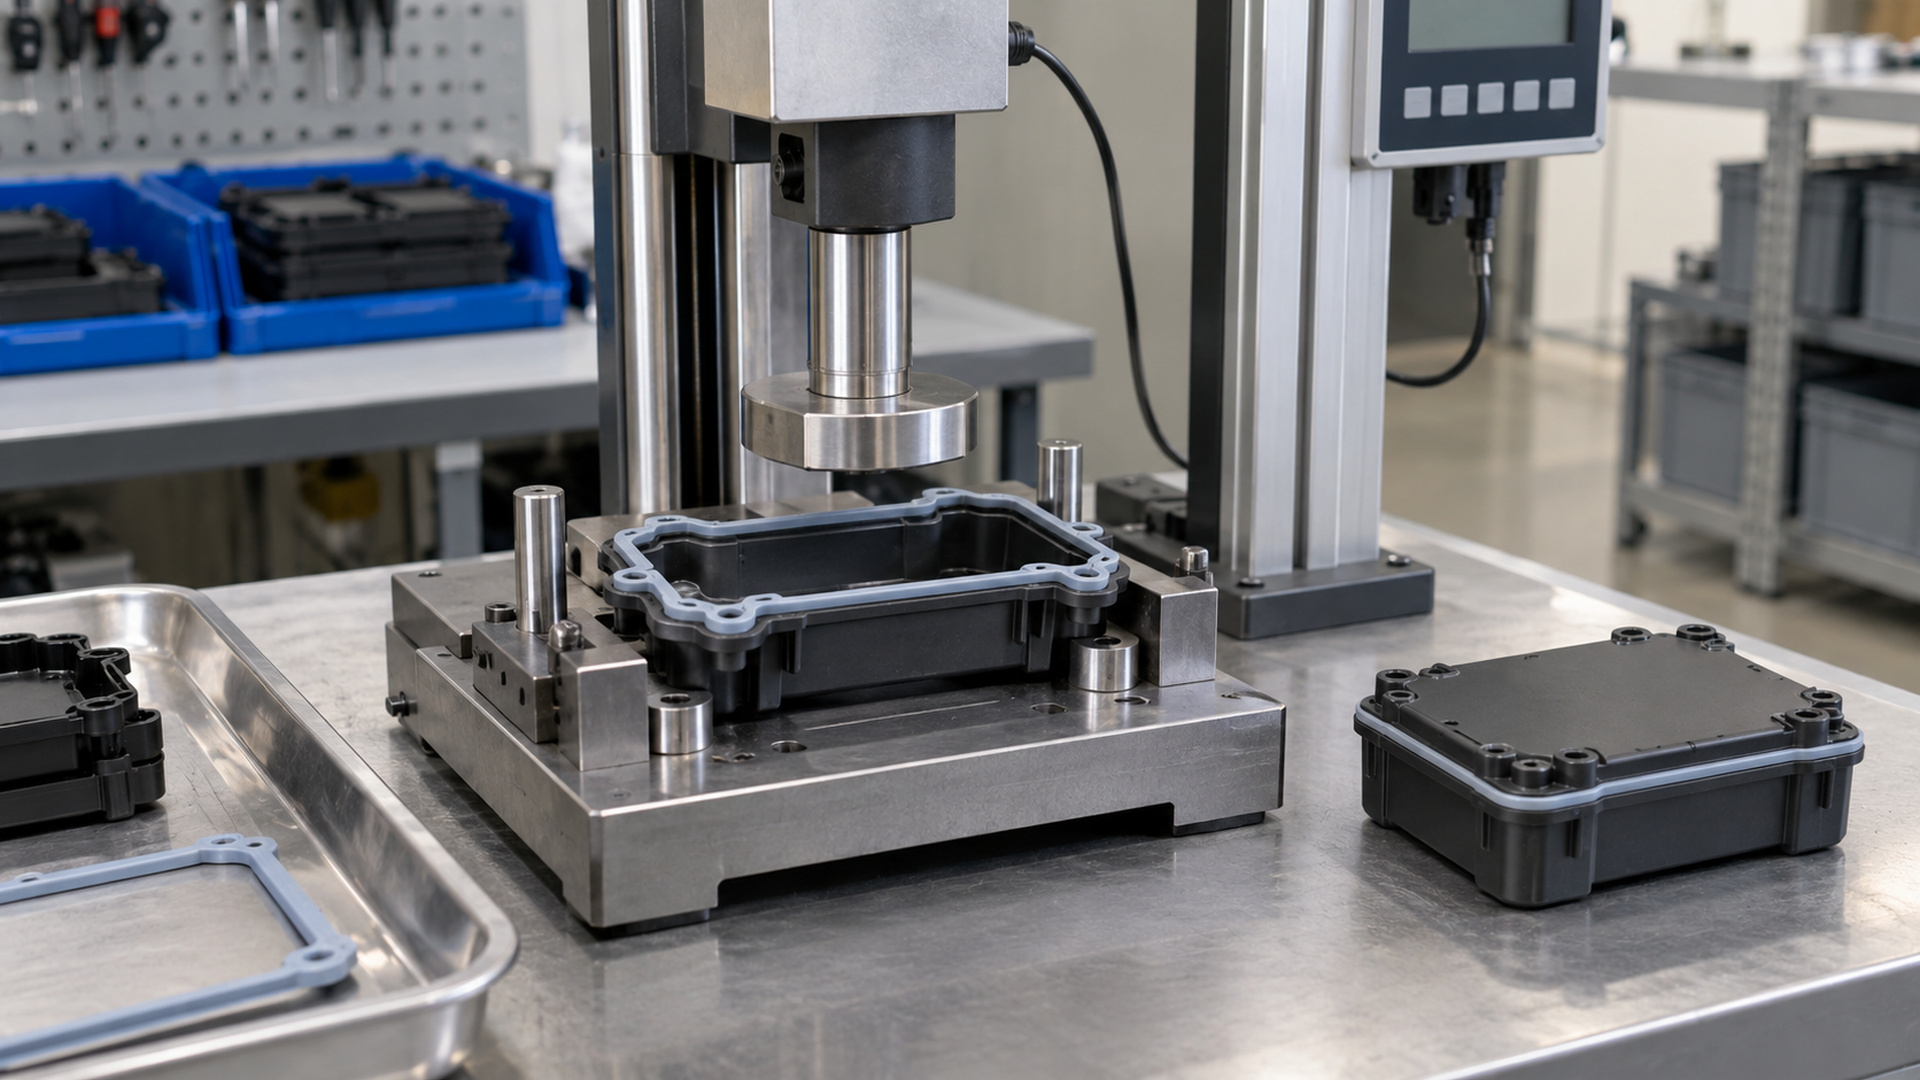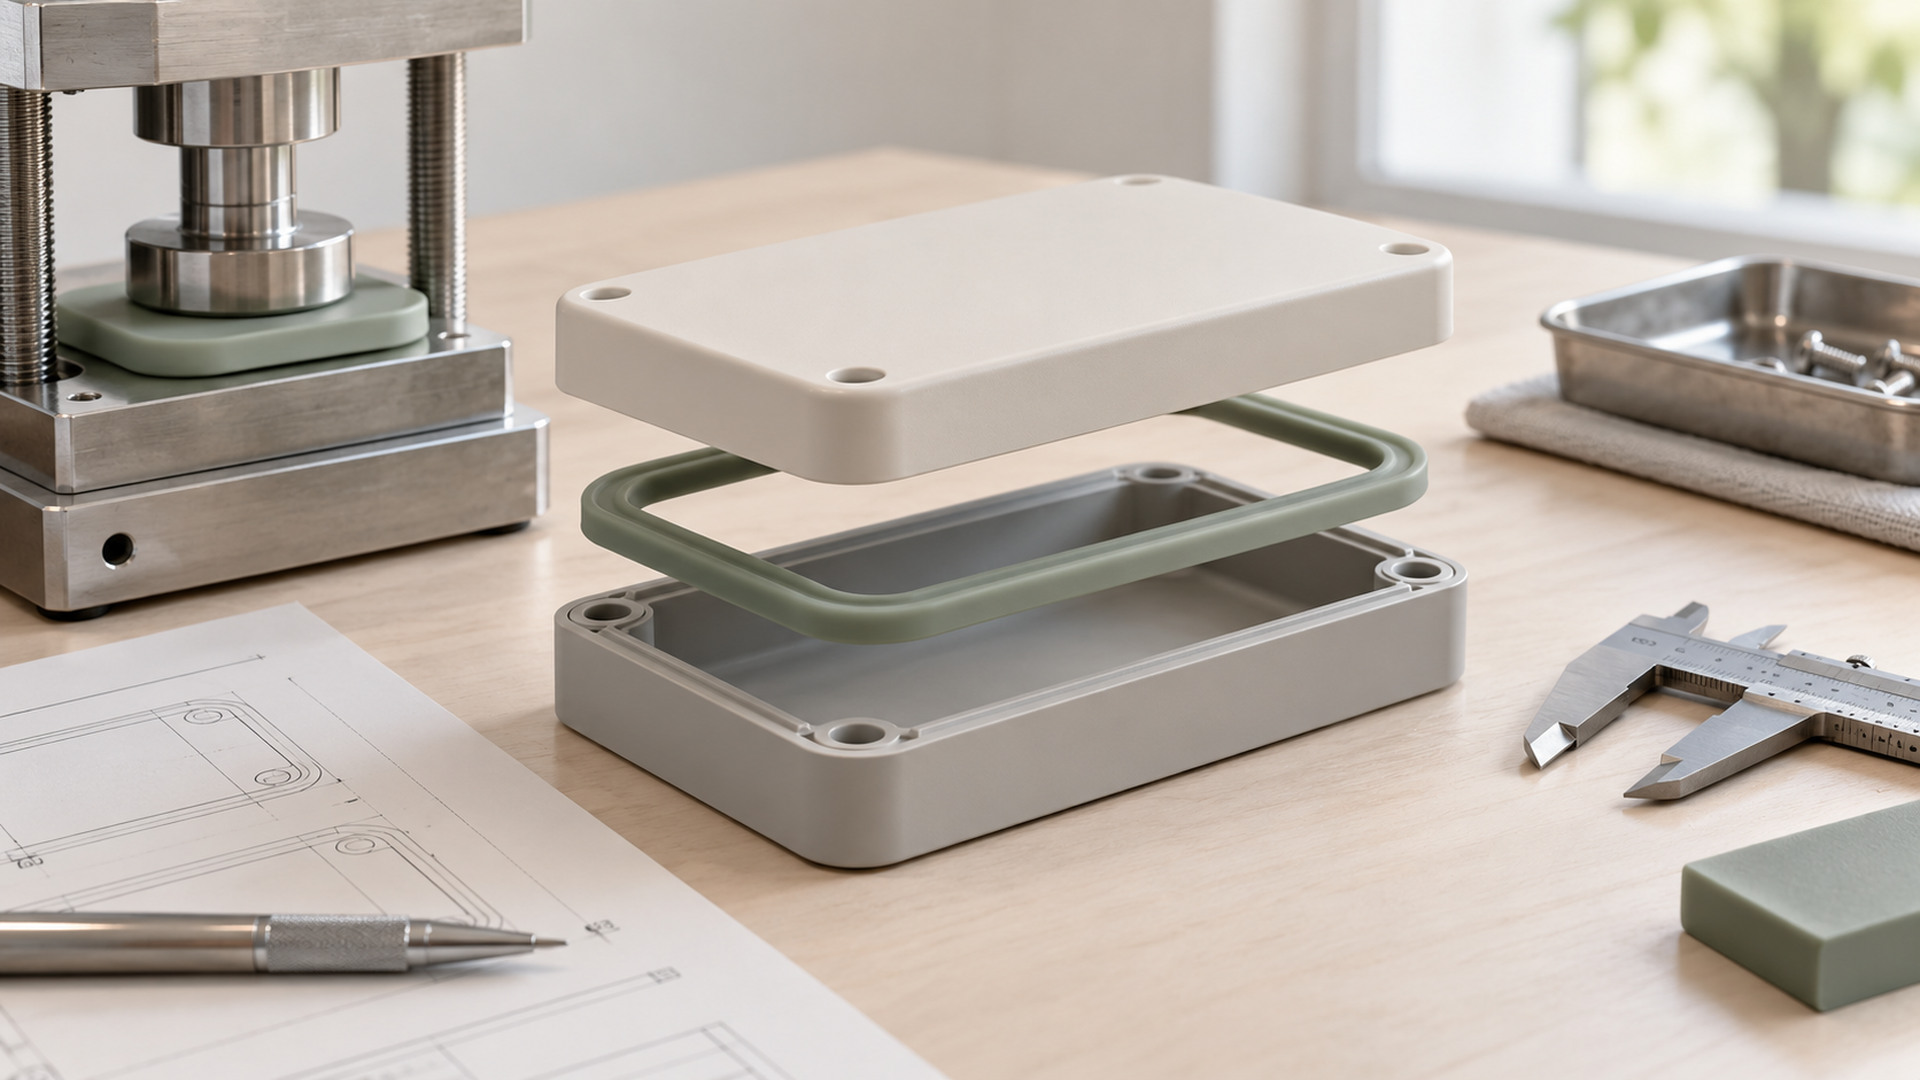
How should housing tolerances, seal compression and assembly force be coordinated?
When a sealed enclosure leaks, the instinct is to make the gasket softer, thicker or both. That often helps for one assembly and makes the next one worse — because the leak was never a gasket problem, it was a compression problem. If the housing flexes under screw torque, the gasket groove varies in depth, or the screws are torqued unevenly, no gasket material choice will seal every point around the enclosure.
For product teams designing sealed housings with silicone gaskets, the goal is avoiding the habit of fixing leaks by making the seal softer or thicker, and instead coordinating housing tolerance, compression and assembly force as one system.
Why compression is a system, not a gasket choice
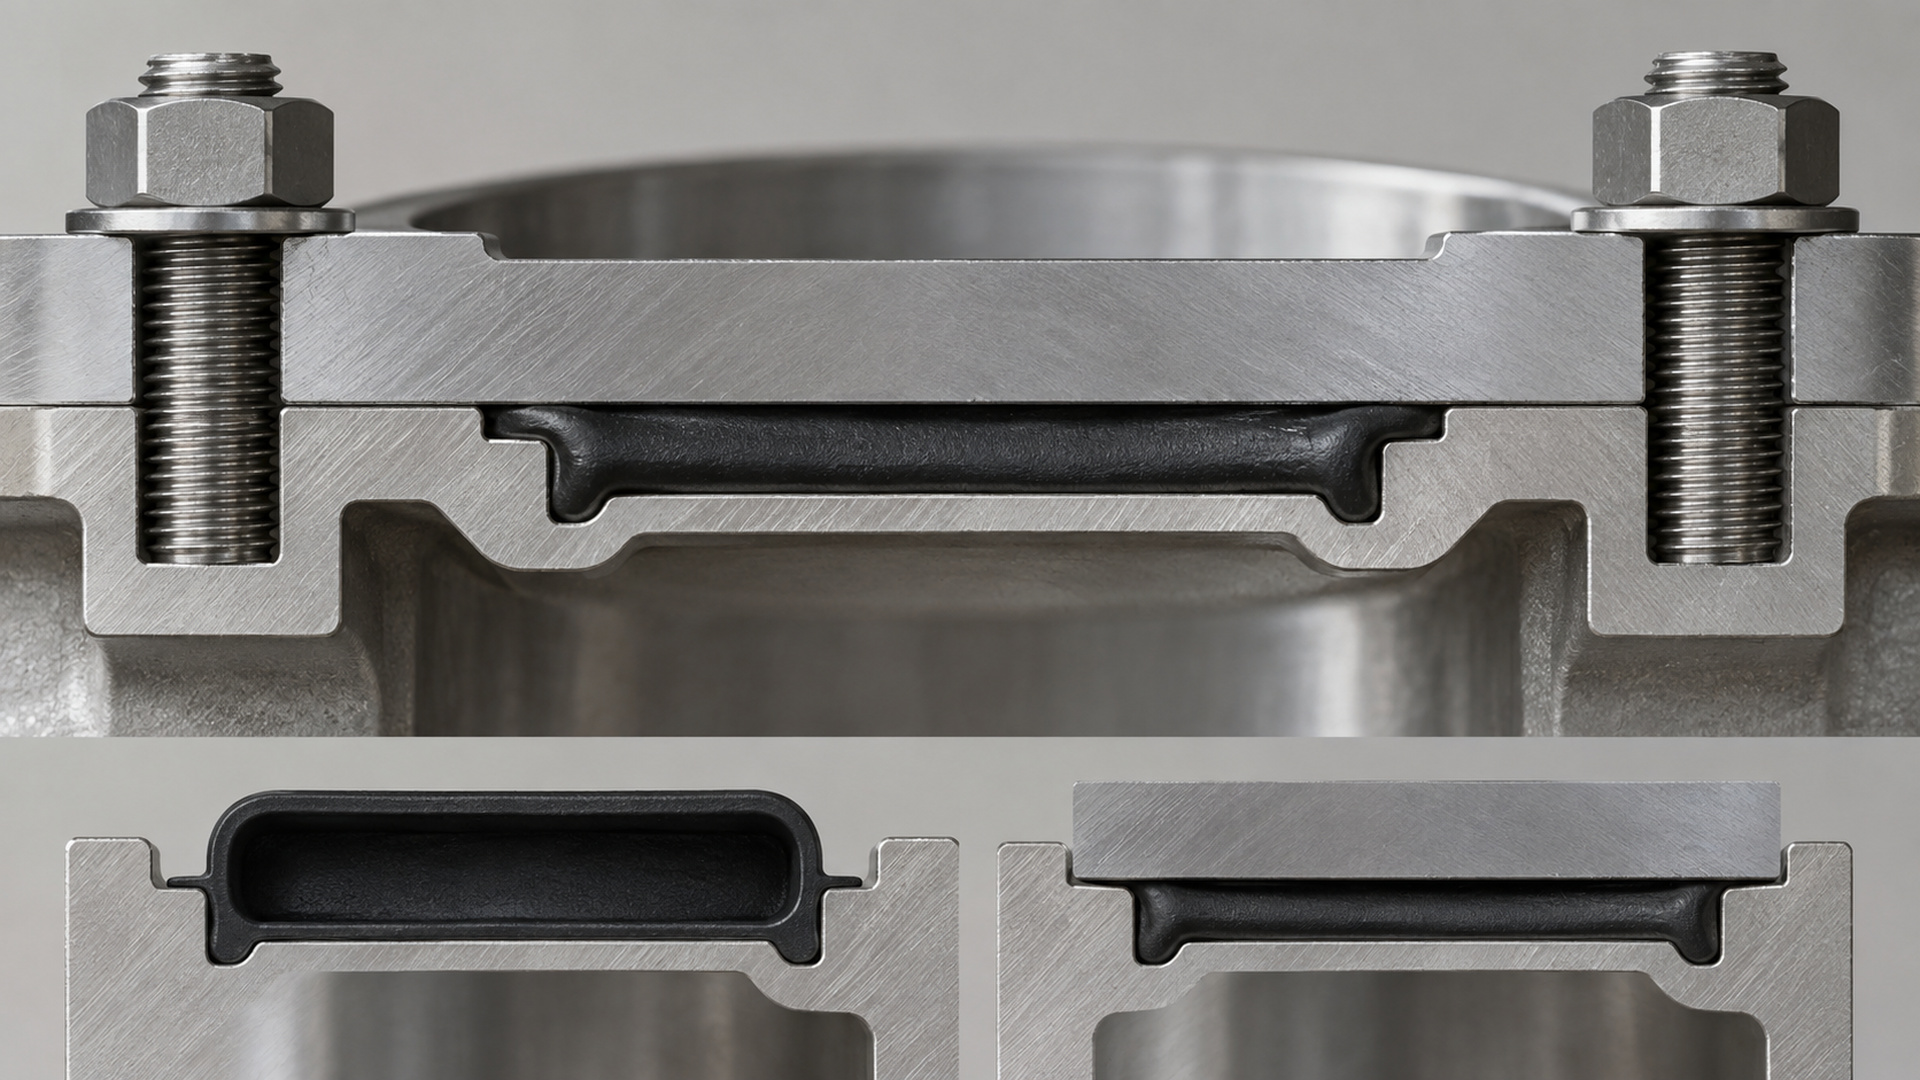
A silicone seal works when it is compressed a controlled amount — typically a fraction of its free height — evenly around the whole flange. Too little compression and it leaks. Too much and it extrudes, sets permanently, or makes assembly force unworkable. The actual compression the gasket sees depends on:
- Housing flatness and flange stiffness.
- Groove depth and its tolerance.
- Screw torque and the tightening pattern.
- Gasket free height and its tolerance.
- Whether the housing bows when screws are tightened.
All of these stack up. A loose tolerance on any one of them means some parts of the seal are over-compressed and others under-compressed.
Design the compression, not just the gasket
The DFM conversation should start from the target compression:
- Decide the compression range the seal needs (for example, a percentage of free height appropriate to the groove design).
- Work backward to groove depth and its tolerance.
- Specify housing flatness so the flange does not bow.
- Define screw torque and pattern so compression is even.
- Choose a gasket hardness that works at that compression — not the other way around.
The gasket material is selected last, after the mechanical system is defined.
Why "softer and thicker" is a trap
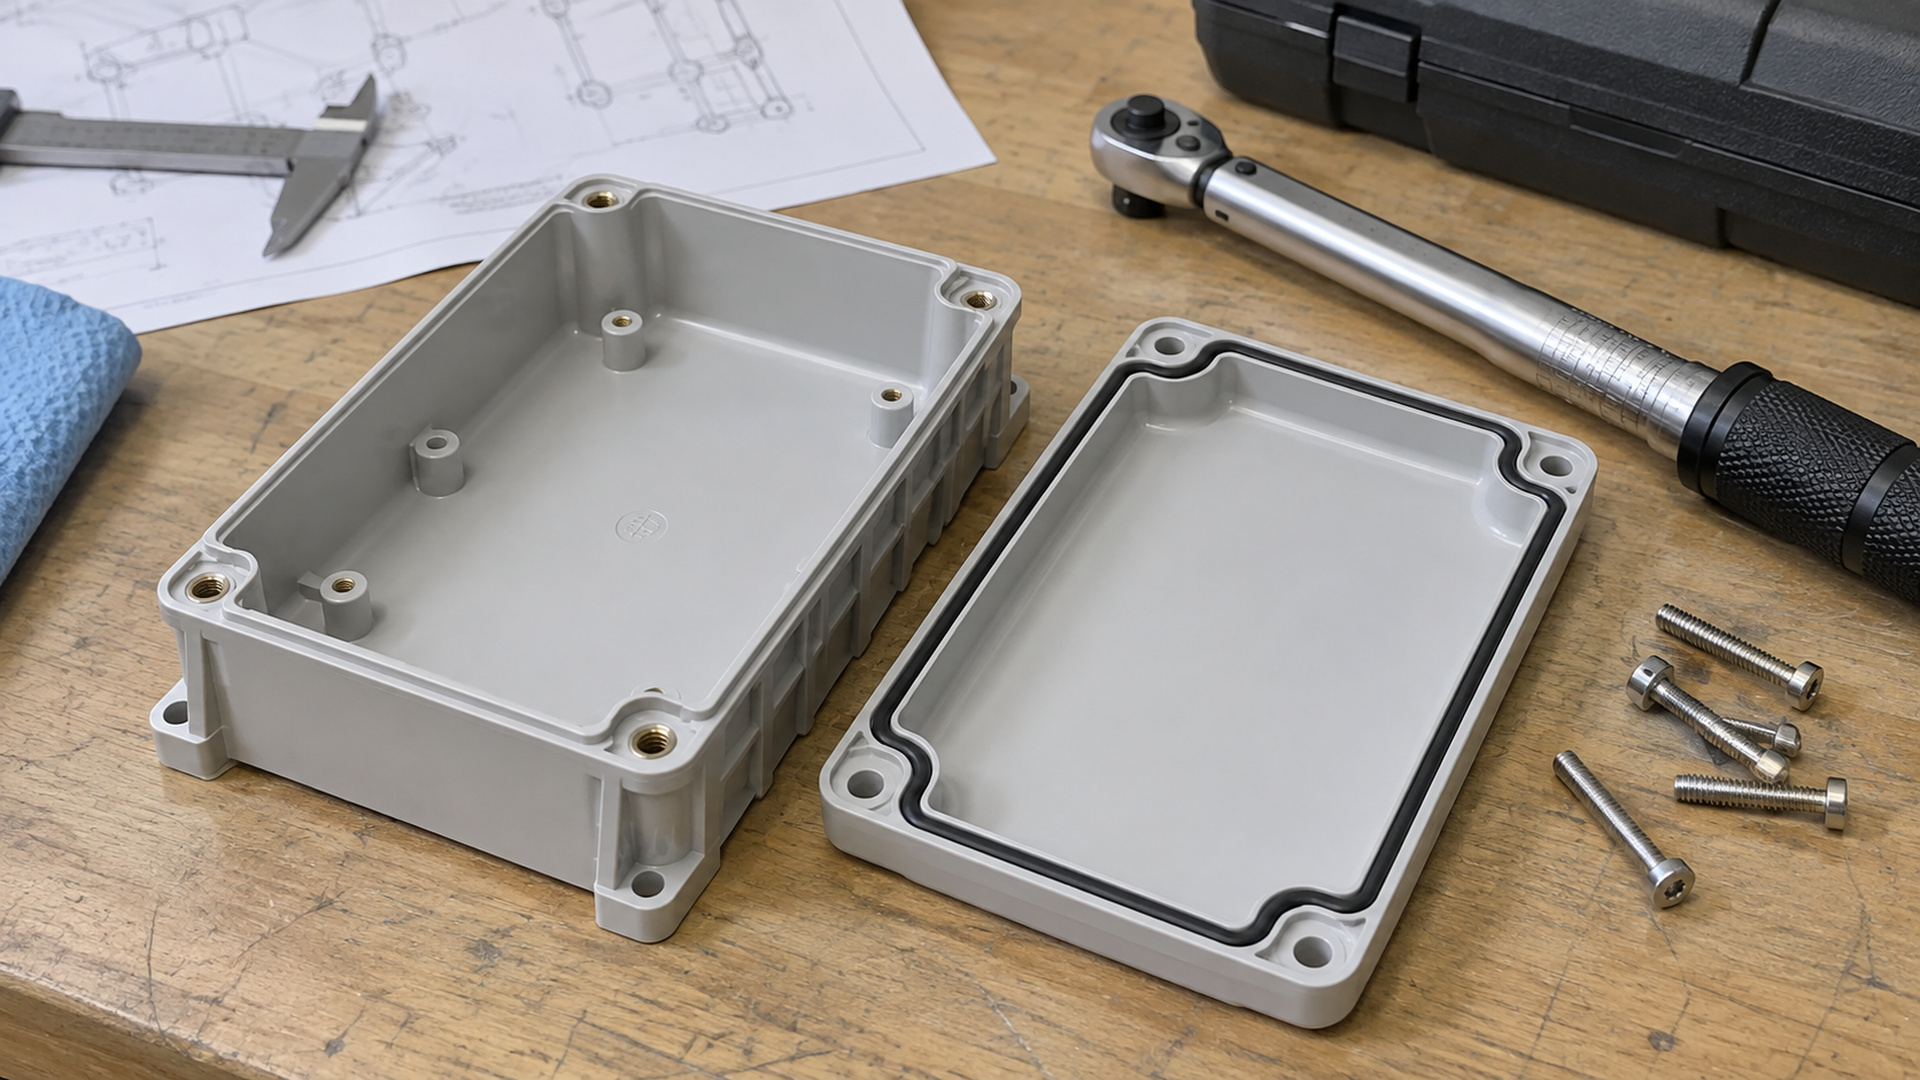
A softer gasket is more forgiving of housing variation, but it also extrudes more easily and sets faster. A thicker gasket needs more compression stroke and can buckle in the groove. Both moves mask a tolerance problem for one build and create assembly and aging problems later.
Two checks matter:
- Treat the gasket as a component; validate the complete device as an assembly.
- Review tolerance stack-up, compression and housing stiffness together.
Turn the seal requirement into an assembly test
"Sealed" is not a number. Convert it into:
- A controlled reference — an assembled housing that passes the intended test.
- Critical characteristics — groove depth, gasket free height, housing flatness, screw torque.
- A test condition — the actual immersion or spray the device must survive.
- An acceptance rule — no ingress; assembly force within the specified range.
- A revision record — which housing and gasket revision the test covers.
Compression set, measured per methods such as ASTM D395, is worth tracking because a gasket that does not recover after years of compression will eventually leak.
Compare options by trade-off
If assembly force is too high, the choices are: reduce gasket hardness, widen the groove, stiffen the housing, or reduce the seal length. Compare them on sealing margin, assembly yield and tooling cost.
Validate the whole assembly
Run the seal test on the fully assembled device at production torque, not on a hand-tightened prototype. A housing that seals at low torque may bow and leak at production torque.
What to prepare before the RFQ
- CAD of both housing halves and the gasket groove.
- The target IP rating and test method.
- Assembly method (screws, clips, ultrasonic weld).
- Expected screw torque range.
- Housing material and its stiffness.
- Production volume and assembly line approach.
If compression is not yet calculated, ask the supplier to run the tolerance stack-up before tooling.
Questions to ask the supplier
- What compression range is the gasket designed to?
- How do you handle housing flatness and screw torque in the seal design?
- What assembly force does the joint require?
- How do you verify sealing on production parts?
- Does the gasket material meet the required compression set?
Generic "we use soft silicone" answers without a compression calculation are not enough.
Conclusion
A sealed housing is a tolerance-and-force problem, not a material problem. Define the compression range, work backward to groove depth and housing flatness, specify screw torque, and then choose a gasket hardness that fits. Resist the urge to soften or thicken the gasket to mask a housing tolerance issue — it will come back as a compression-set failure after months on the shelf.