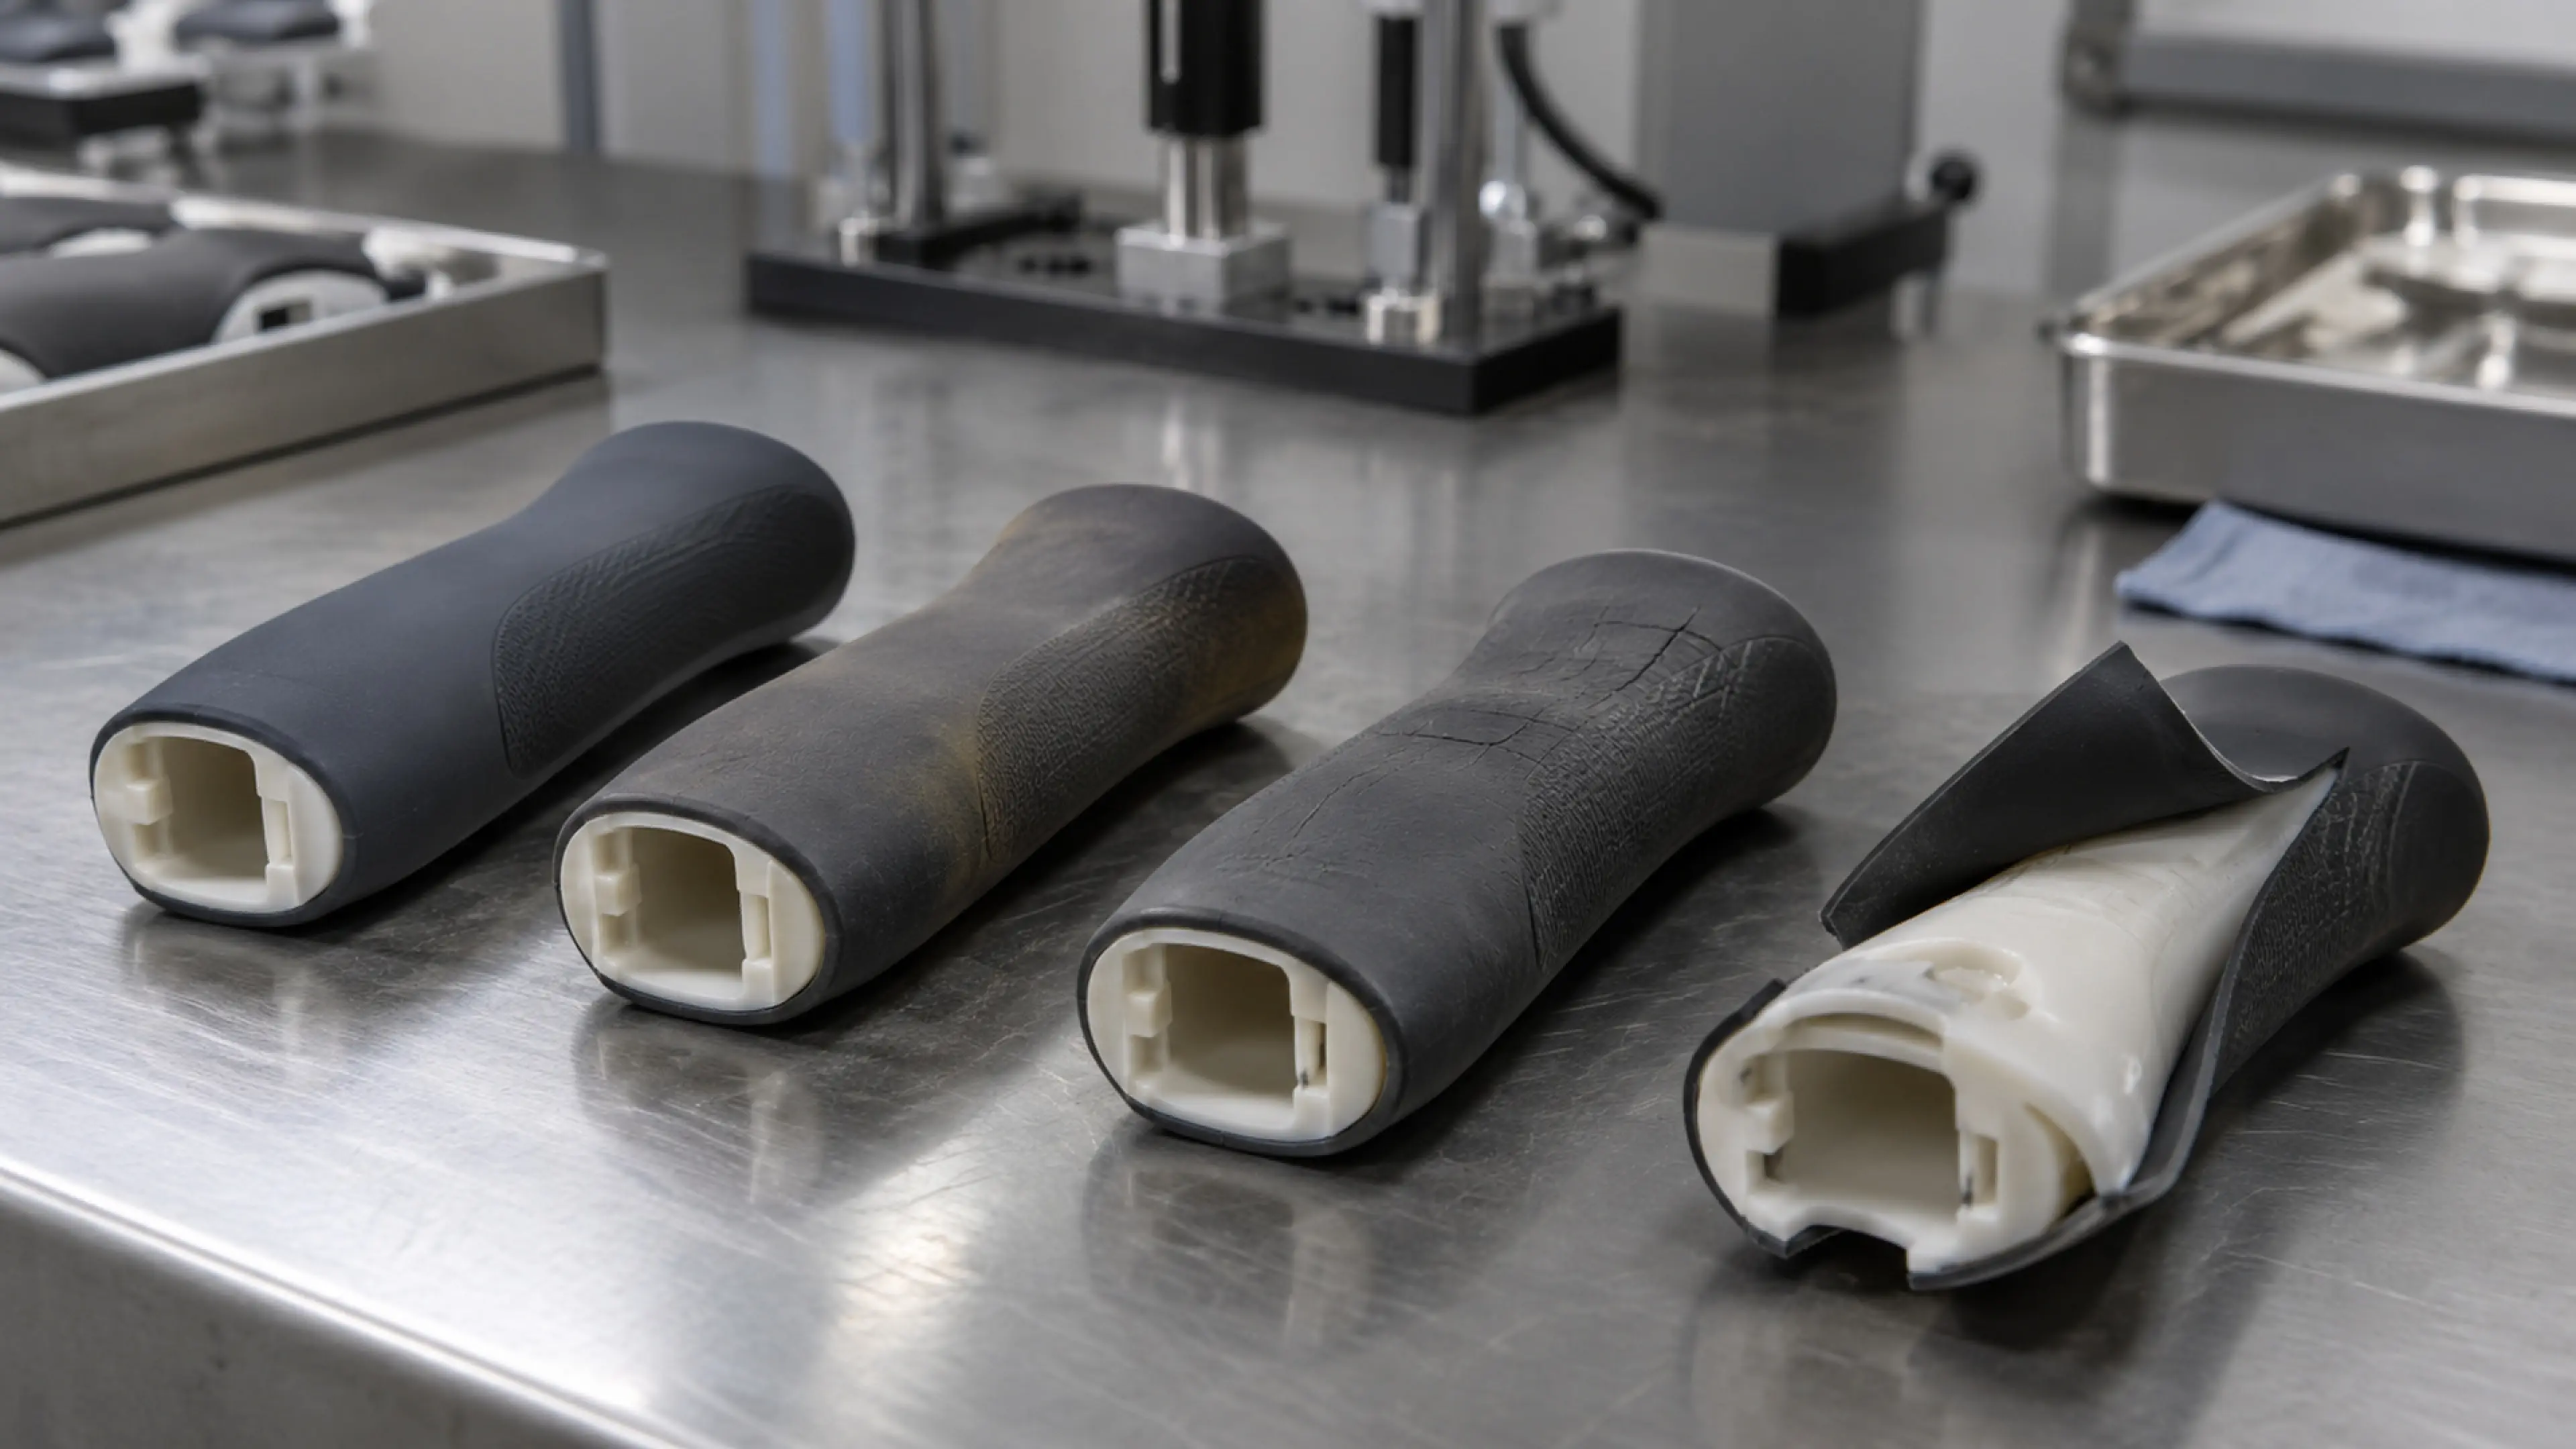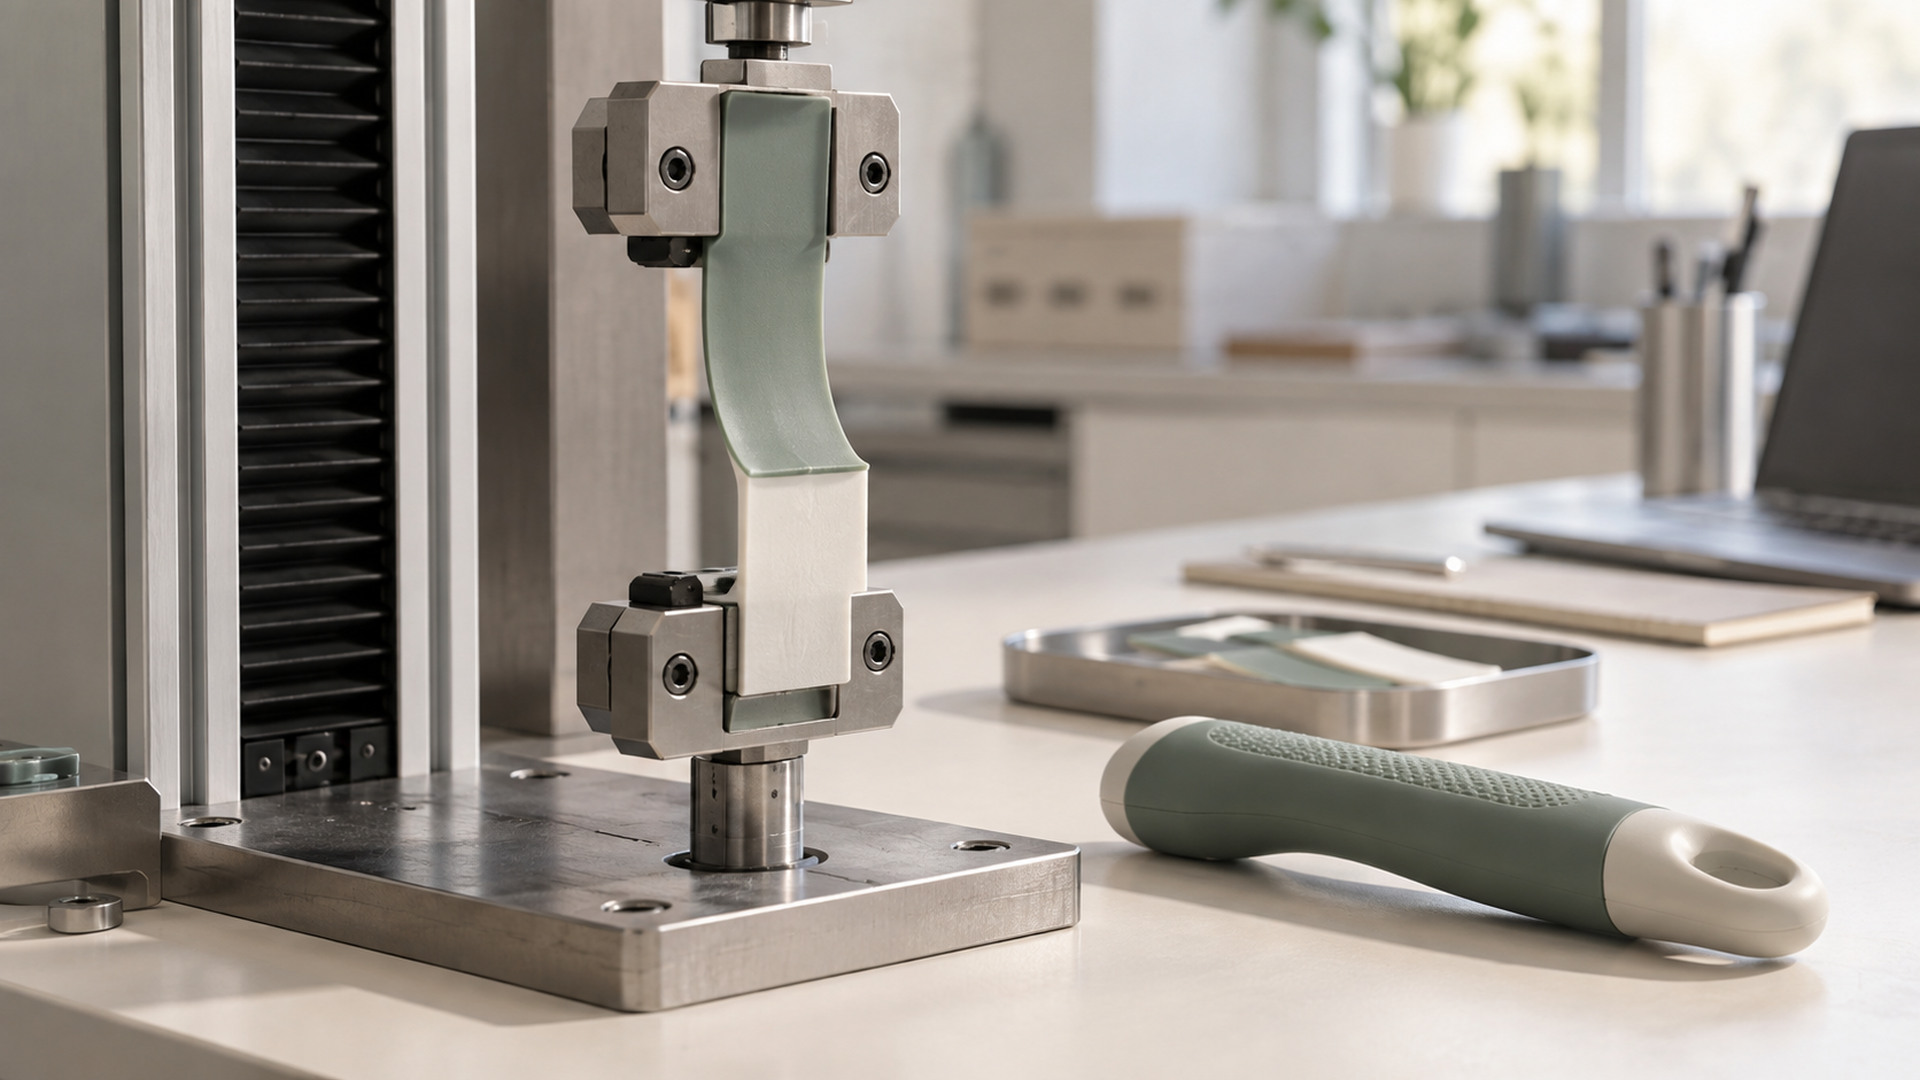
Should overmold adhesion be validated by peel, pull-off or use-cycle testing?
There is no single "best" adhesion test. The right test is the one that reproduces how the joint actually fails in the customer's hands. A pull-off test measures how hard it is to yank the silicone straight off the substrate. A peel test measures how it delaminates from an edge. A use-cycle test measures whether it survives being flexed, gripped or pressed hundreds or thousands of times. Pick the wrong one and you can pass a sample that fails in the field.
For product teams validating overmolded grips, buttons and seals, the principle is matching the test to the real failure mode the product will see.
What each test measures
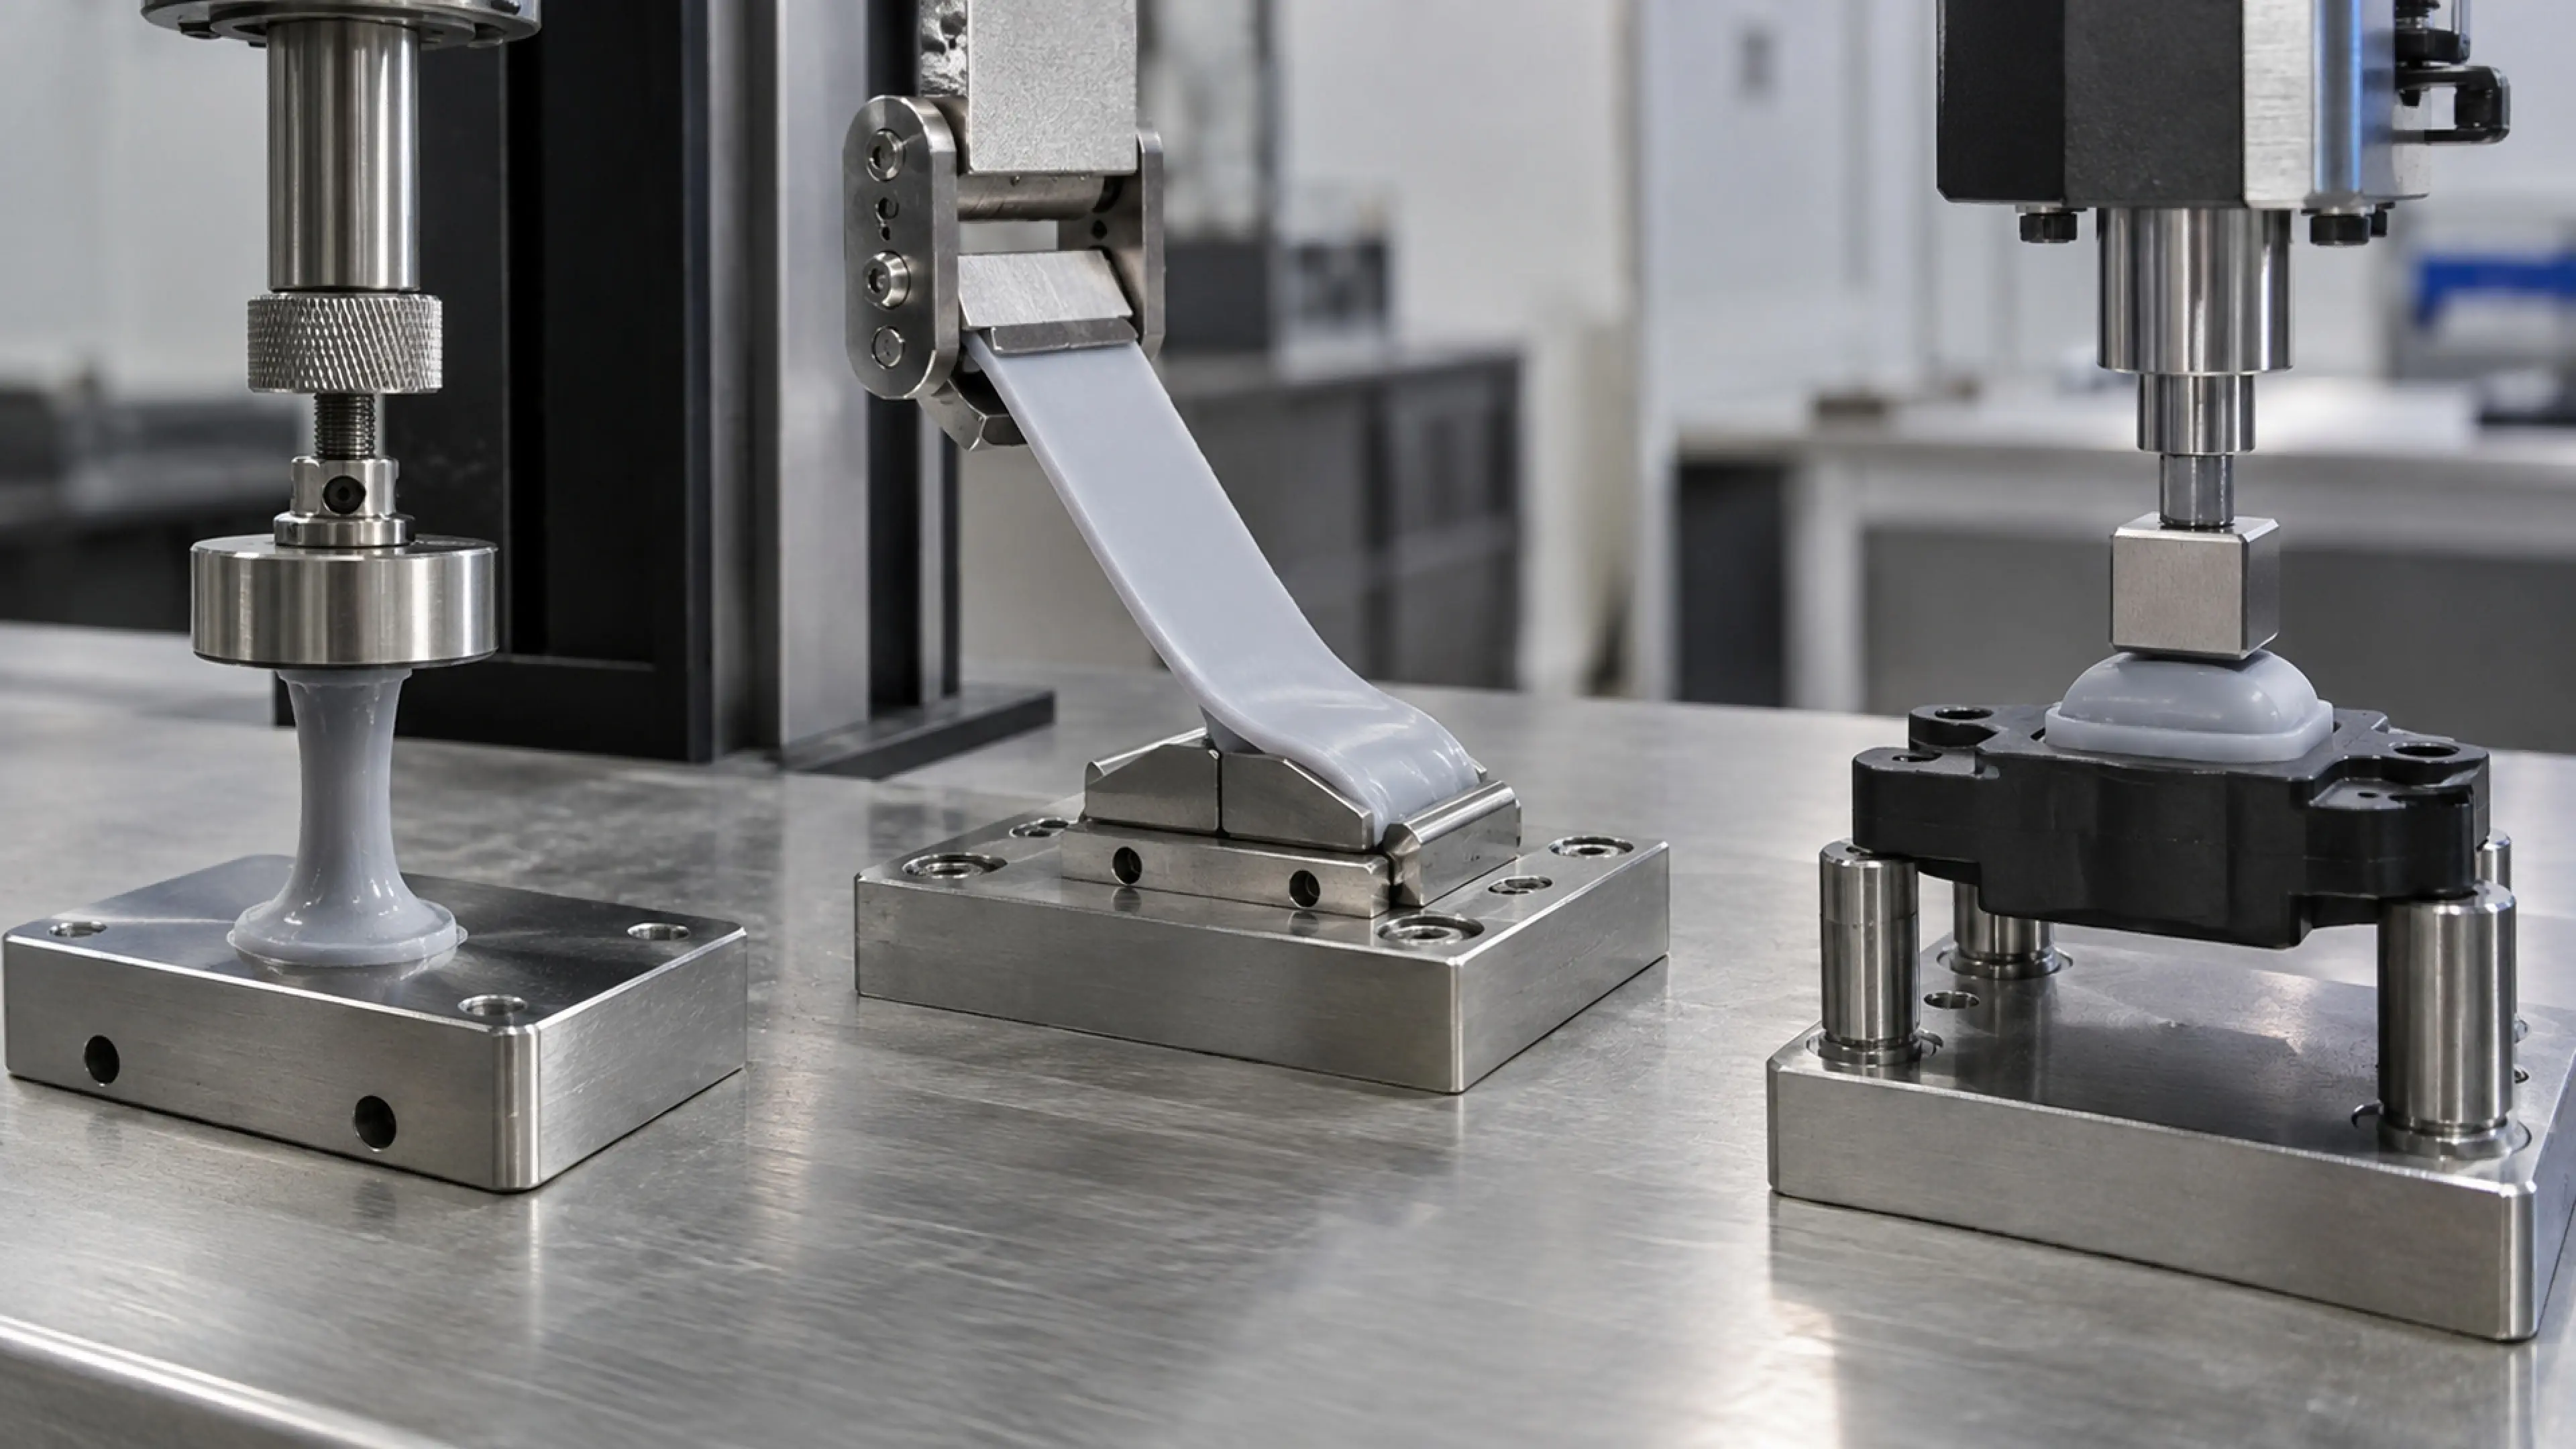
Pull-off (tensile) test. A fixture pulls the silicone normal to the substrate. It gives a single force number. It is good for comparing primer batches or insert grades, but it does not simulate edge peel or flexing.
Peel test. The silicone is peeled back at an angle. It exposes edge delamination and weak spots near the parting line that a straight pull would never find.
Use-cycle / flex test. The assembled part is cycled the way a customer uses it — a grip squeezed, a button pressed, a strap flexed. It catches fatigue, slow delamination and aging that a one-shot strength test misses.
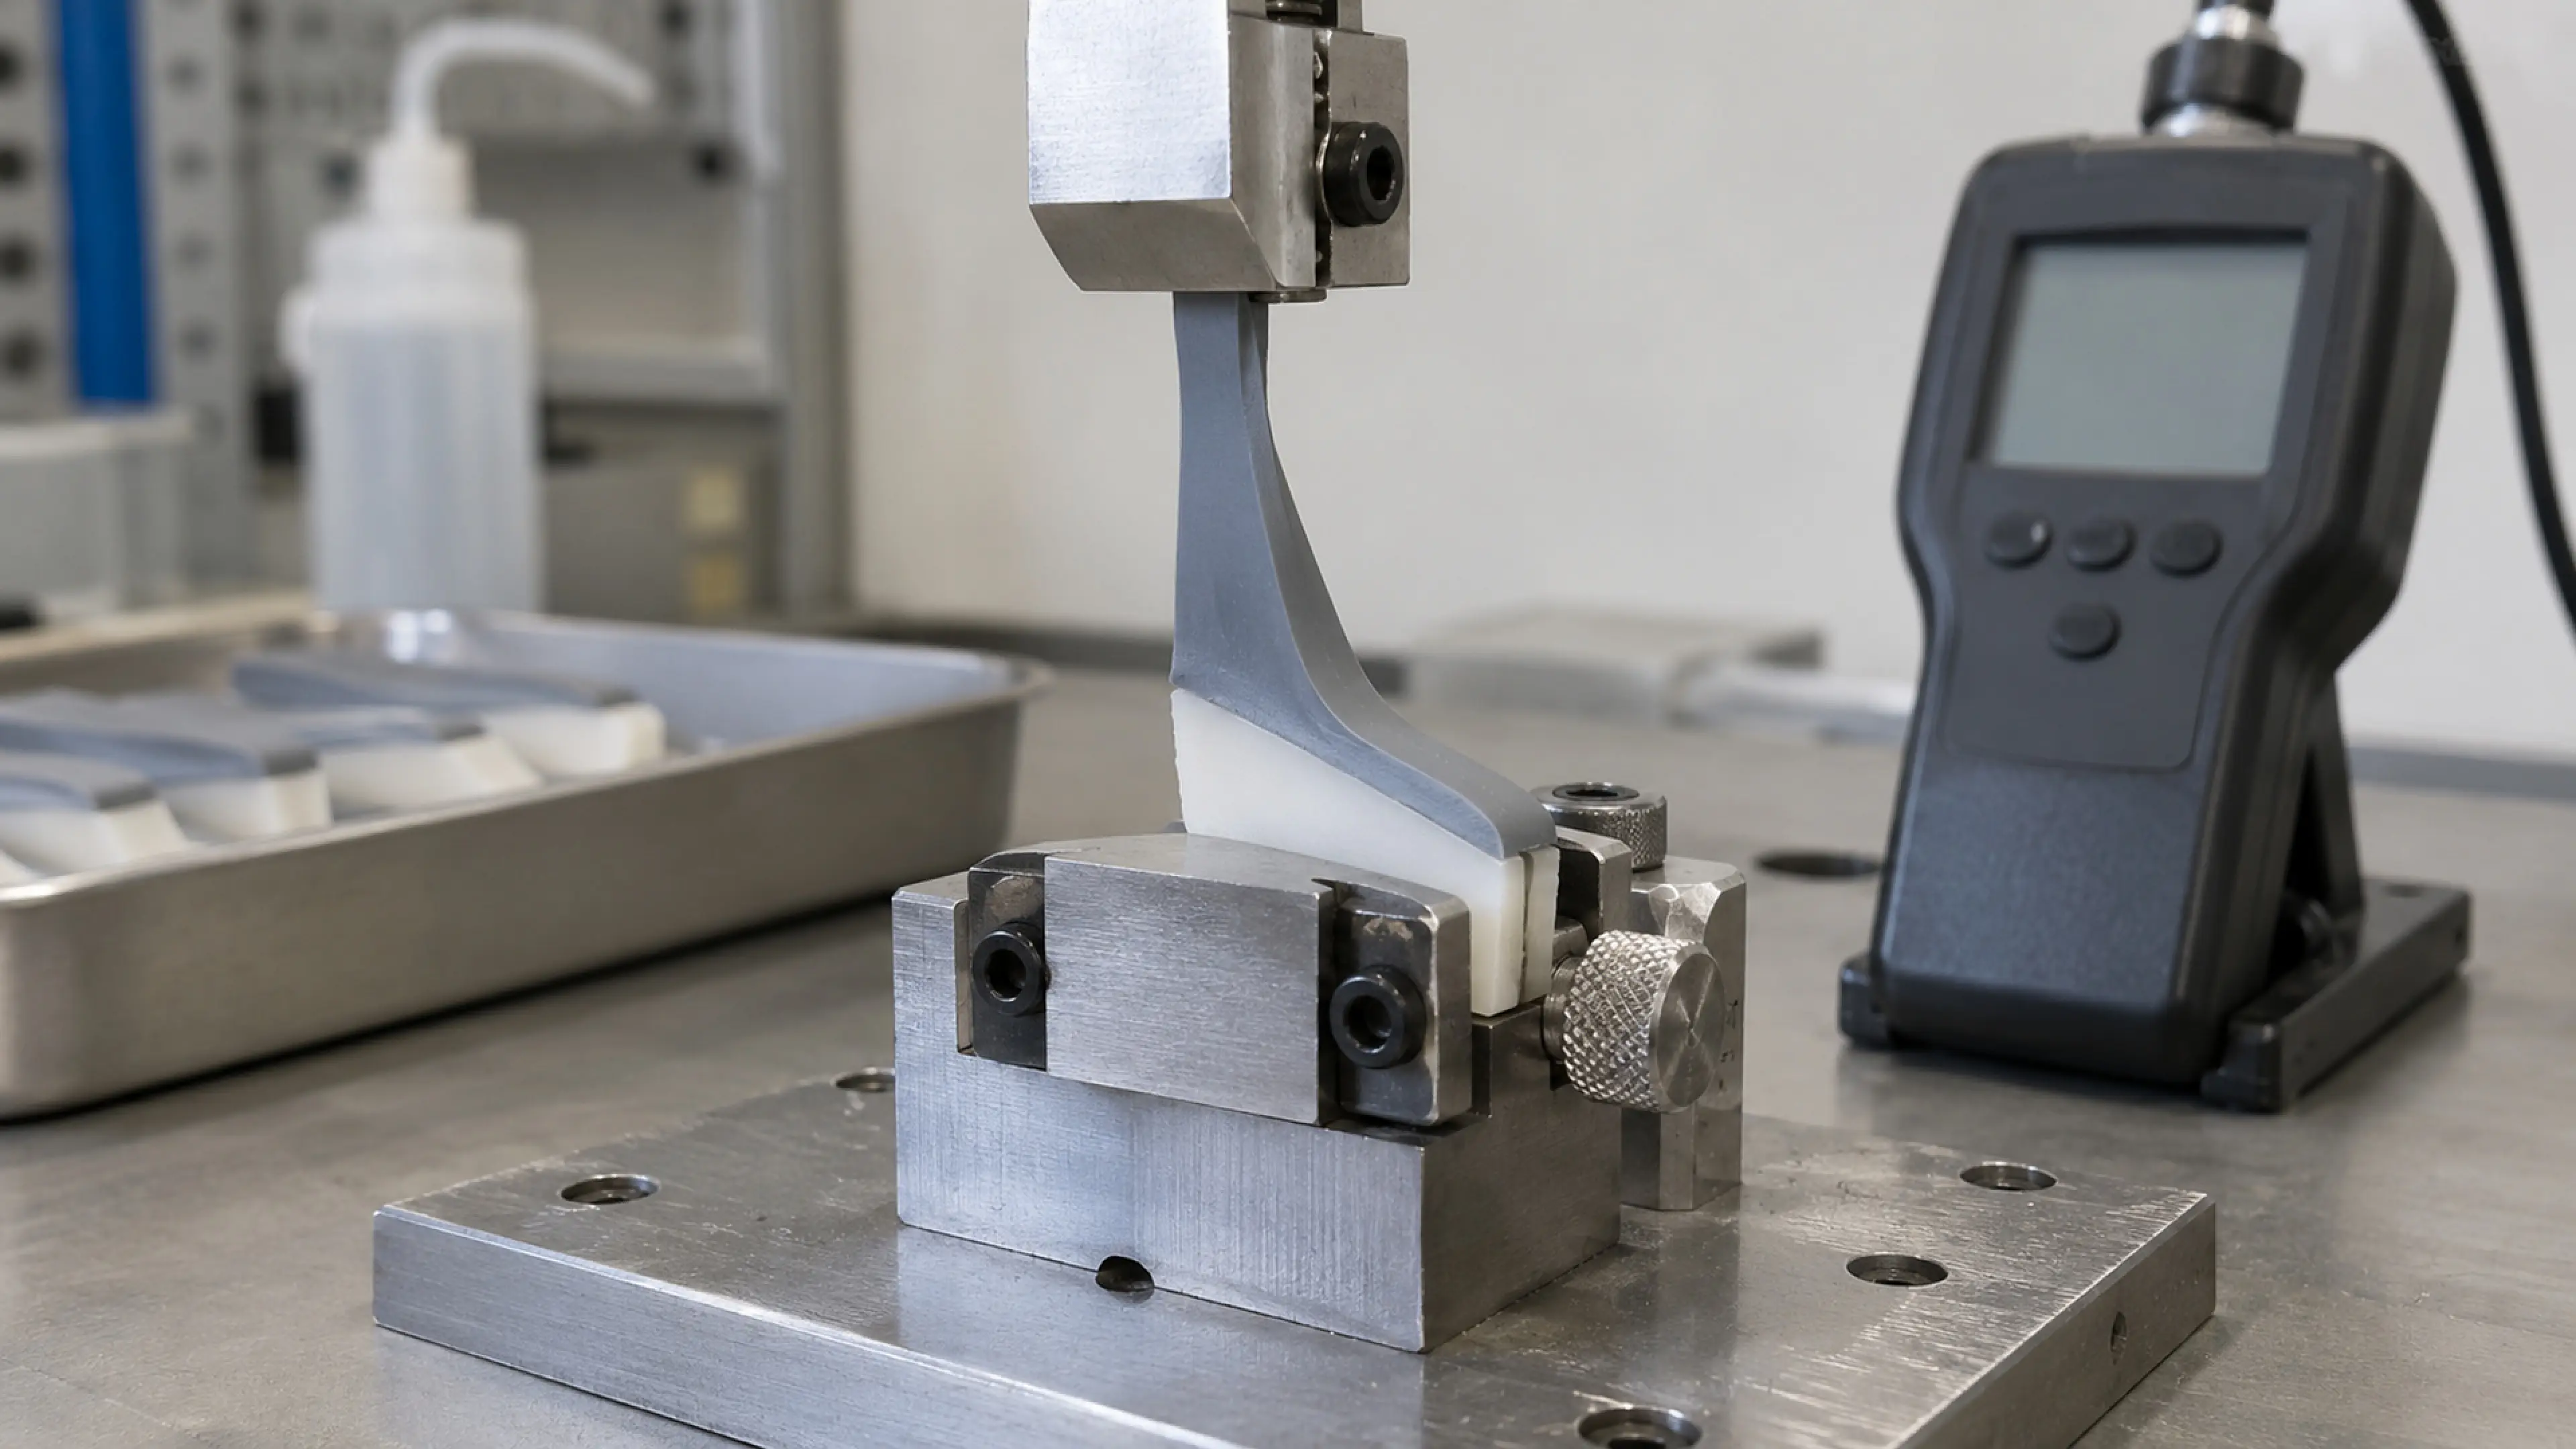
Match the test to the product
| Failure mode in use | Test that catches it |
|---|---|
| Silicone yanks straight off the housing | Pull-off test |
| Edge lifts after handling or cleaning | Peel test |
| Joint slowly weakens over months of use | Use-cycle plus aging |
| Bond looks fine but flexes apart | Cyclic flex test |
A part that is pulled straight off in service needs a pull-off test. A part whose edge gets caught on a pocket needs a peel test. A button that is pressed tens of thousands of times needs a cycle test.
Why a fresh pull test overstates durability
A new sample pulled on day one tests the bond at its strongest. It does not test what happens after:
- Thermal cycling in a pocket or a car.
- Cleaning with alcohol or wipes.
- Sweat, sunscreen or skin oil exposure.
- Hundreds of flex cycles.
That is why joints that pass an initial check can delaminate later.
Key variables that affect the result
- Exact substrate grade and surface condition.
- Primer system and its cure.
- Mechanical interlock design.
- Surface contamination on the insert.
- Aging conditions the joint will see.
Two checks matter:
- Specify the exact substrate grade and surface condition.
- Combine chemical adhesion with a mechanical interlock where risk justifies redundancy.
Turn the test into an acceptance rule
"Strong bond" is not a test. Convert it into:
- A controlled reference — an approved assembly that passes the chosen test.
- Critical characteristics — the force or cycle count that defines acceptance.
- A test condition — fresh, after aging, after cleaning, after cycling.
- An acceptance rule — cohesive failure in silicone is the target; adhesive failure at the interface is rejected.
- A revision record — which primer batch and substrate lot the test was run on.
Compare options by trade-off
A peel test is cheaper than a full use-cycle rig but misses fatigue. A cycle test is more expensive but catches the failures customers actually report. For high-risk joints, run both: a quick peel or pull-off for batch screening, and a use-cycle test for design validation.
Validate the failure mode that matters
Do not rely on one test. For a critical joint, measure a dimension on the assembly, function-test it, and age or cycle it. The bond that passes all three is the bond you can ship.
What to prepare before the RFQ
- How the customer actually handles the part (grip, press, flex, clean).
- The failure mode that would be unacceptable.
- The exact substrate and primer system.
- The aging conditions the product will see.
- Whether the joint is safety-critical.
- Target volume and regulatory context.
If you are not sure which failure mode is most likely, ask the supplier to recommend the test based on similar parts.
Questions to ask the supplier
- Which adhesion test do you recommend for this joint, and why?
- Do you test fresh samples only, or after aging and cycling?
- What failure mode do you consider acceptable?
- How often is adhesion checked in production?
- What test equipment do you have in-house?
Generic "we test adhesion" answers without naming the method or condition are not enough.
Conclusion
The right adhesion test is the one that mimics the failure the customer will actually experience. Pull-off for straight pull loads, peel for edge delamination, use-cycle for repeated flexing. Run the test on aged and cycled samples, not just fresh ones, and define what failure looks like before you start.